The Elixir Telescope
Part 4 : Simulating image capture and focusing
- Part 1 : Simulating movement & state with Elixir
- Part 2 : Primary mirror design & calculation
- Part 3 : Raytracing a parabolic mirror from scratch
- Part 4 : Simulating image capture and focusing
- Part 5 : Porting the depth of field simulation to Elixir + Rust
- Part 6 : Three.js + websockets = a 3D moving telescope
- Part 7 : Elixir architecture questions
- Part 8 : Controlling motors from Elixir
- Part 9 : Talk — Code BEAM EU 23: Prototyping a remote-controlled telescope with Elixir
In the last entry of this series, we’ve seen how we could calculate the effective focal length and resultant longitudinal aberration of a parabolic mirror imaging non-infinity located objects. We could still have a few problems before we can use this model to actually image scenes.
Only on-axis rays (that is, rays originating from a source at y = 0) are simulated. This means we’re thinking in 1D, but the real world will be seen as 3D from the perspective of the mirror. We have depth (x axis), vertical distance from the parabola’s axis, and horizontal distance from the parabola’s axis. The main implication of that is that we’re ignoring all off-axis aberrations.
But, for my sensor (3.58 * 2.02mm), this problem will be quite contained with its very narrow field of view.
In 2D, you can play with the below updated widget and see how off-axis rays image at different heights, and see how that introduces coma (if you zoom in) : the rays do not focus to a single point anymore. (Well, they already did not really for nearby objects because of spherical aberration).
We can calculate a few valuable metrics :
- dimension of the real-life field of view for a given object distance
- middle-ground focal plane location for a given object distance
- geometric blur of an object point for a given sensor distance
- Dawes limit (resolution limit) for a given aperture
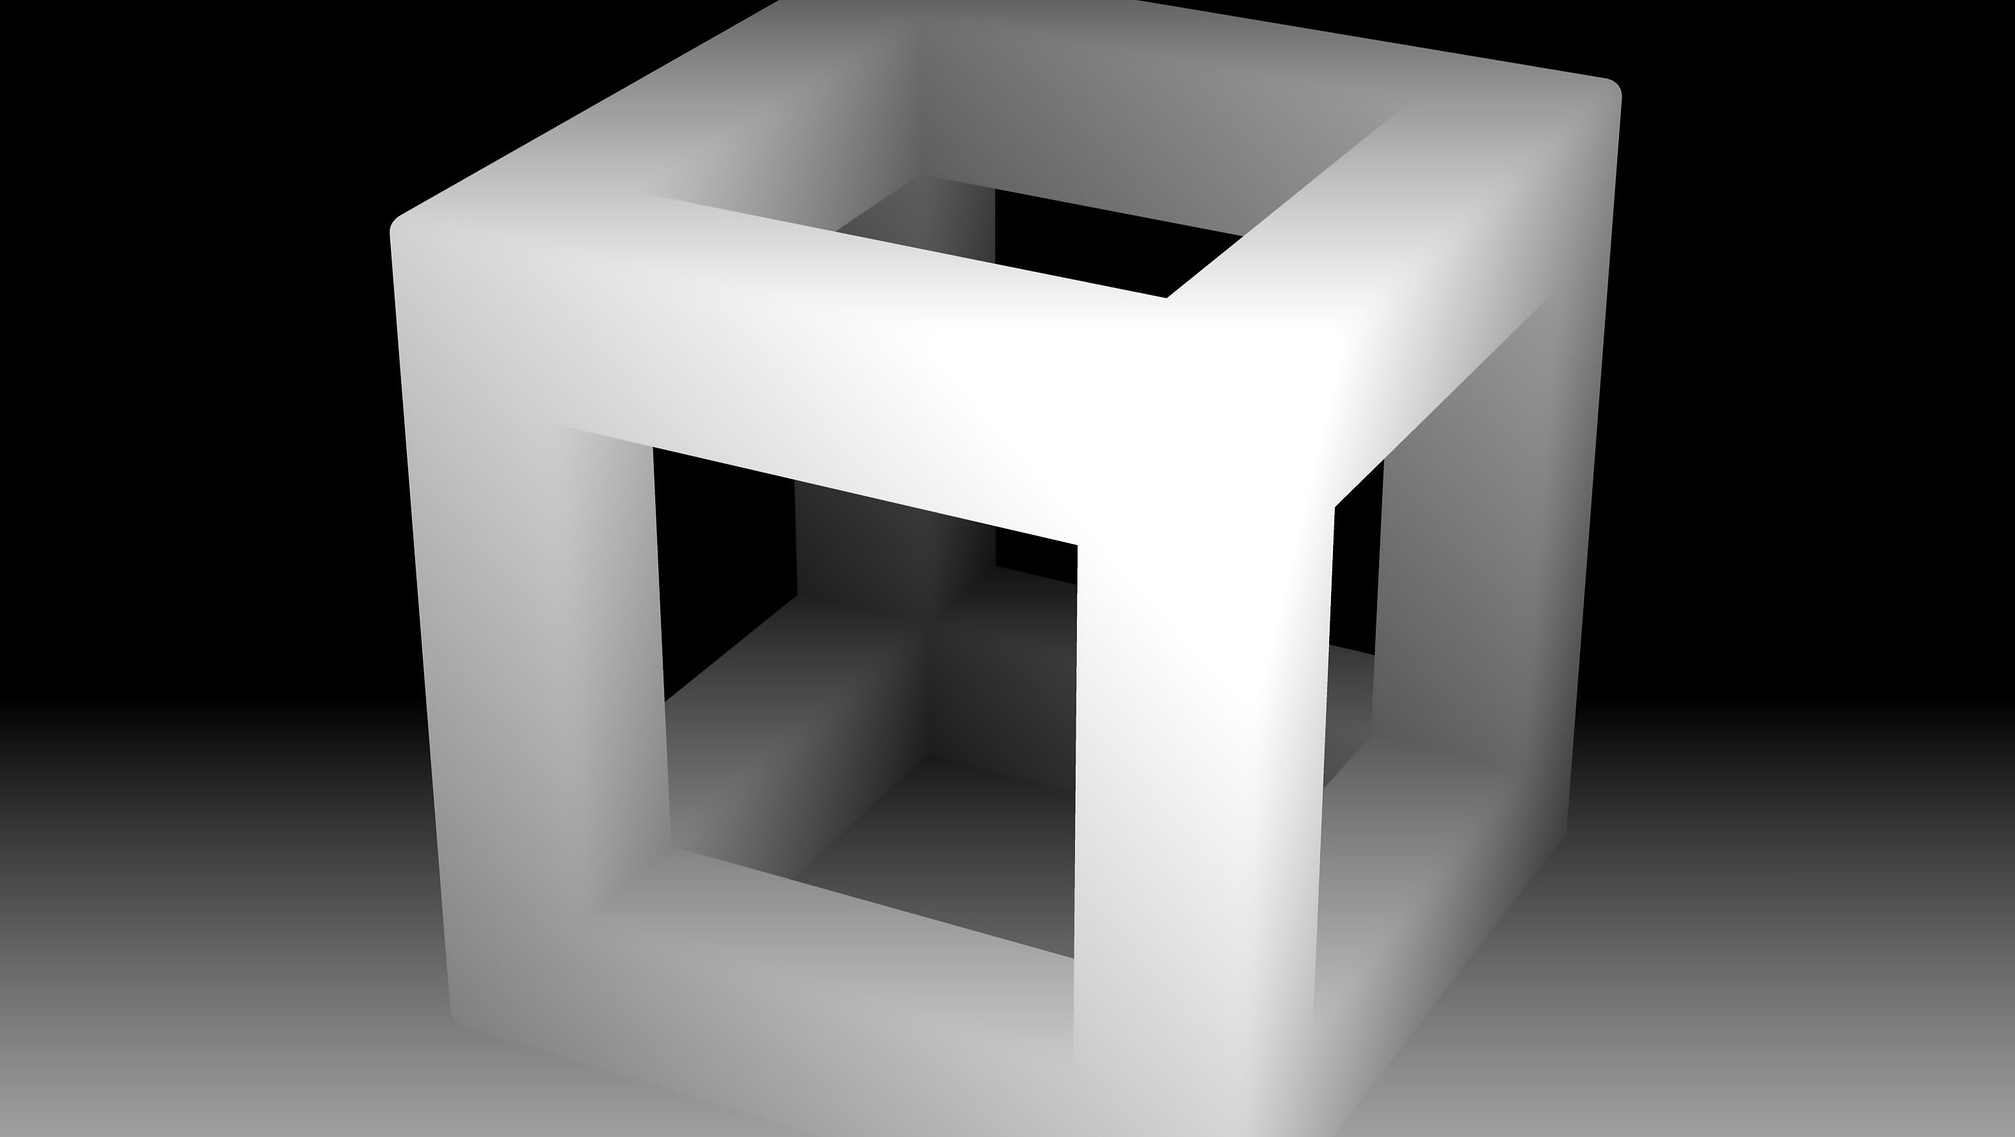
We’ll use this image coming with a depth map from Dominic Alves on Flickr. I cropped it to match the sensor aspect ratio.
The nice thing with this picture is that it has infinite depth of field, as if every part of the image was in focus. It also features a cubic structure, which will allow us to easily define dimensions, and map a realistic scale to the depth map. We’ll forget about perspective for the next parts of this blog post.
Let’s say this scene that conveniently covers the whole sensor takes place 20 meters away from the mirror.
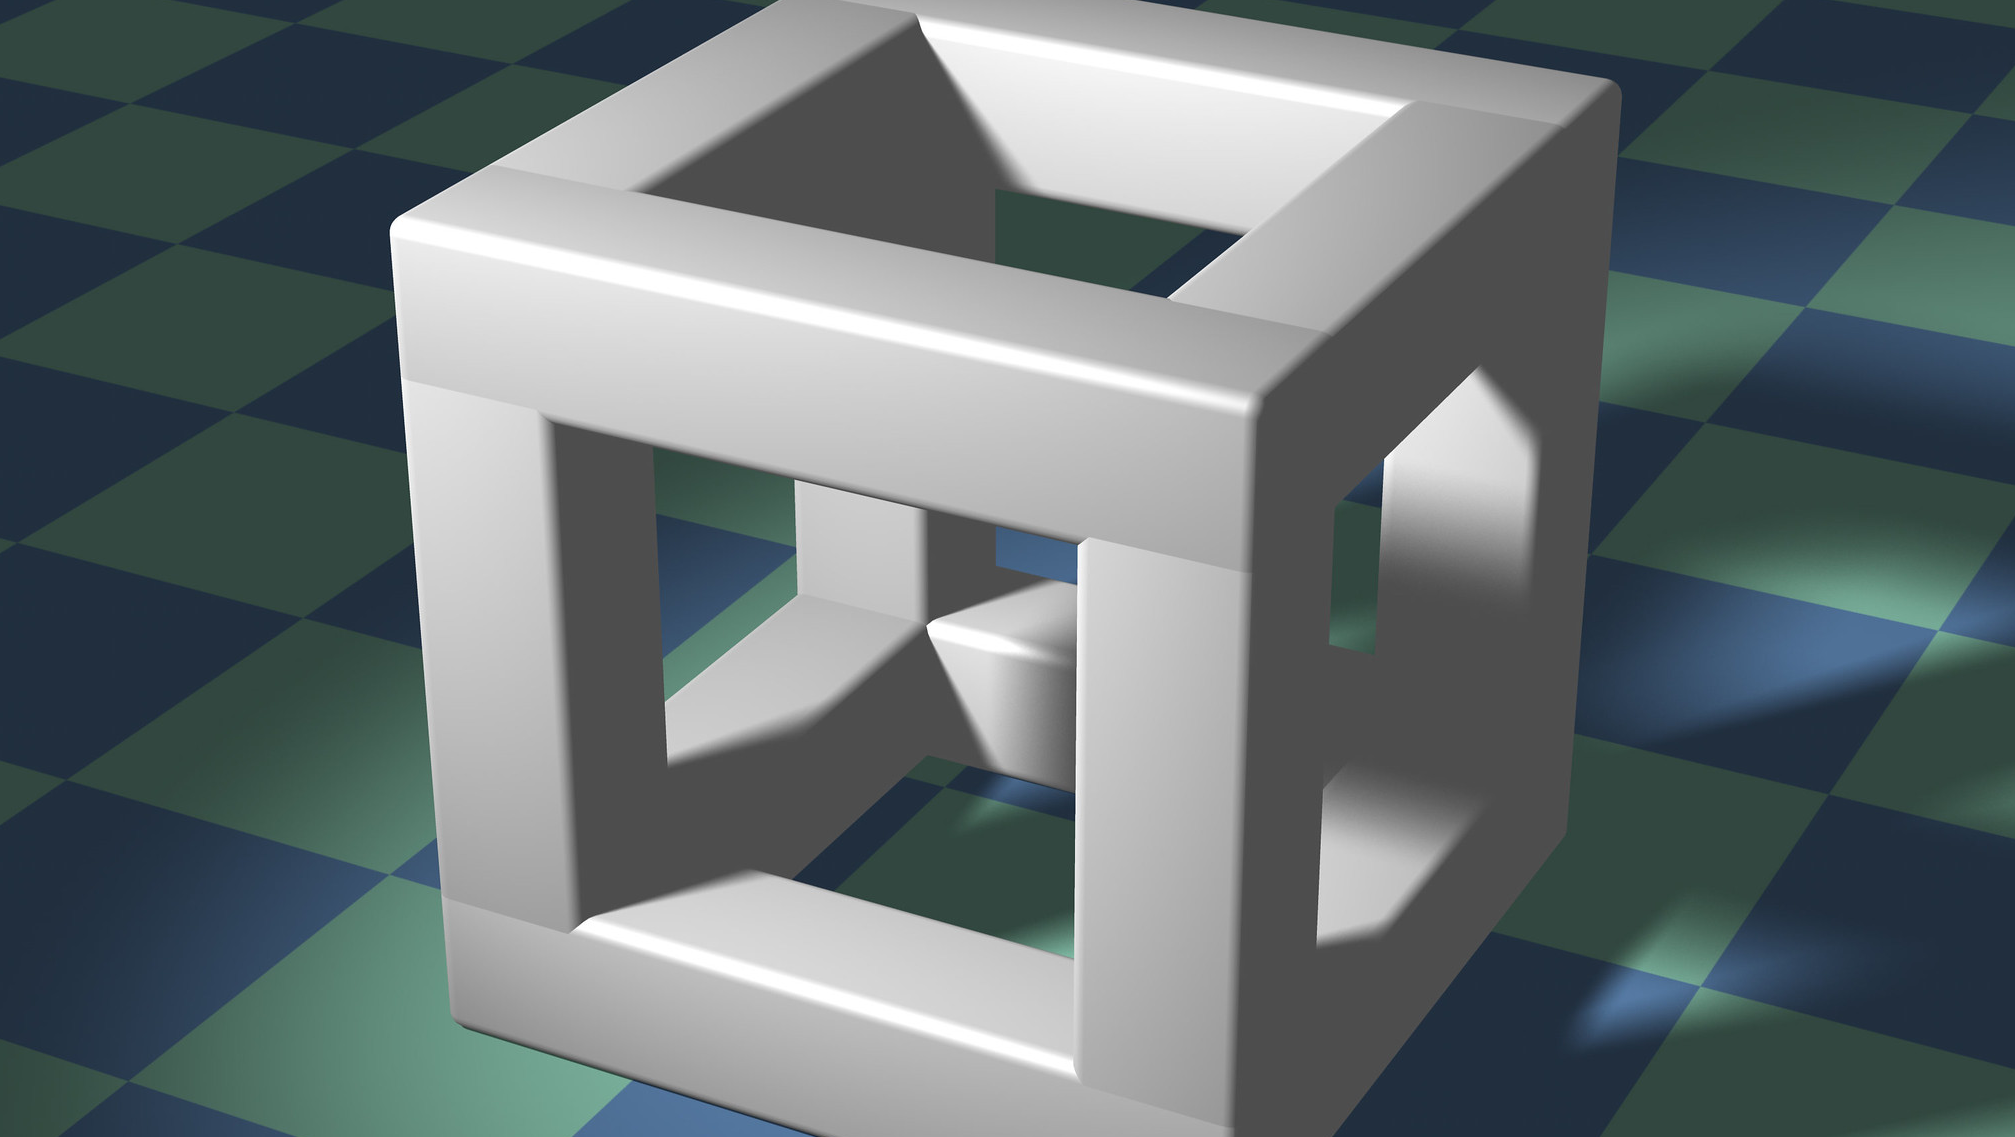
From the FOV calculation, we get (at 20000mm, that is 175.41mm x 98.97mm). So, at its nearest point, the scene fits in a frame of dimensions 175.41mm x 98.97mm. We can eyeball the cube to be approximately 95mm wide.
Eyeballing again, the angle of both the cube and the lines on the floor seems to be 30 degrees.
Two floor tiles are roughly the dimension of a side of the cube, so a tile will be 47.5mm wide.
6 tiles reach from the front to the back, forming the hypothenuse of a 30-60-90 triangle.
So, if a tile is 47.5mm wide, 6 fit in their diagonals, and they form the hypothenuse with length 2x of this particular triangle, the long side of the right angle is x*sqrt(3).
((47.5 * Math.sqrt(2) * 6) / 2) * Math.sqrt(3) = 349.05mm
The back of the scene is roughly 300mm further than the front. Keep in mind that we’re only going for realistic but not exact values here.
Let’s say that white is 20000mm and black is 20350mm.
Let’s also keep in mind that our telescope is bound by physics and has a resolution, that is, the angular size of objects it is able to discriminate. There are a lot of different equalities for resolution, each having a different meaning on the way two point sources are discernable from each other. We calculated earlier the Dawes Limit of the 114mm mirror to be 1.02“, meaning, 1.02 * 1/3600 in degrees. At twenty meters, this means we can discern details at least 0.10mm wide. On the moon, the smallest detail this telescope could see is 1.90km wide (with the moon at 384 400 km). This article at Sky and Telescope shows how some professional setups using adaptive optics are able to achieve 0.07“ resolution, or 130m wide features on the moon.
Our scene when imaged at 20 meters is ~175.4mm wide and 2015 pixels wide. If we can discern 0.1mm wide features at that distance, those features are 1.15px wide. This is very close to 1px resolution on the virtual scene. I will stay at that level of abstraction.
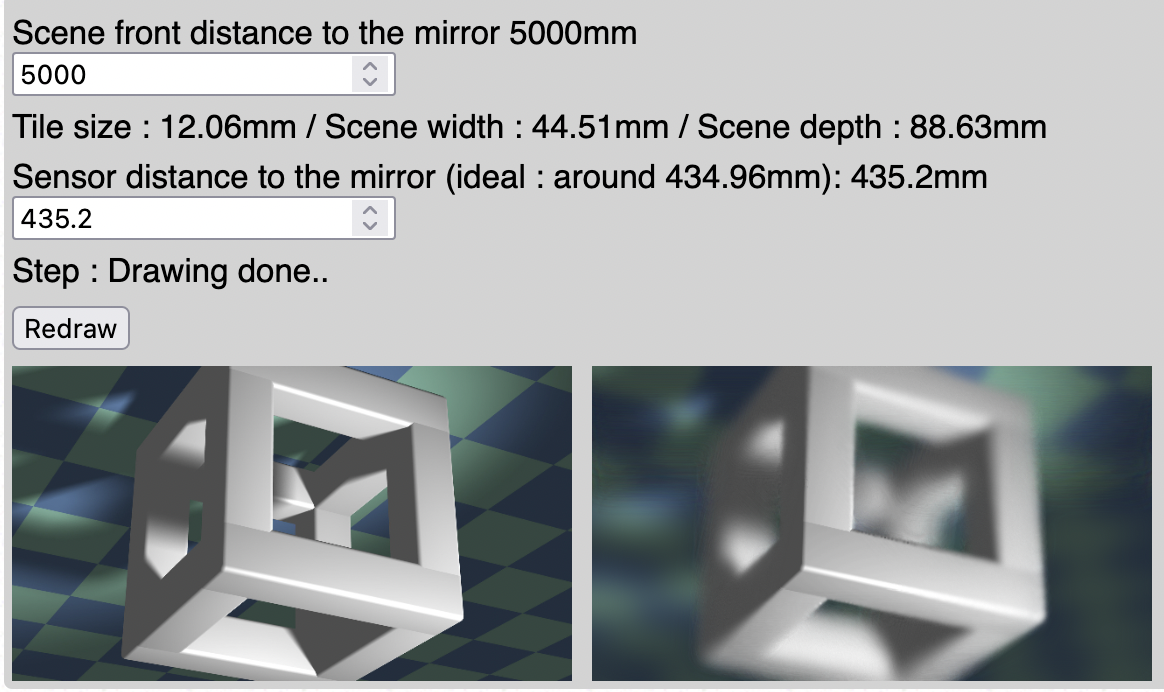
Safari/iOS users : the below demo does not work because of lack of support for CanvasRenderingContext2D filters. Screenshots lower down the page show the effect.
Screenshots for Safari/iOS users
Scene at 2km, large depth of field

Scene at 5m, shallow depth of field
Scene at 20m, less shallow depth of field

The repository has been updated (commit 766eee9) to contain all the building blocks to implement this image generation on the Elixir side. The focusing mechanism also has been added to the Telescope GenServer.
Even if we stay in the realm of geometric optics, in these four posts, I have gathered everything needed to actually build the interactive telescope and remote control simulator.