Building a typographic tester station (with Elixir)
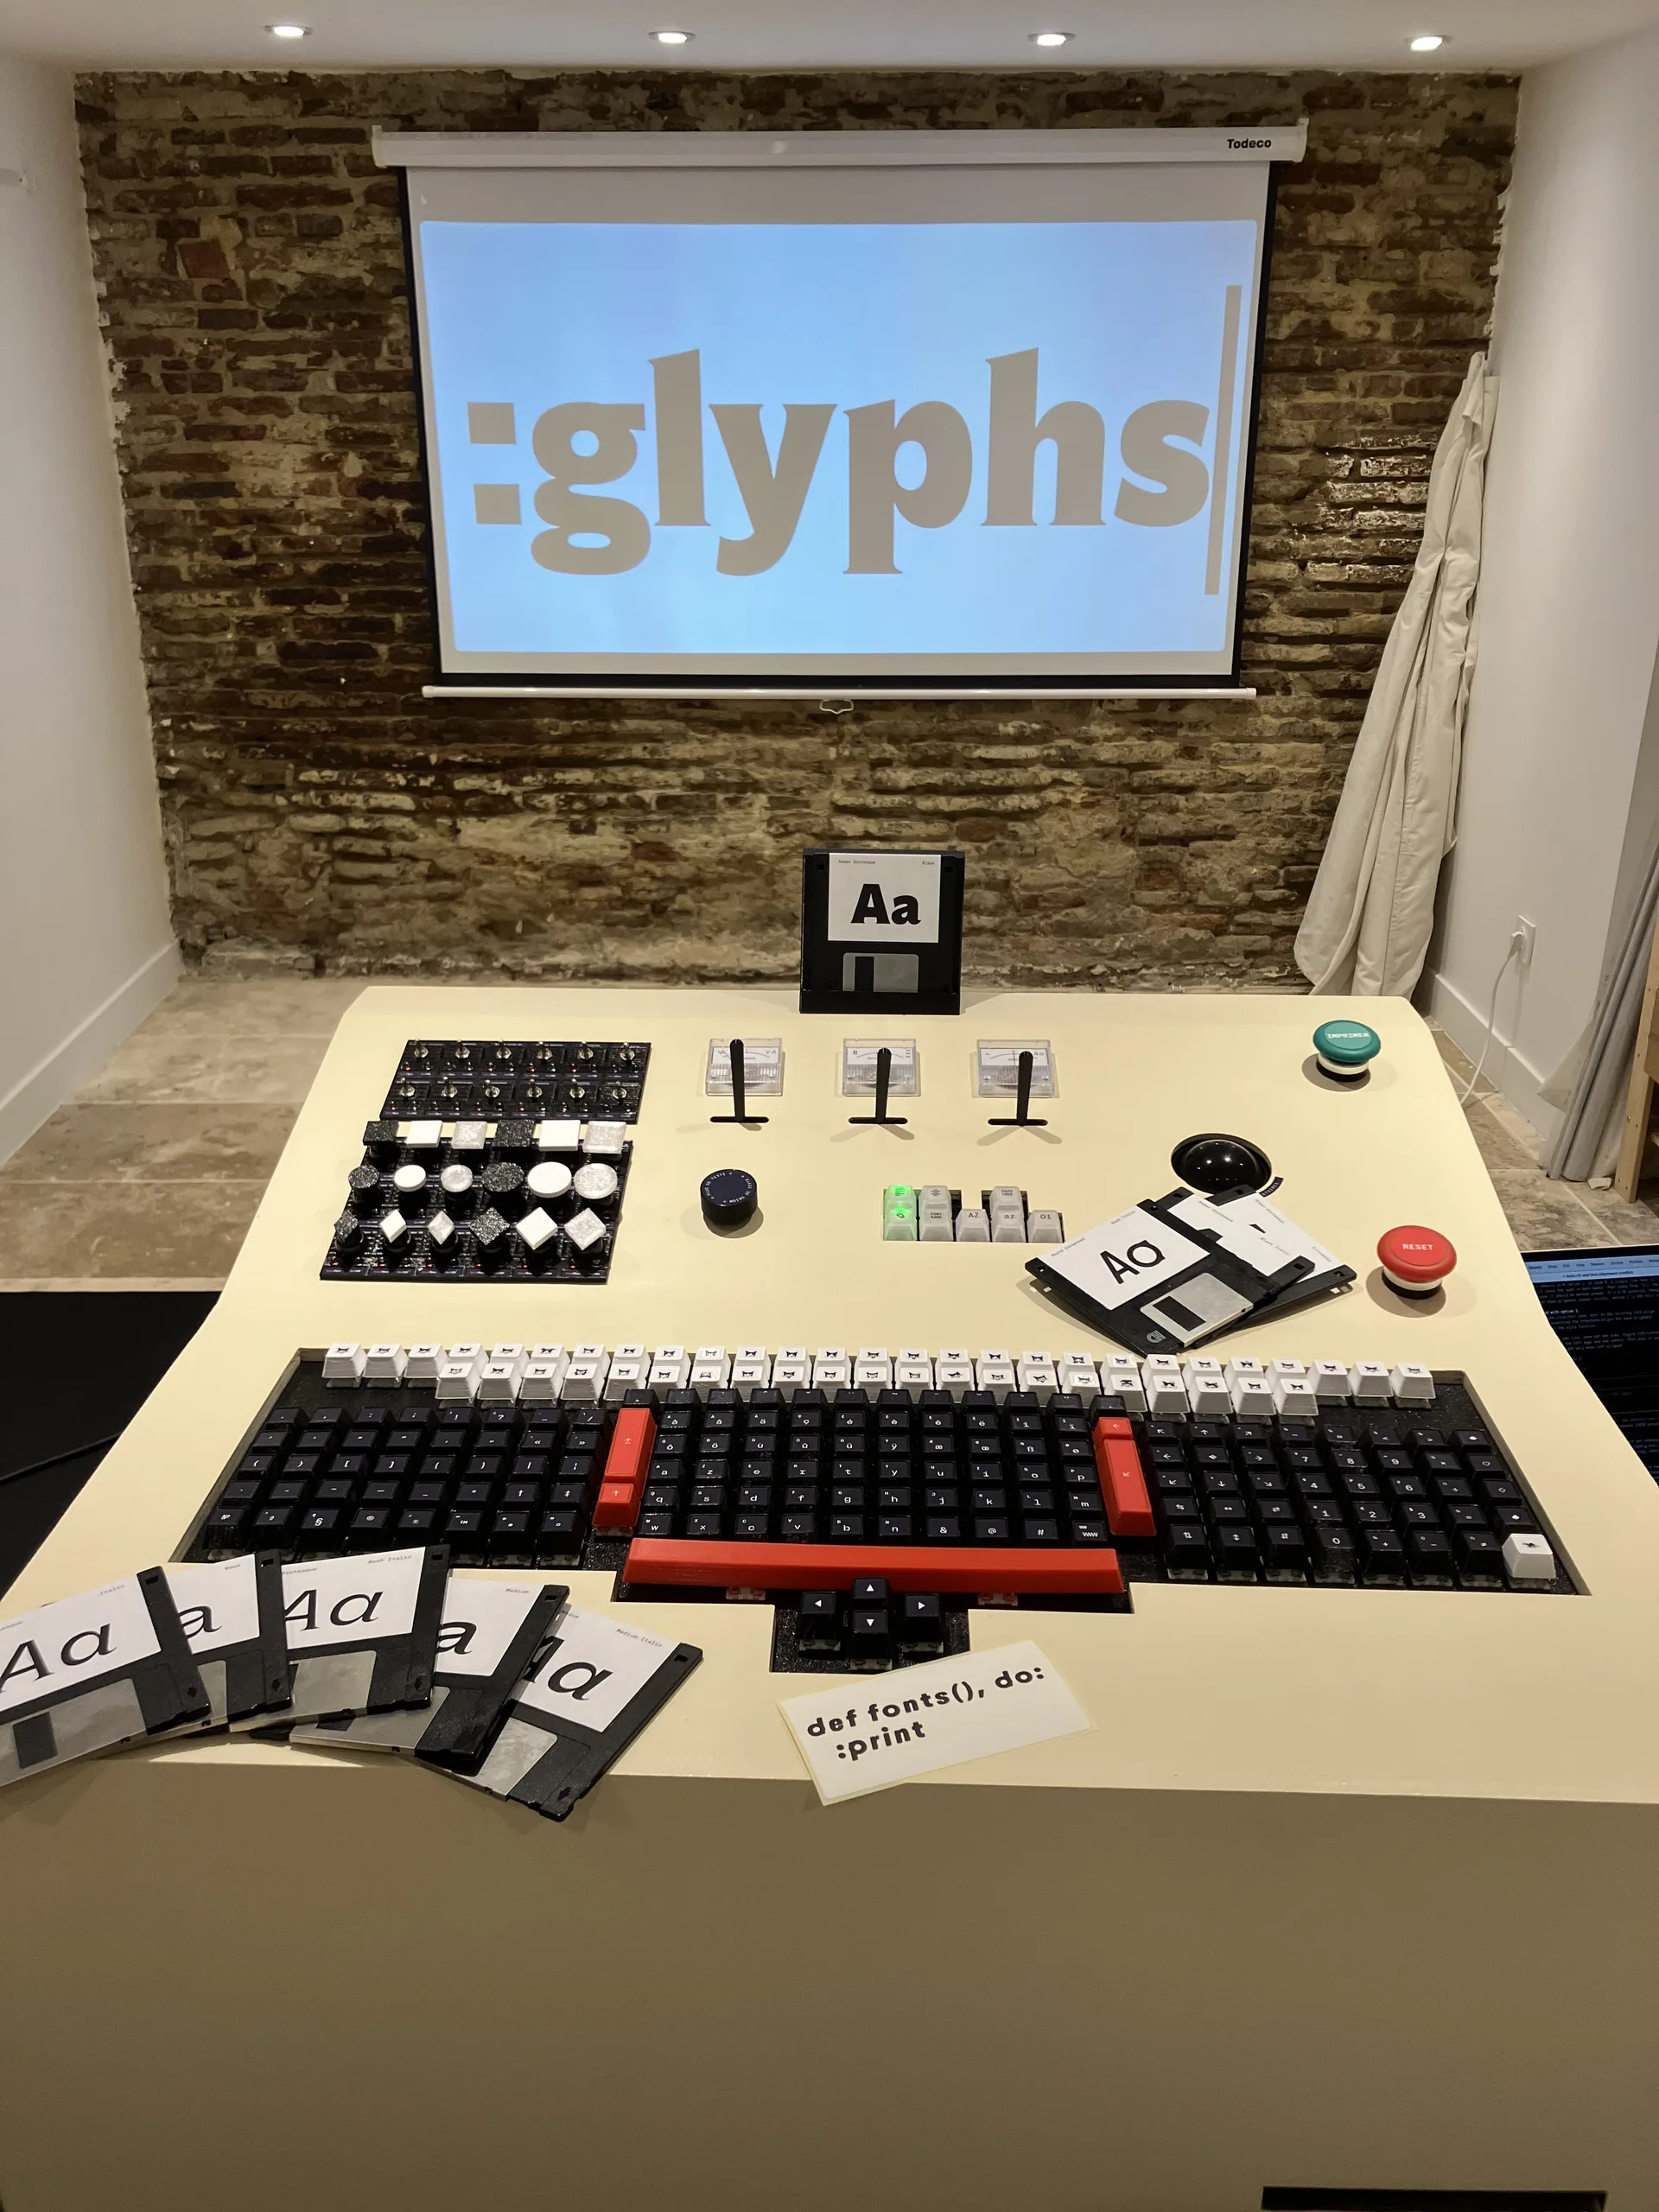
Tl;dr : we built with Bureau Brut a physical typeface testing device for an exhibition. This posts details how I fully designed and built the hardware part, my software design that uses a pure core dynamically wired to the world, and you can even try the system itself thanks to Popcorn, the erlang runtime compiled to webassembly by the folks at Software Mansion. Long post ahead ! The fun part to me was that I managed to be oblivious for some time, I thought I was building a simulator, while in fact it was the real system.
This was presented at Code BEAM Europe 2026 (slides, English PDF).
If my way of thinking could bring value to your team, don’t hesitate to contact me as I am looking for a long-term contract (of course my preferred space would be close to the BEAM, but I’m looking to actively think hard with people deep in their domain). Current availability ~20 weekly hours.
TOC :
- Why a physical type tester ?
- The machine, dubbed “the brutator”
- Why bother with a system simulation
- Previous little simulators
- Where does complexity go?
- The software bridge doesn’t know its purpose either
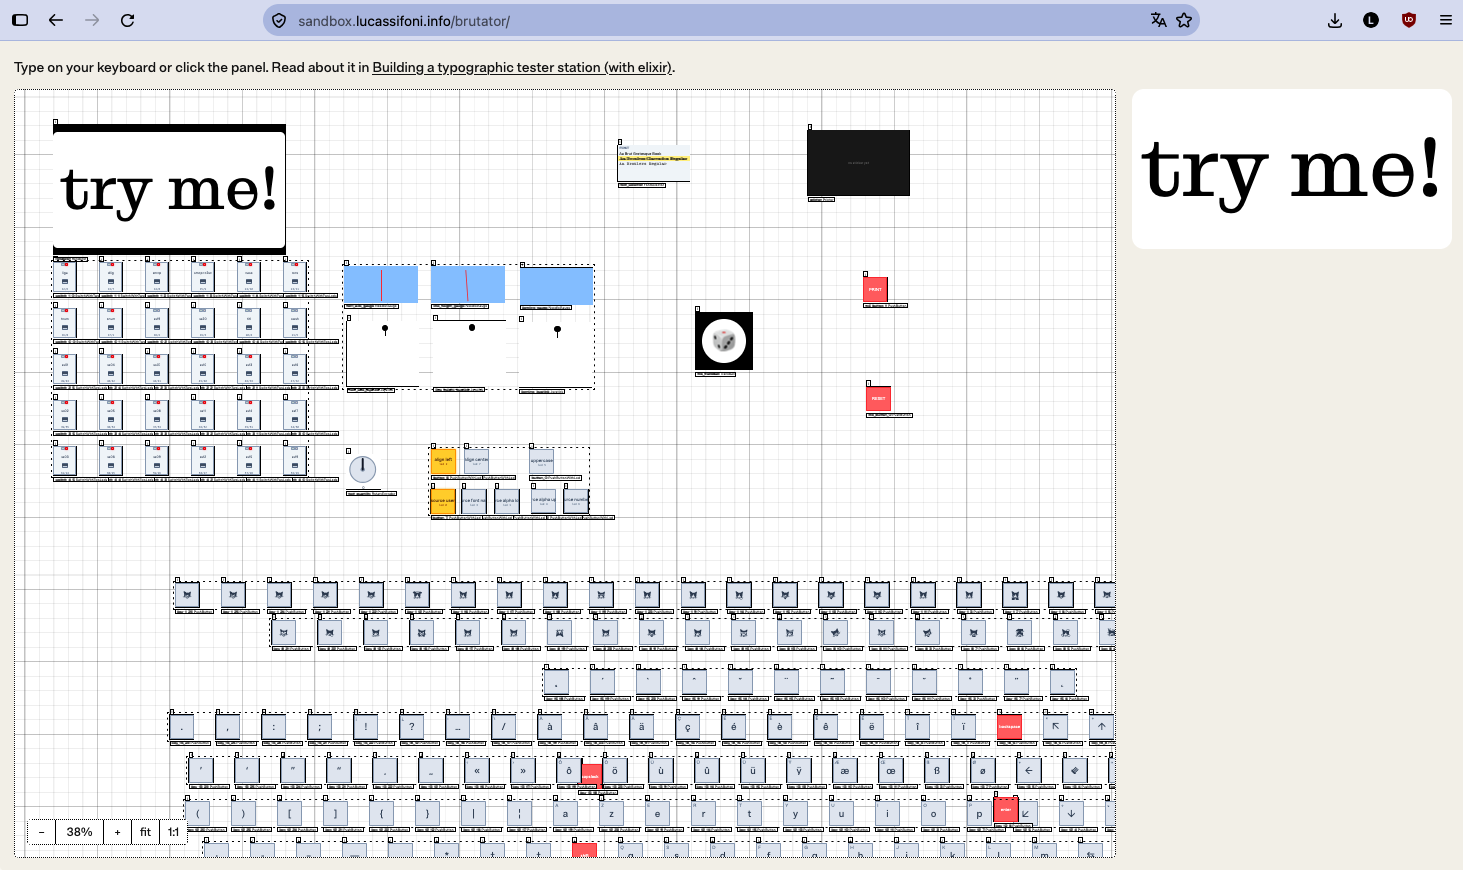
- Try it here
Why a physical type tester ?
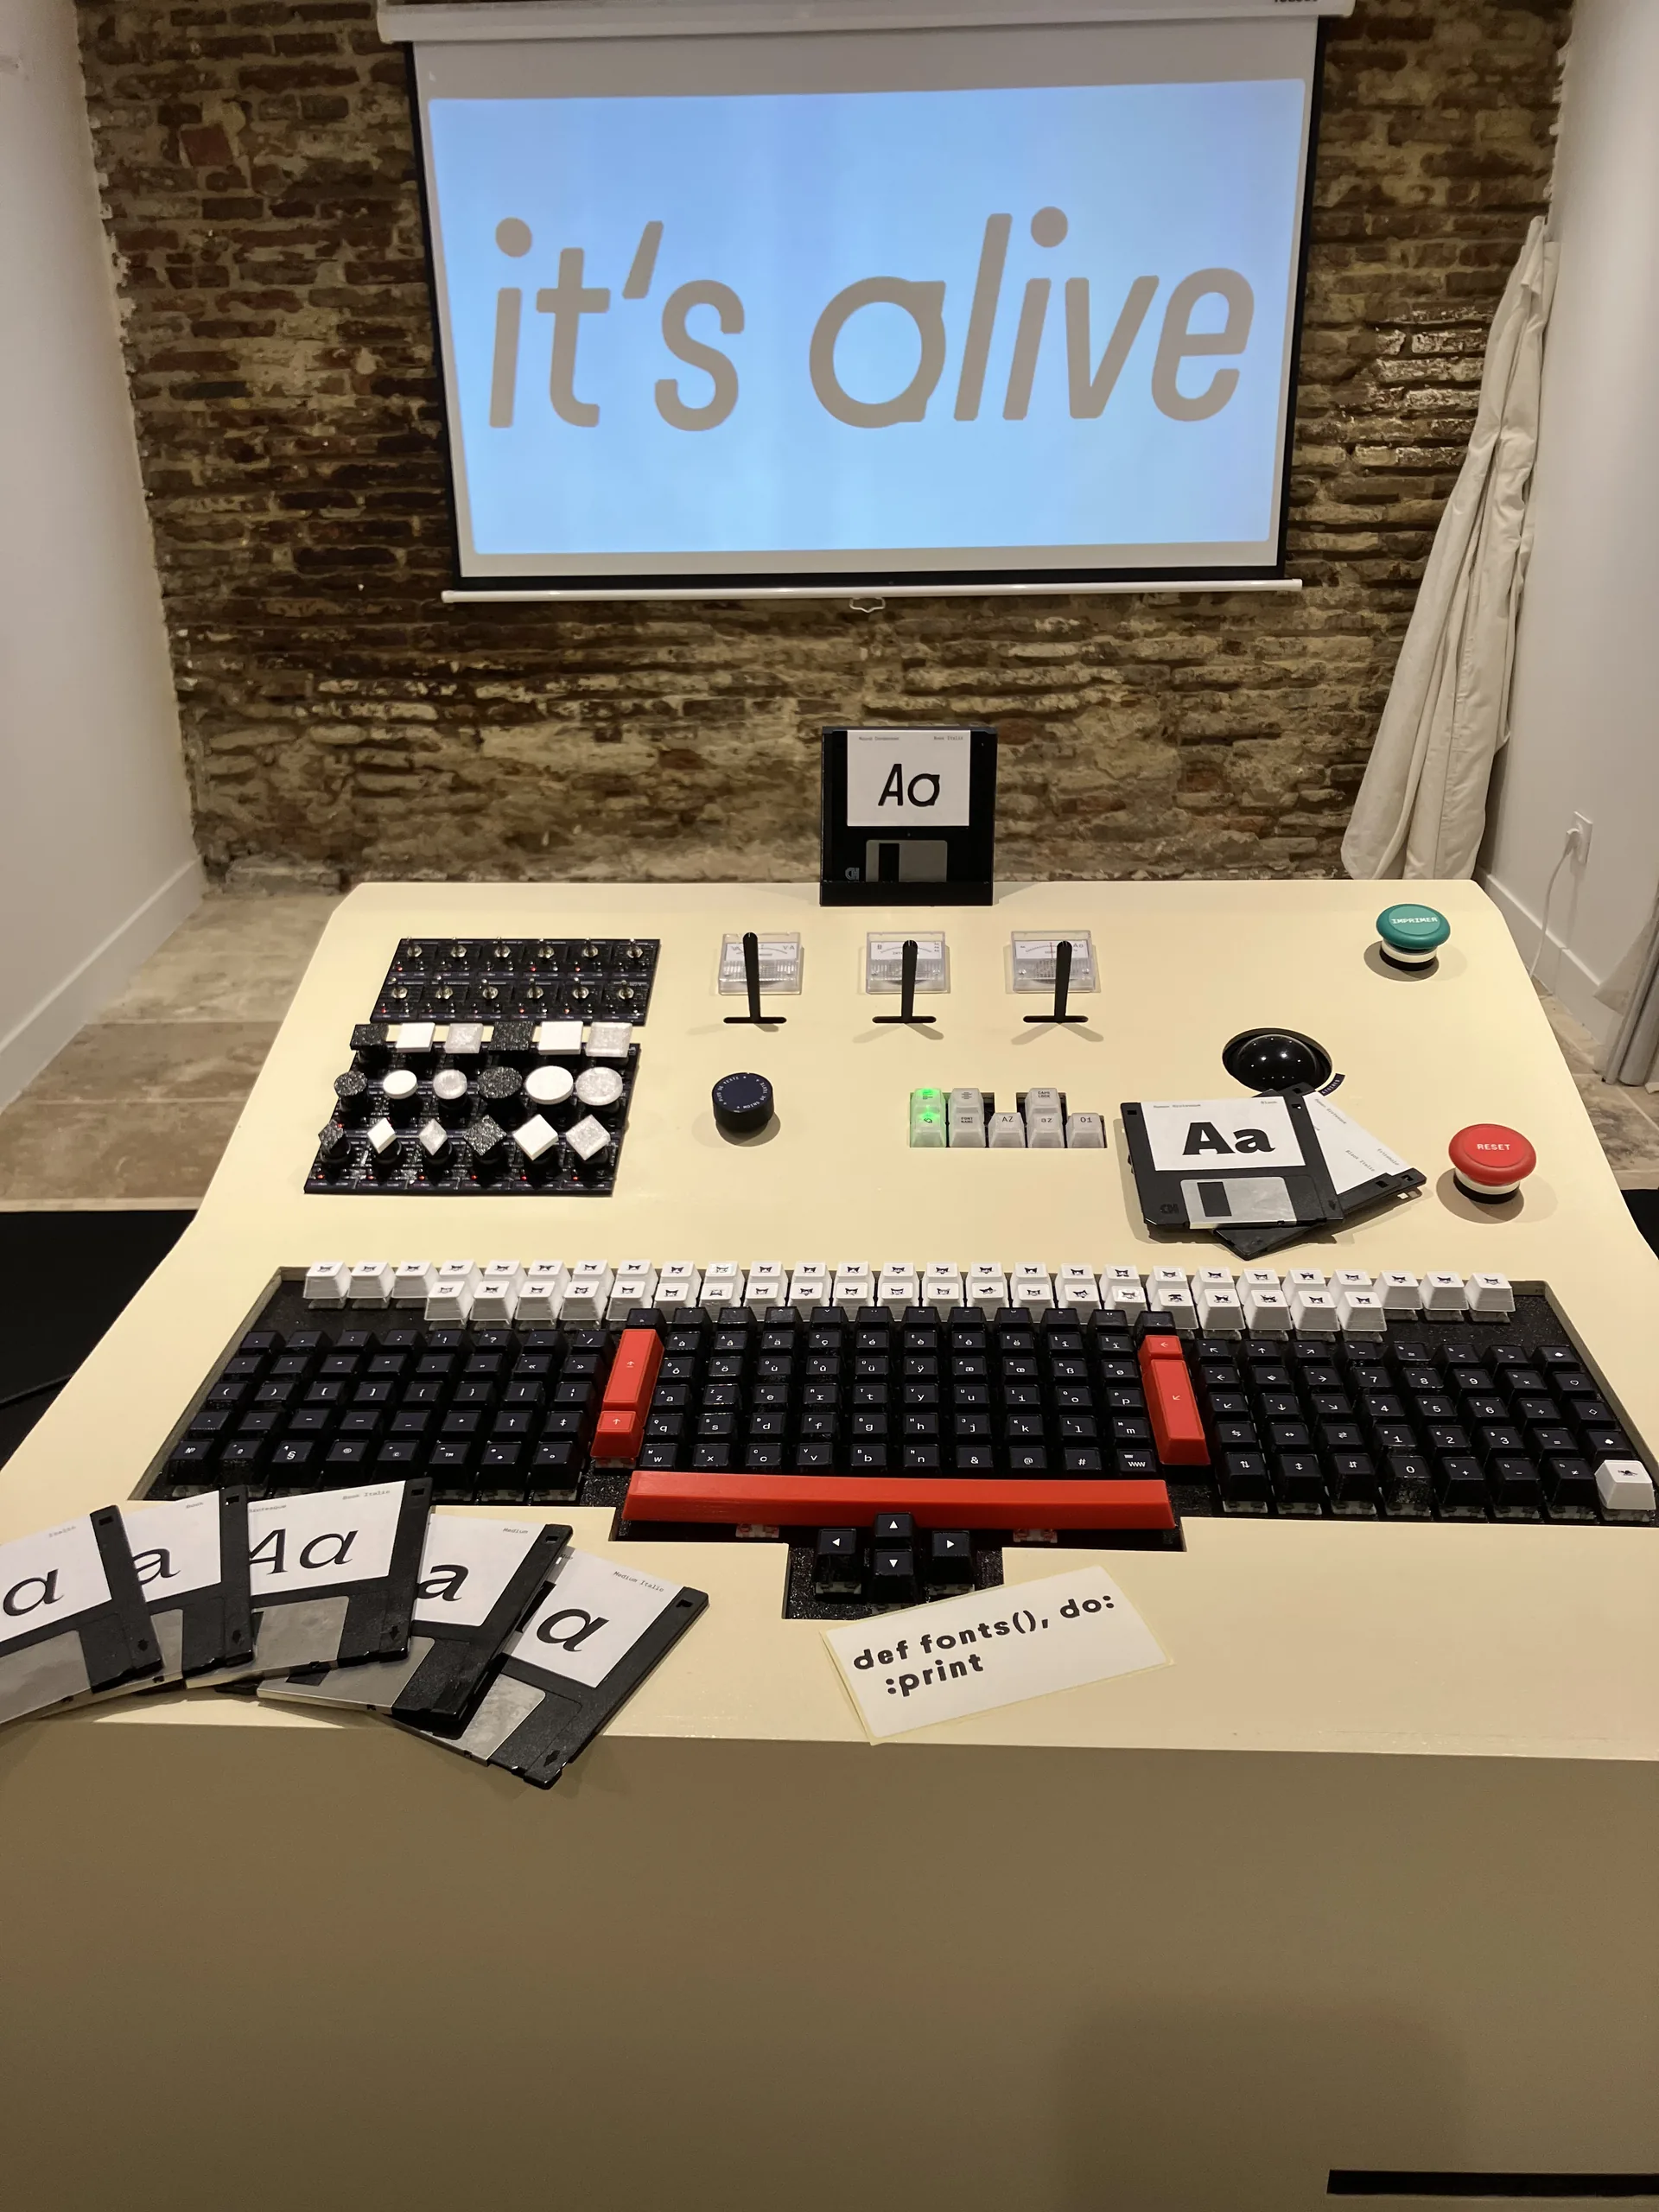
Bureau Brut, a type foundry, asked me to imagine a type tester for a week-long exhibition-party to celebrate the 10 years of their type foundry. Around 500 people used the machine and printed nearly 2000 souvenir stickers in this week. I’m thankful for this commission because they could just have set up a computer showing their website and people could have used the type testers pictured below, but they were ambitious in giving visitors a joyful experience and trusted me to come up with a tangible (and no-maintenance) digital installation.
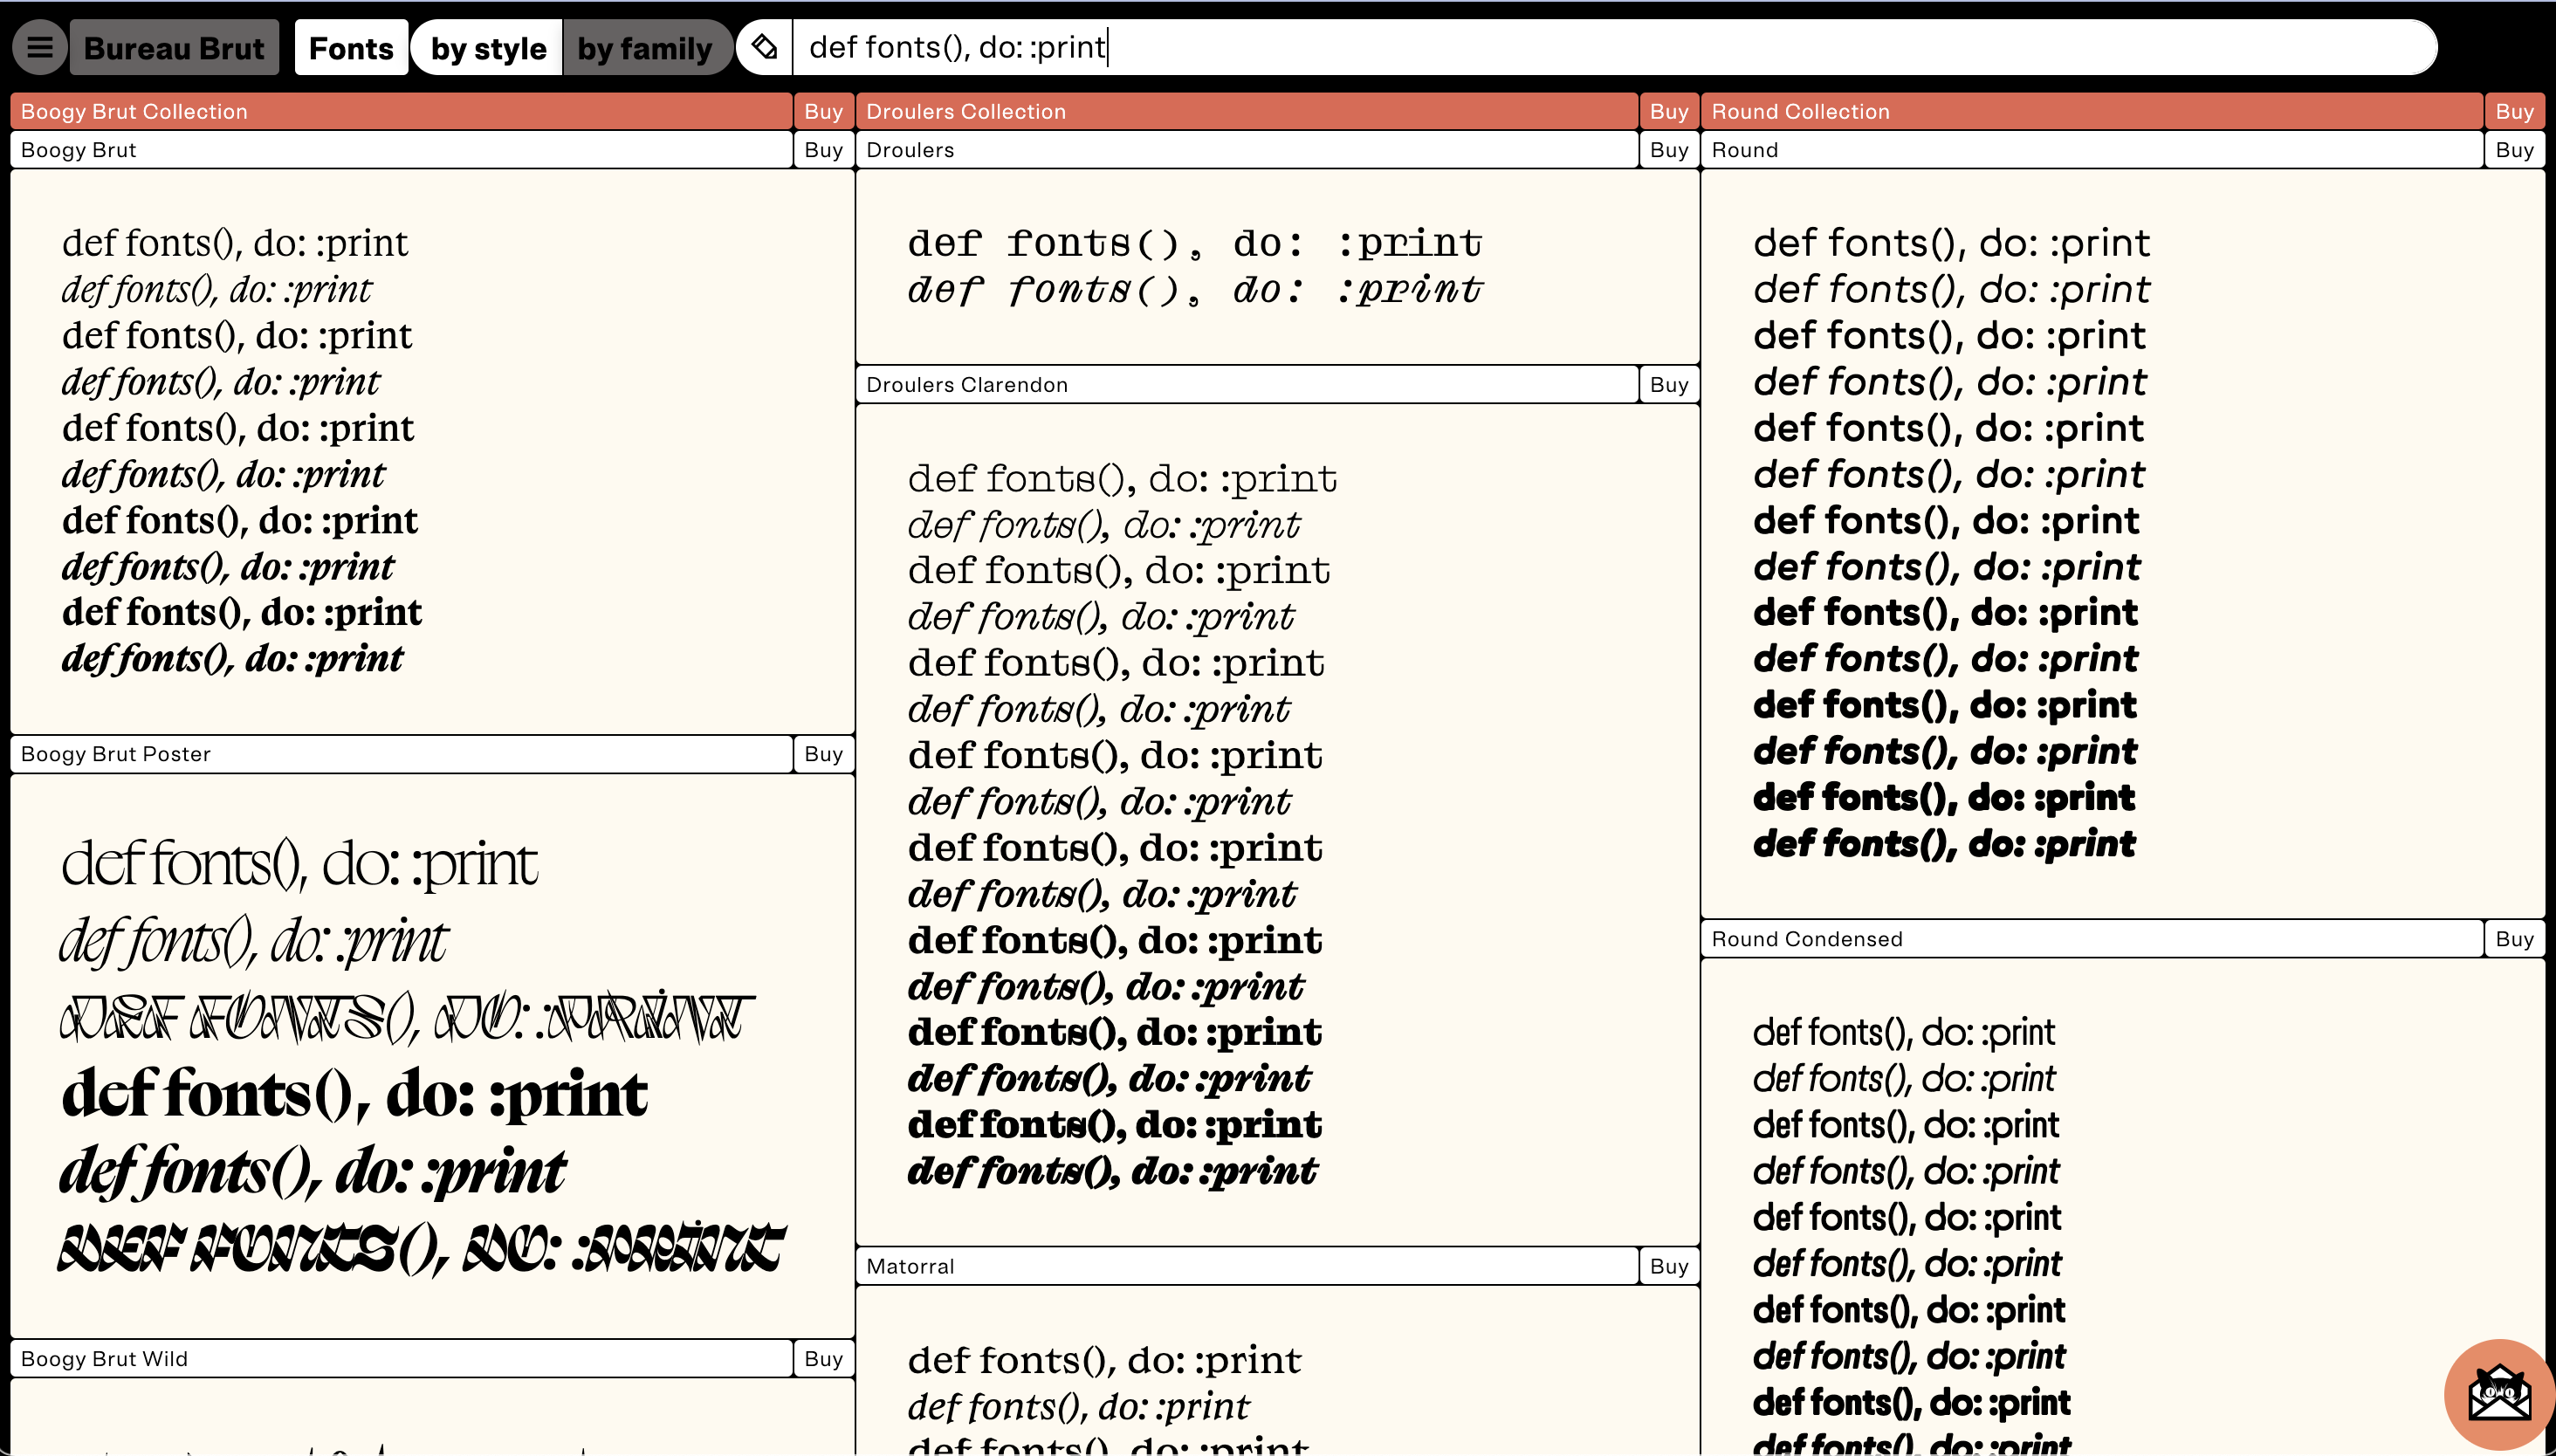
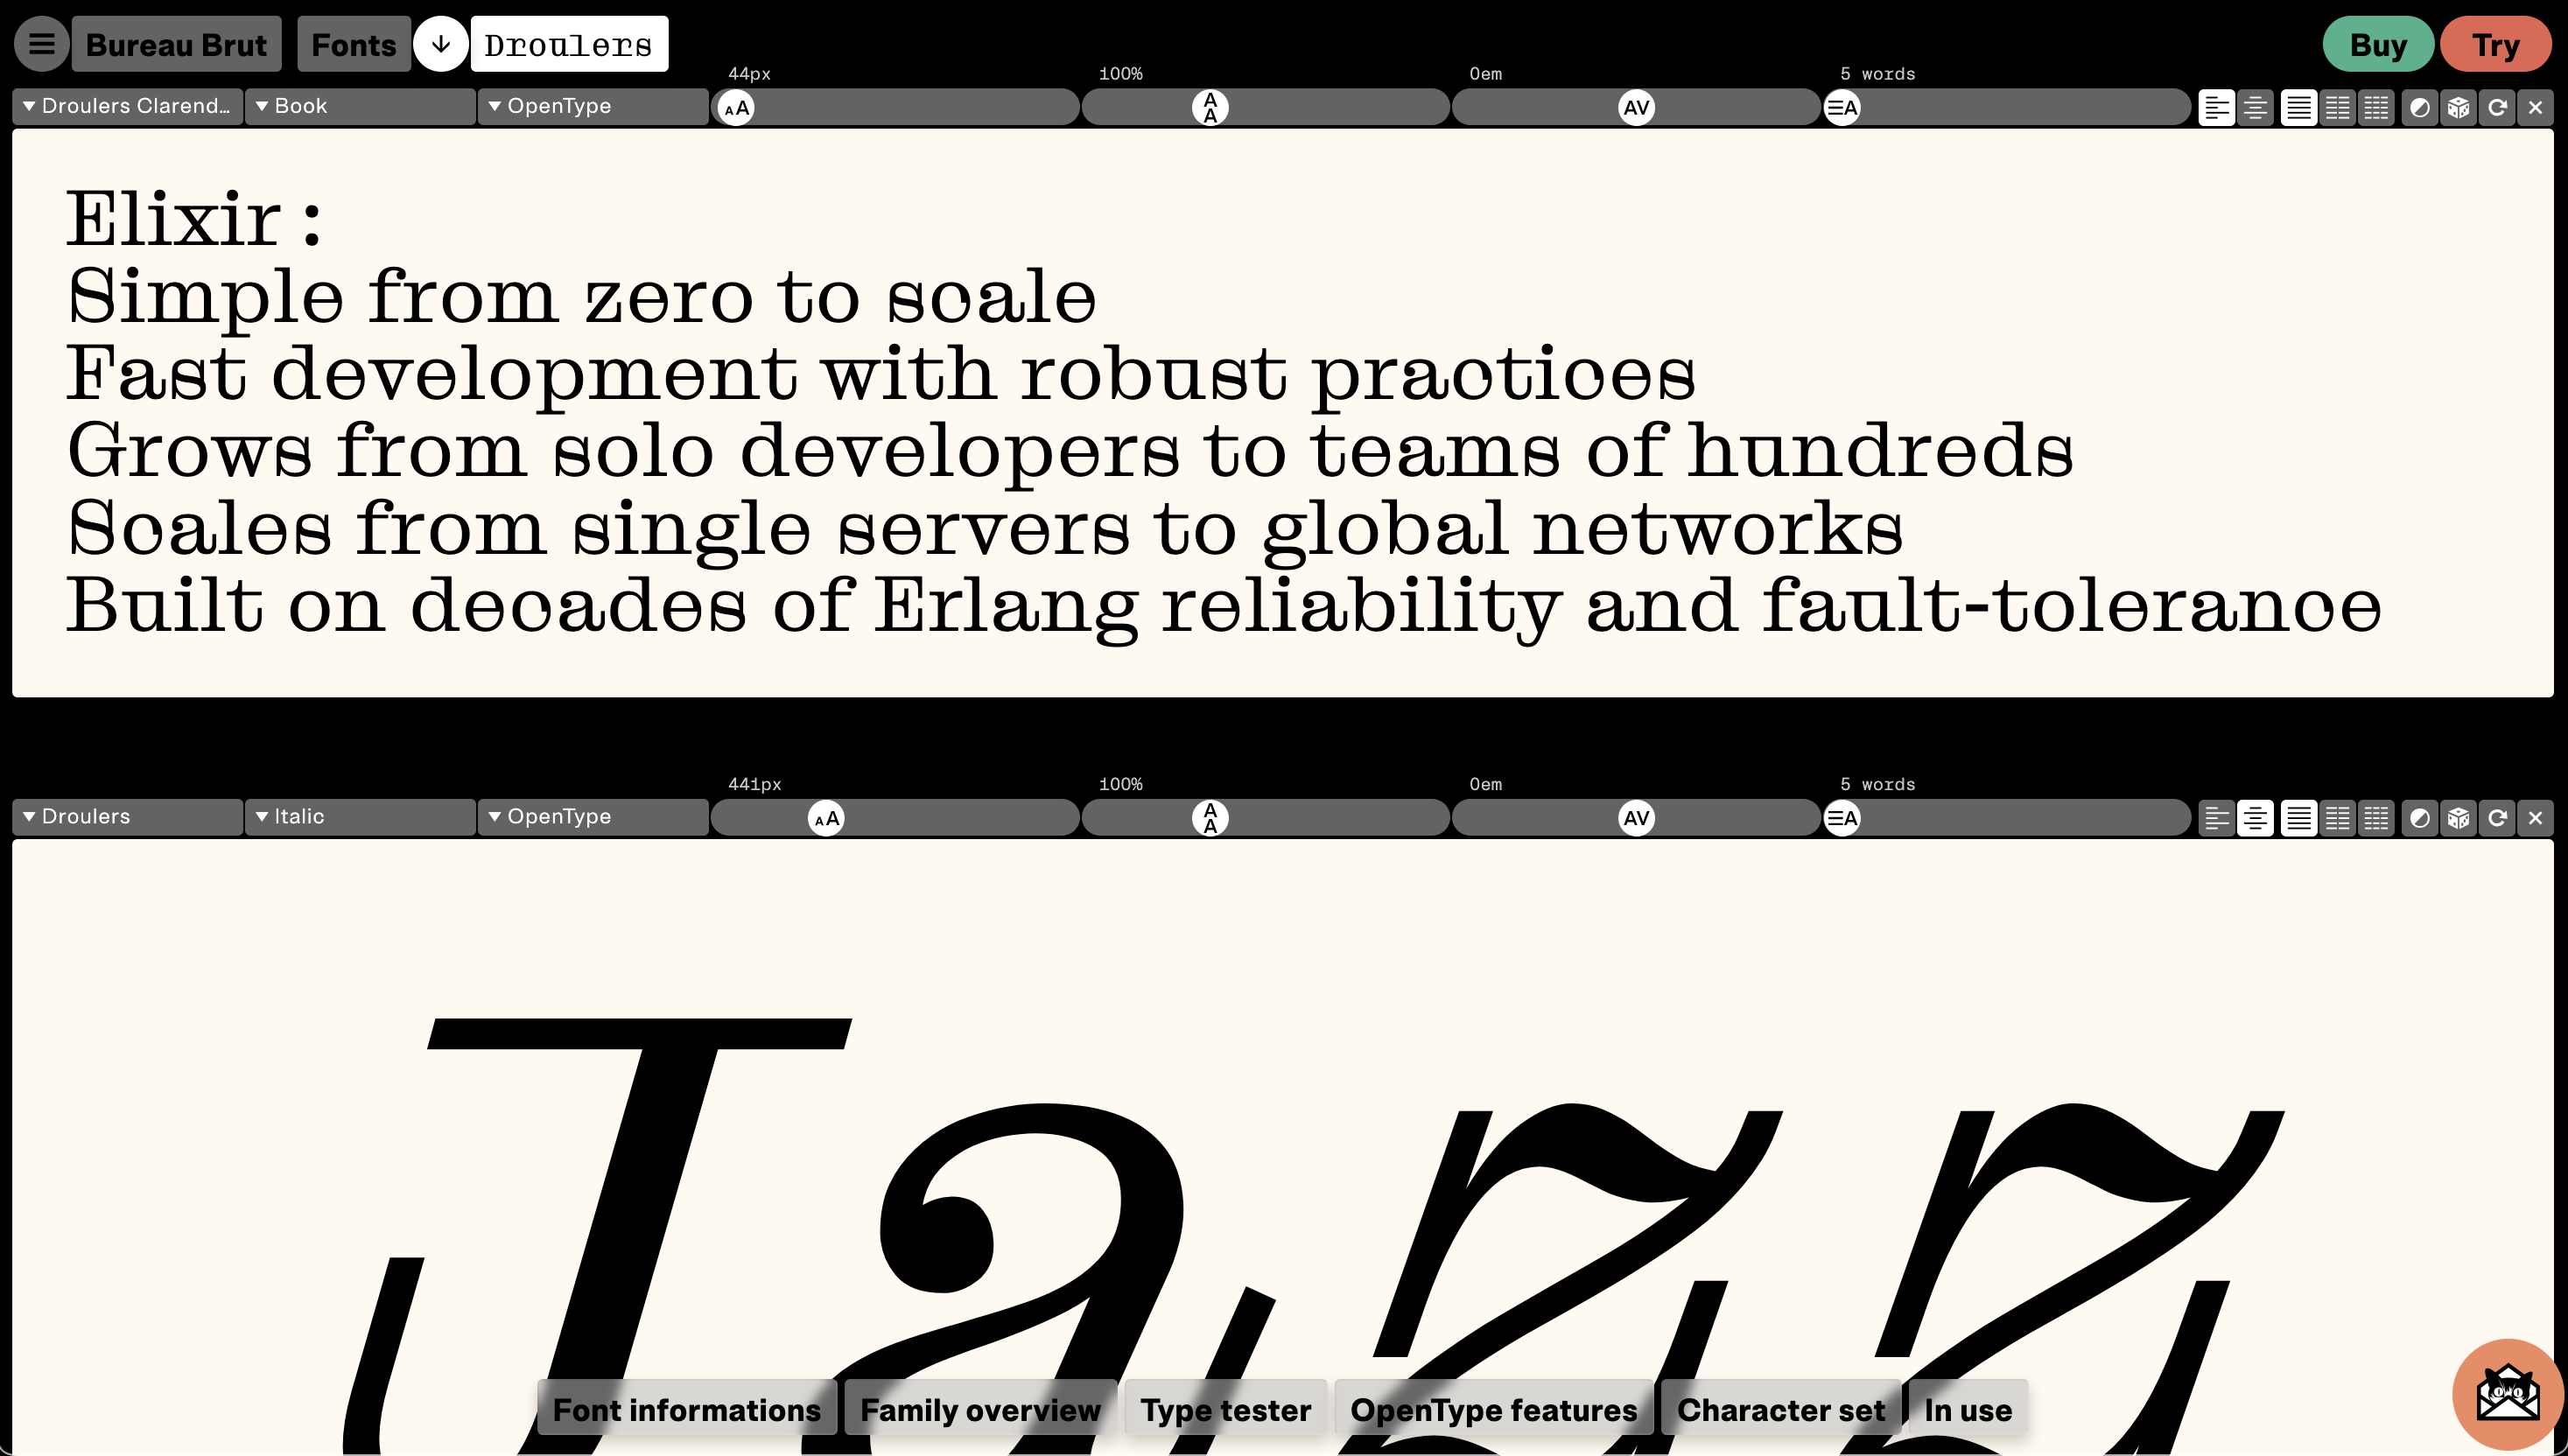
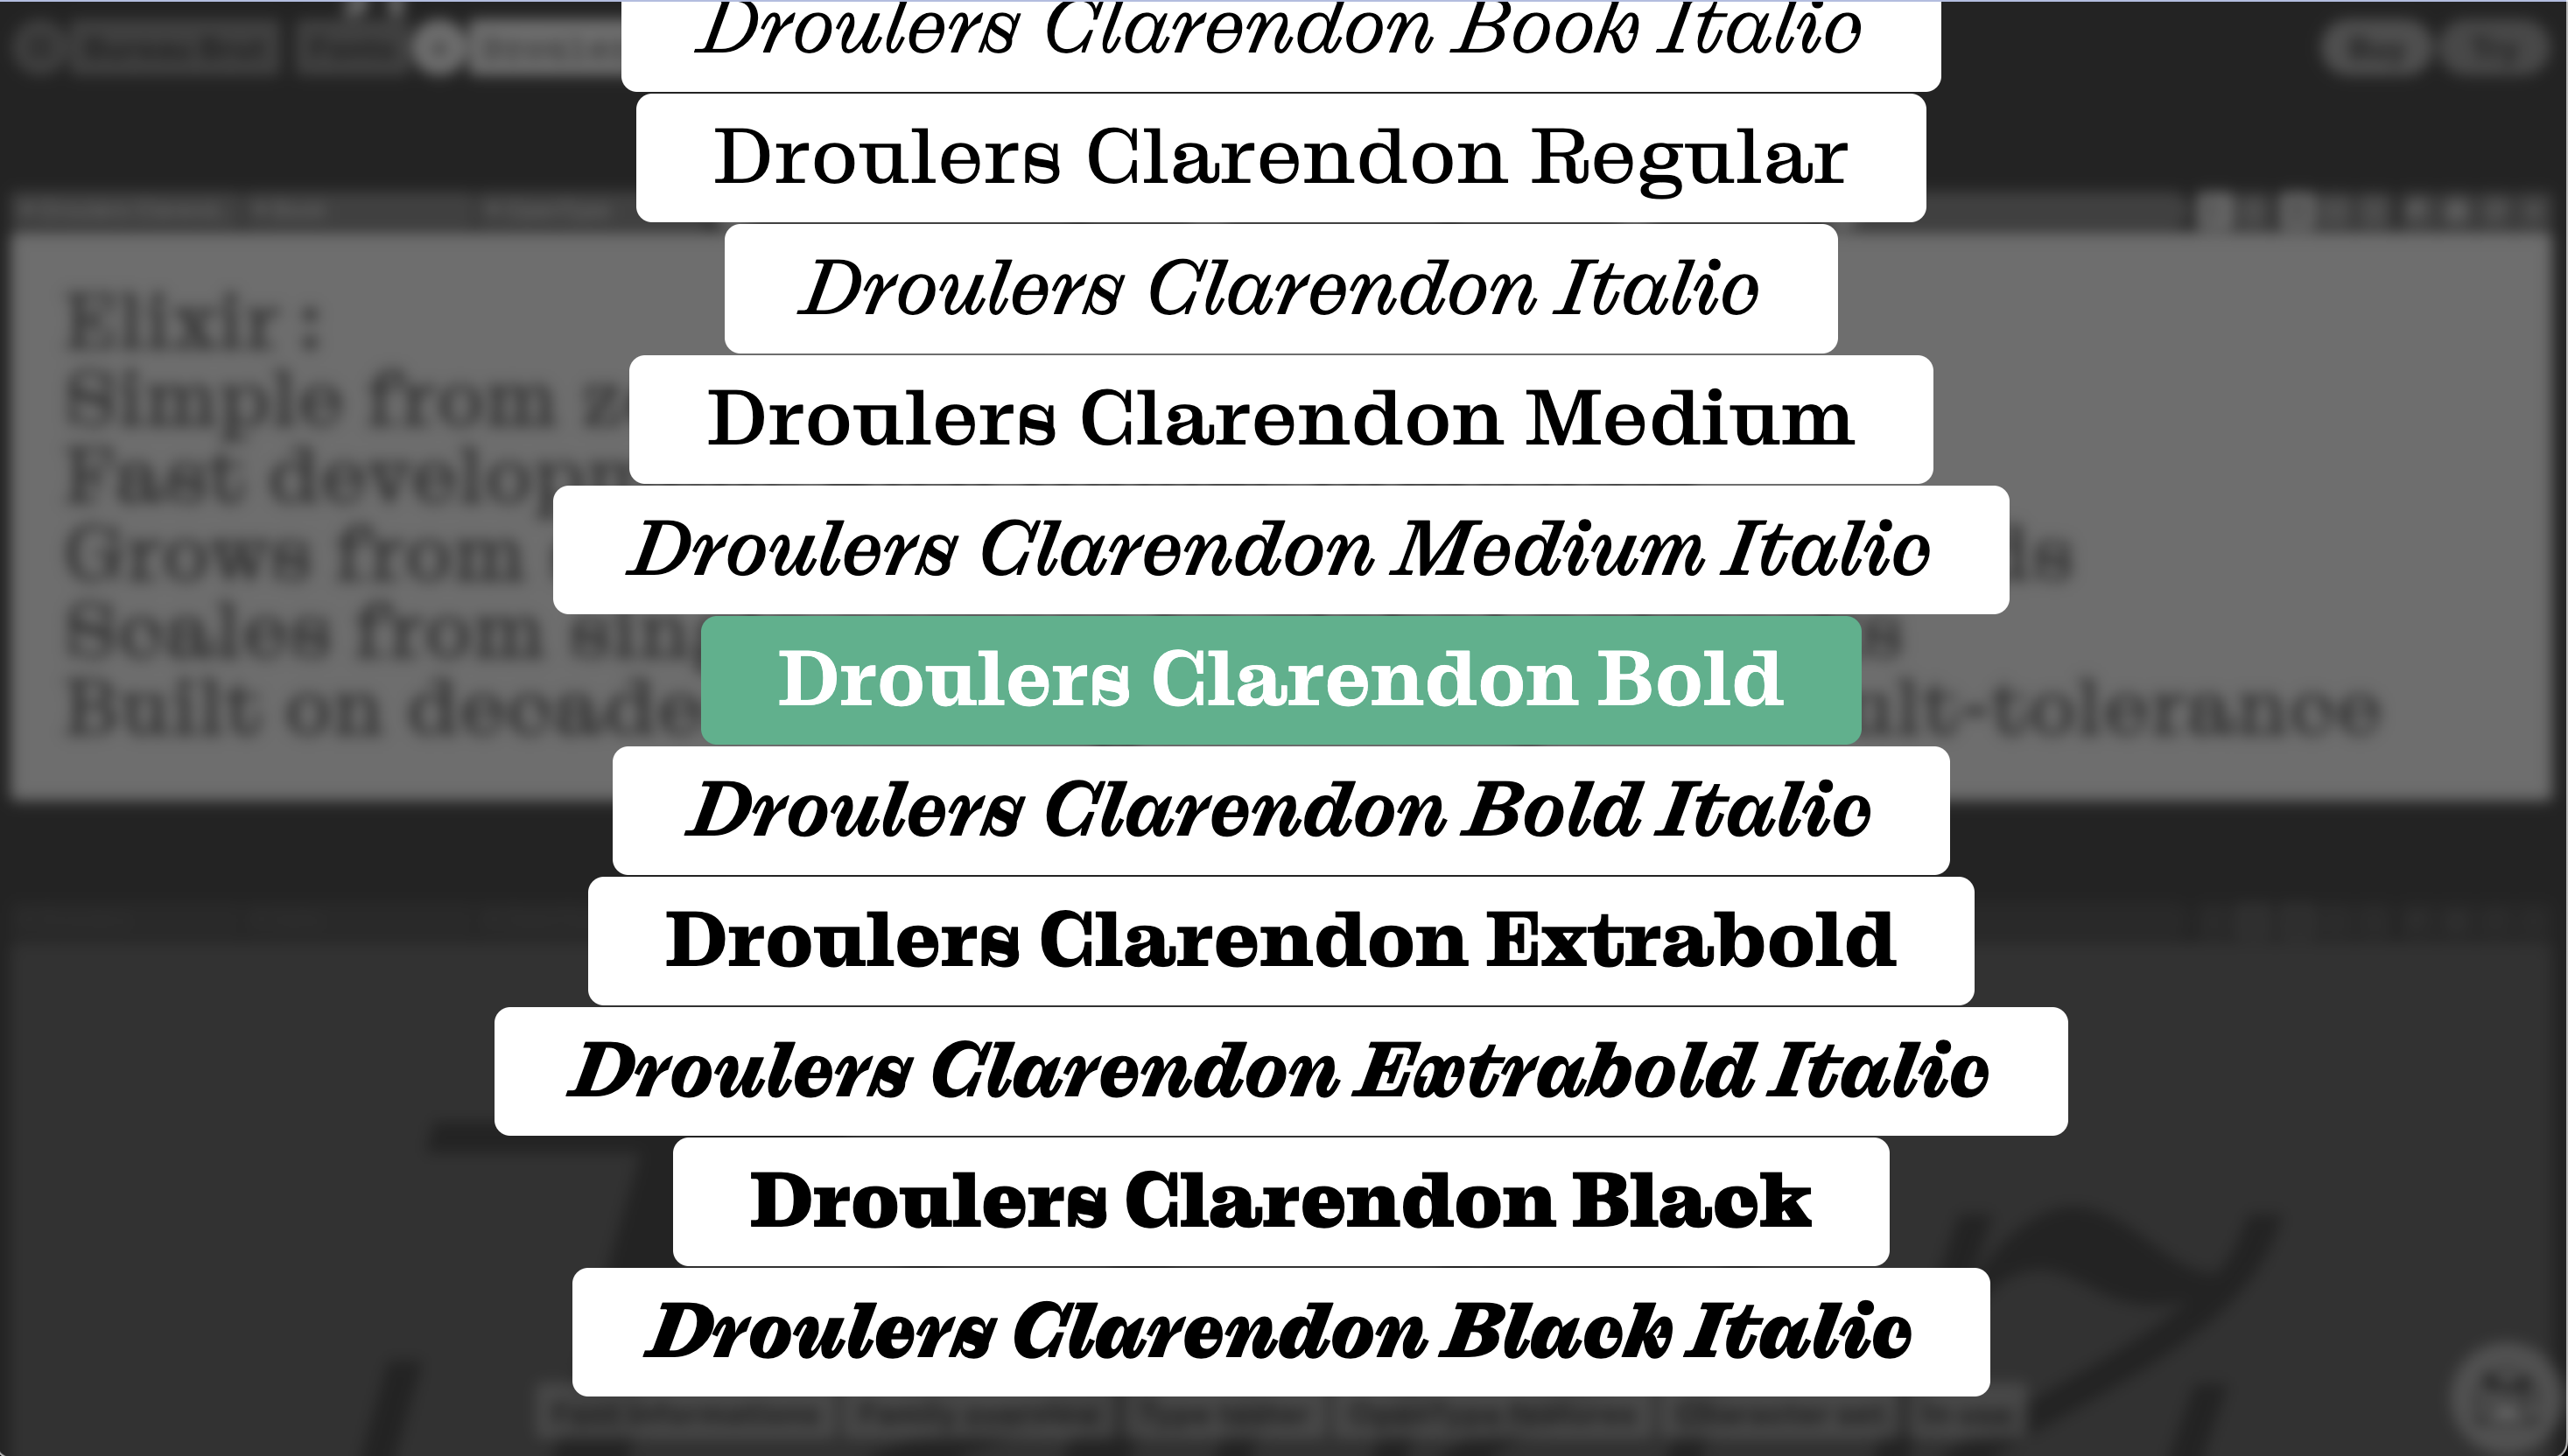
The type testers on the bureau brut website
Moreso, they claim themselves of the heritage of William Morris, who wrote a lot about arts and craft during the industrial revolution, and did not reject new techniques, but claimed the dignity of the maker lay partly in the ability to craft with joy, even if with machine aid. Does this resonate today ?
This guided the build a bit, and I set out to allow myself to build more than I would have imagined, doing everything from CAD to one-off circuit boards instead of ordering PCBs, which would have freed me of this manual labor. Given the tight deadline, this added control on the circuits was also quite welcome.
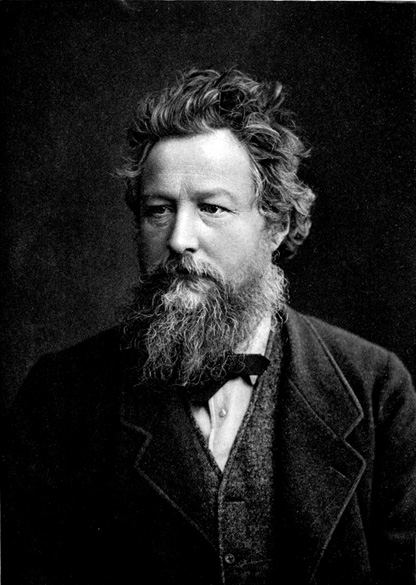
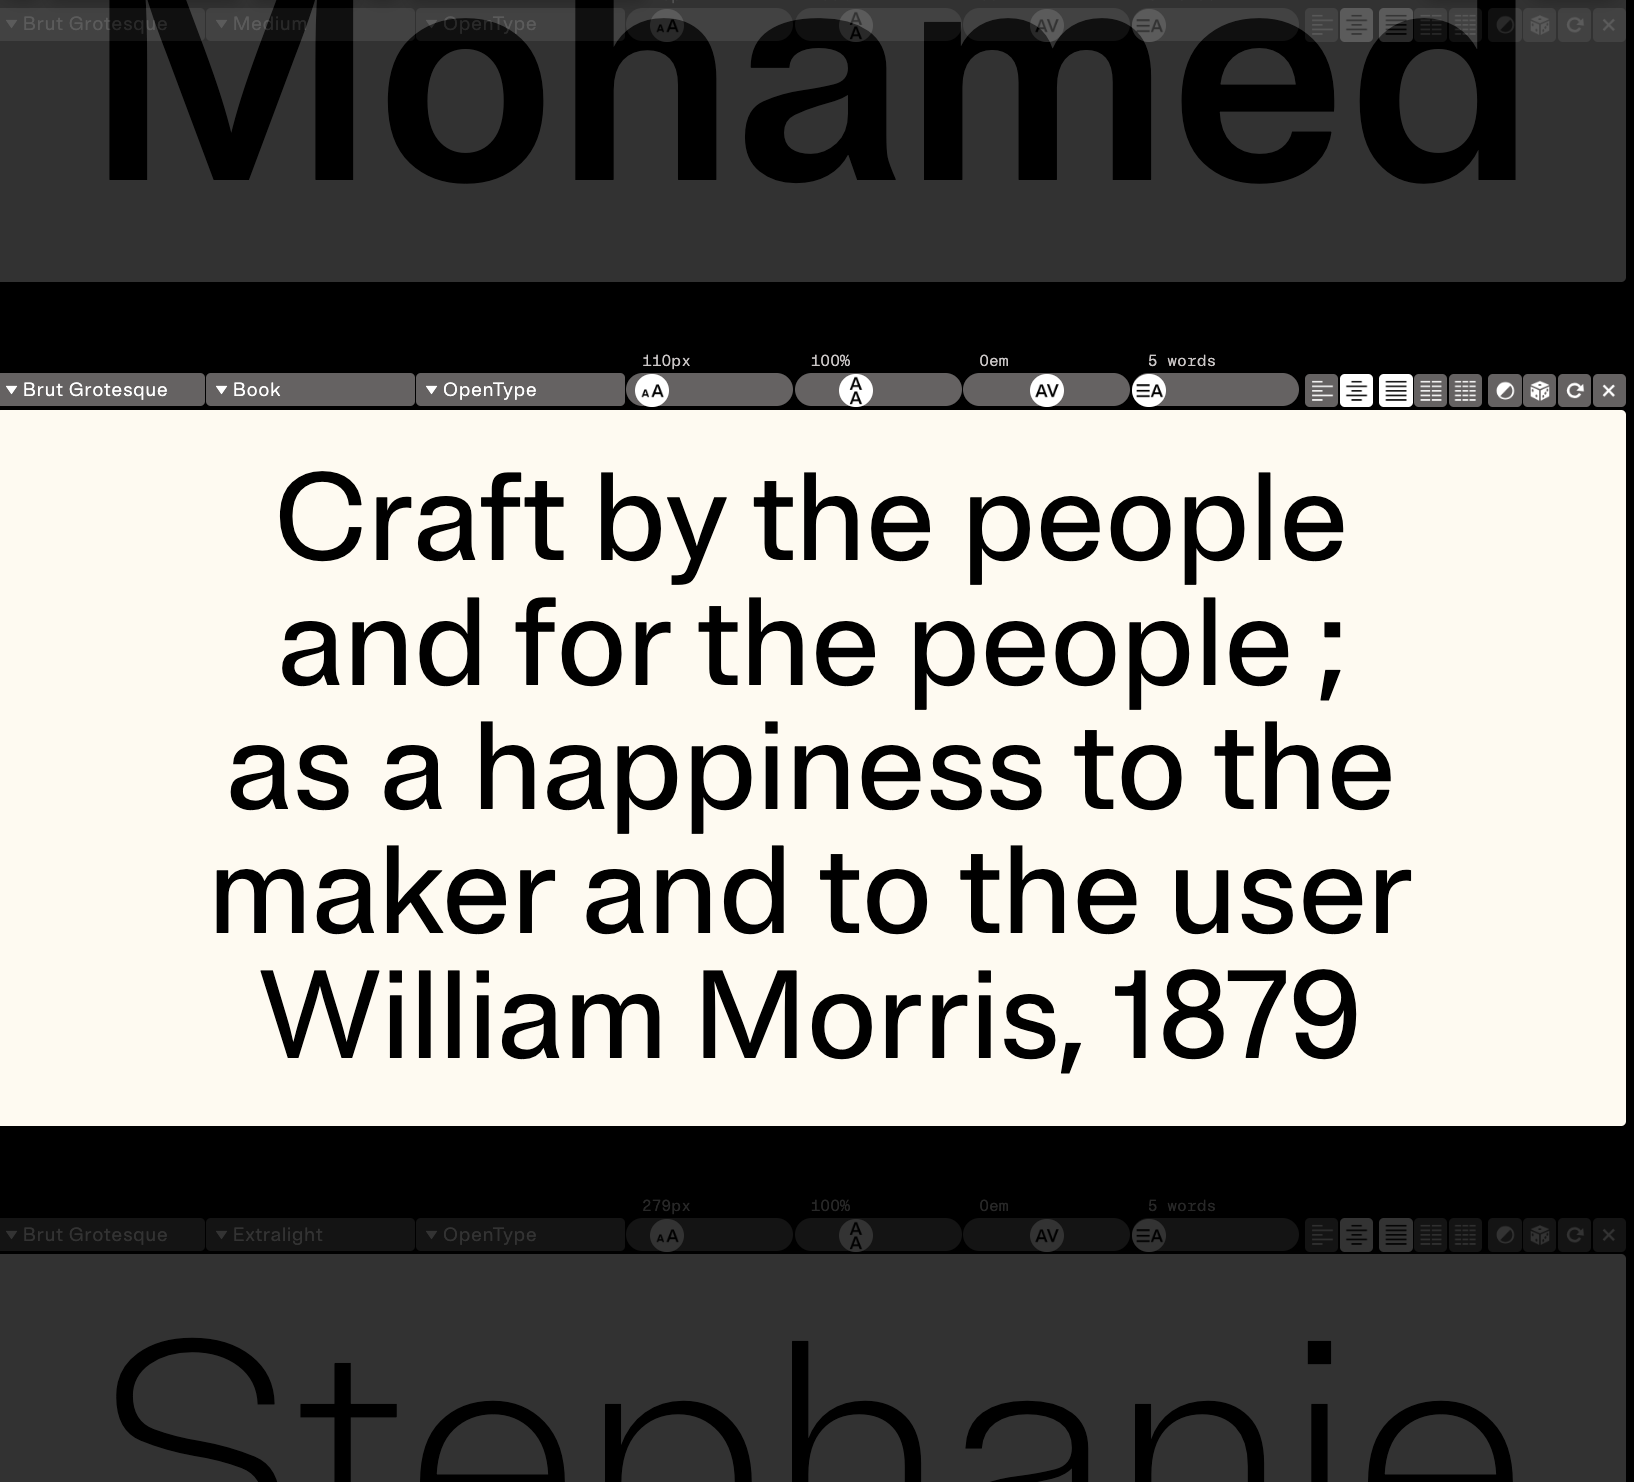
William Morris and his famous quote (replaced Arts by Craft here)
The machine, dubbed “the brutator”
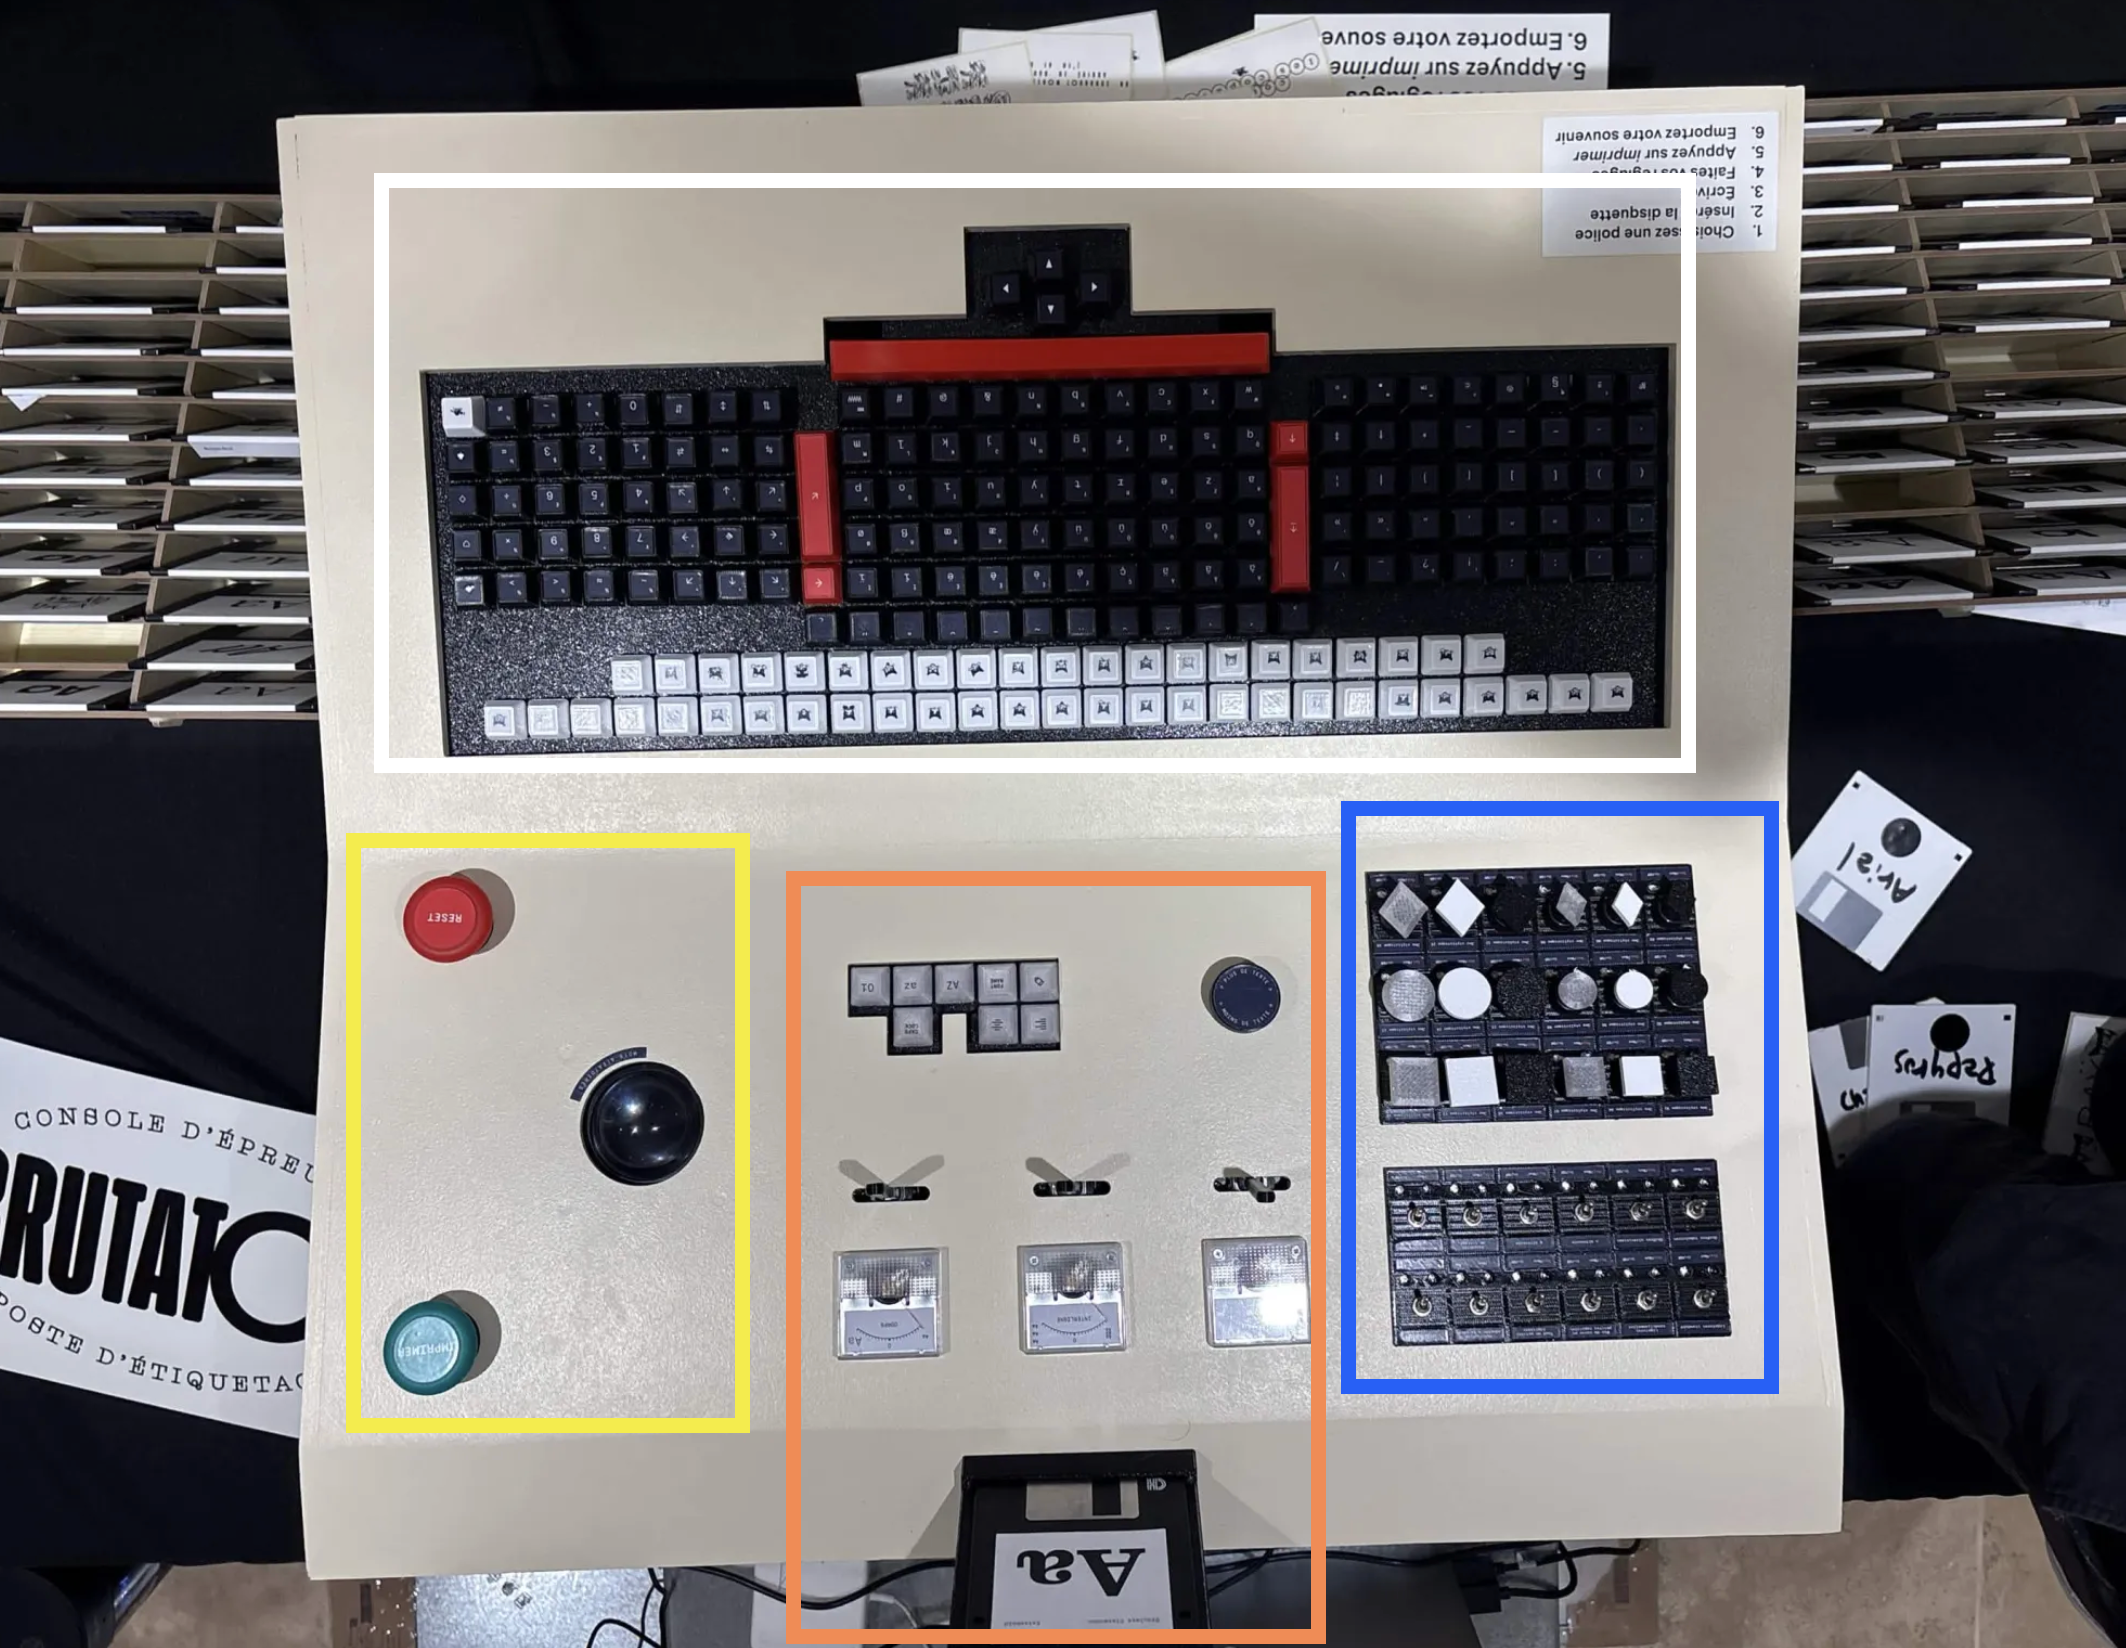
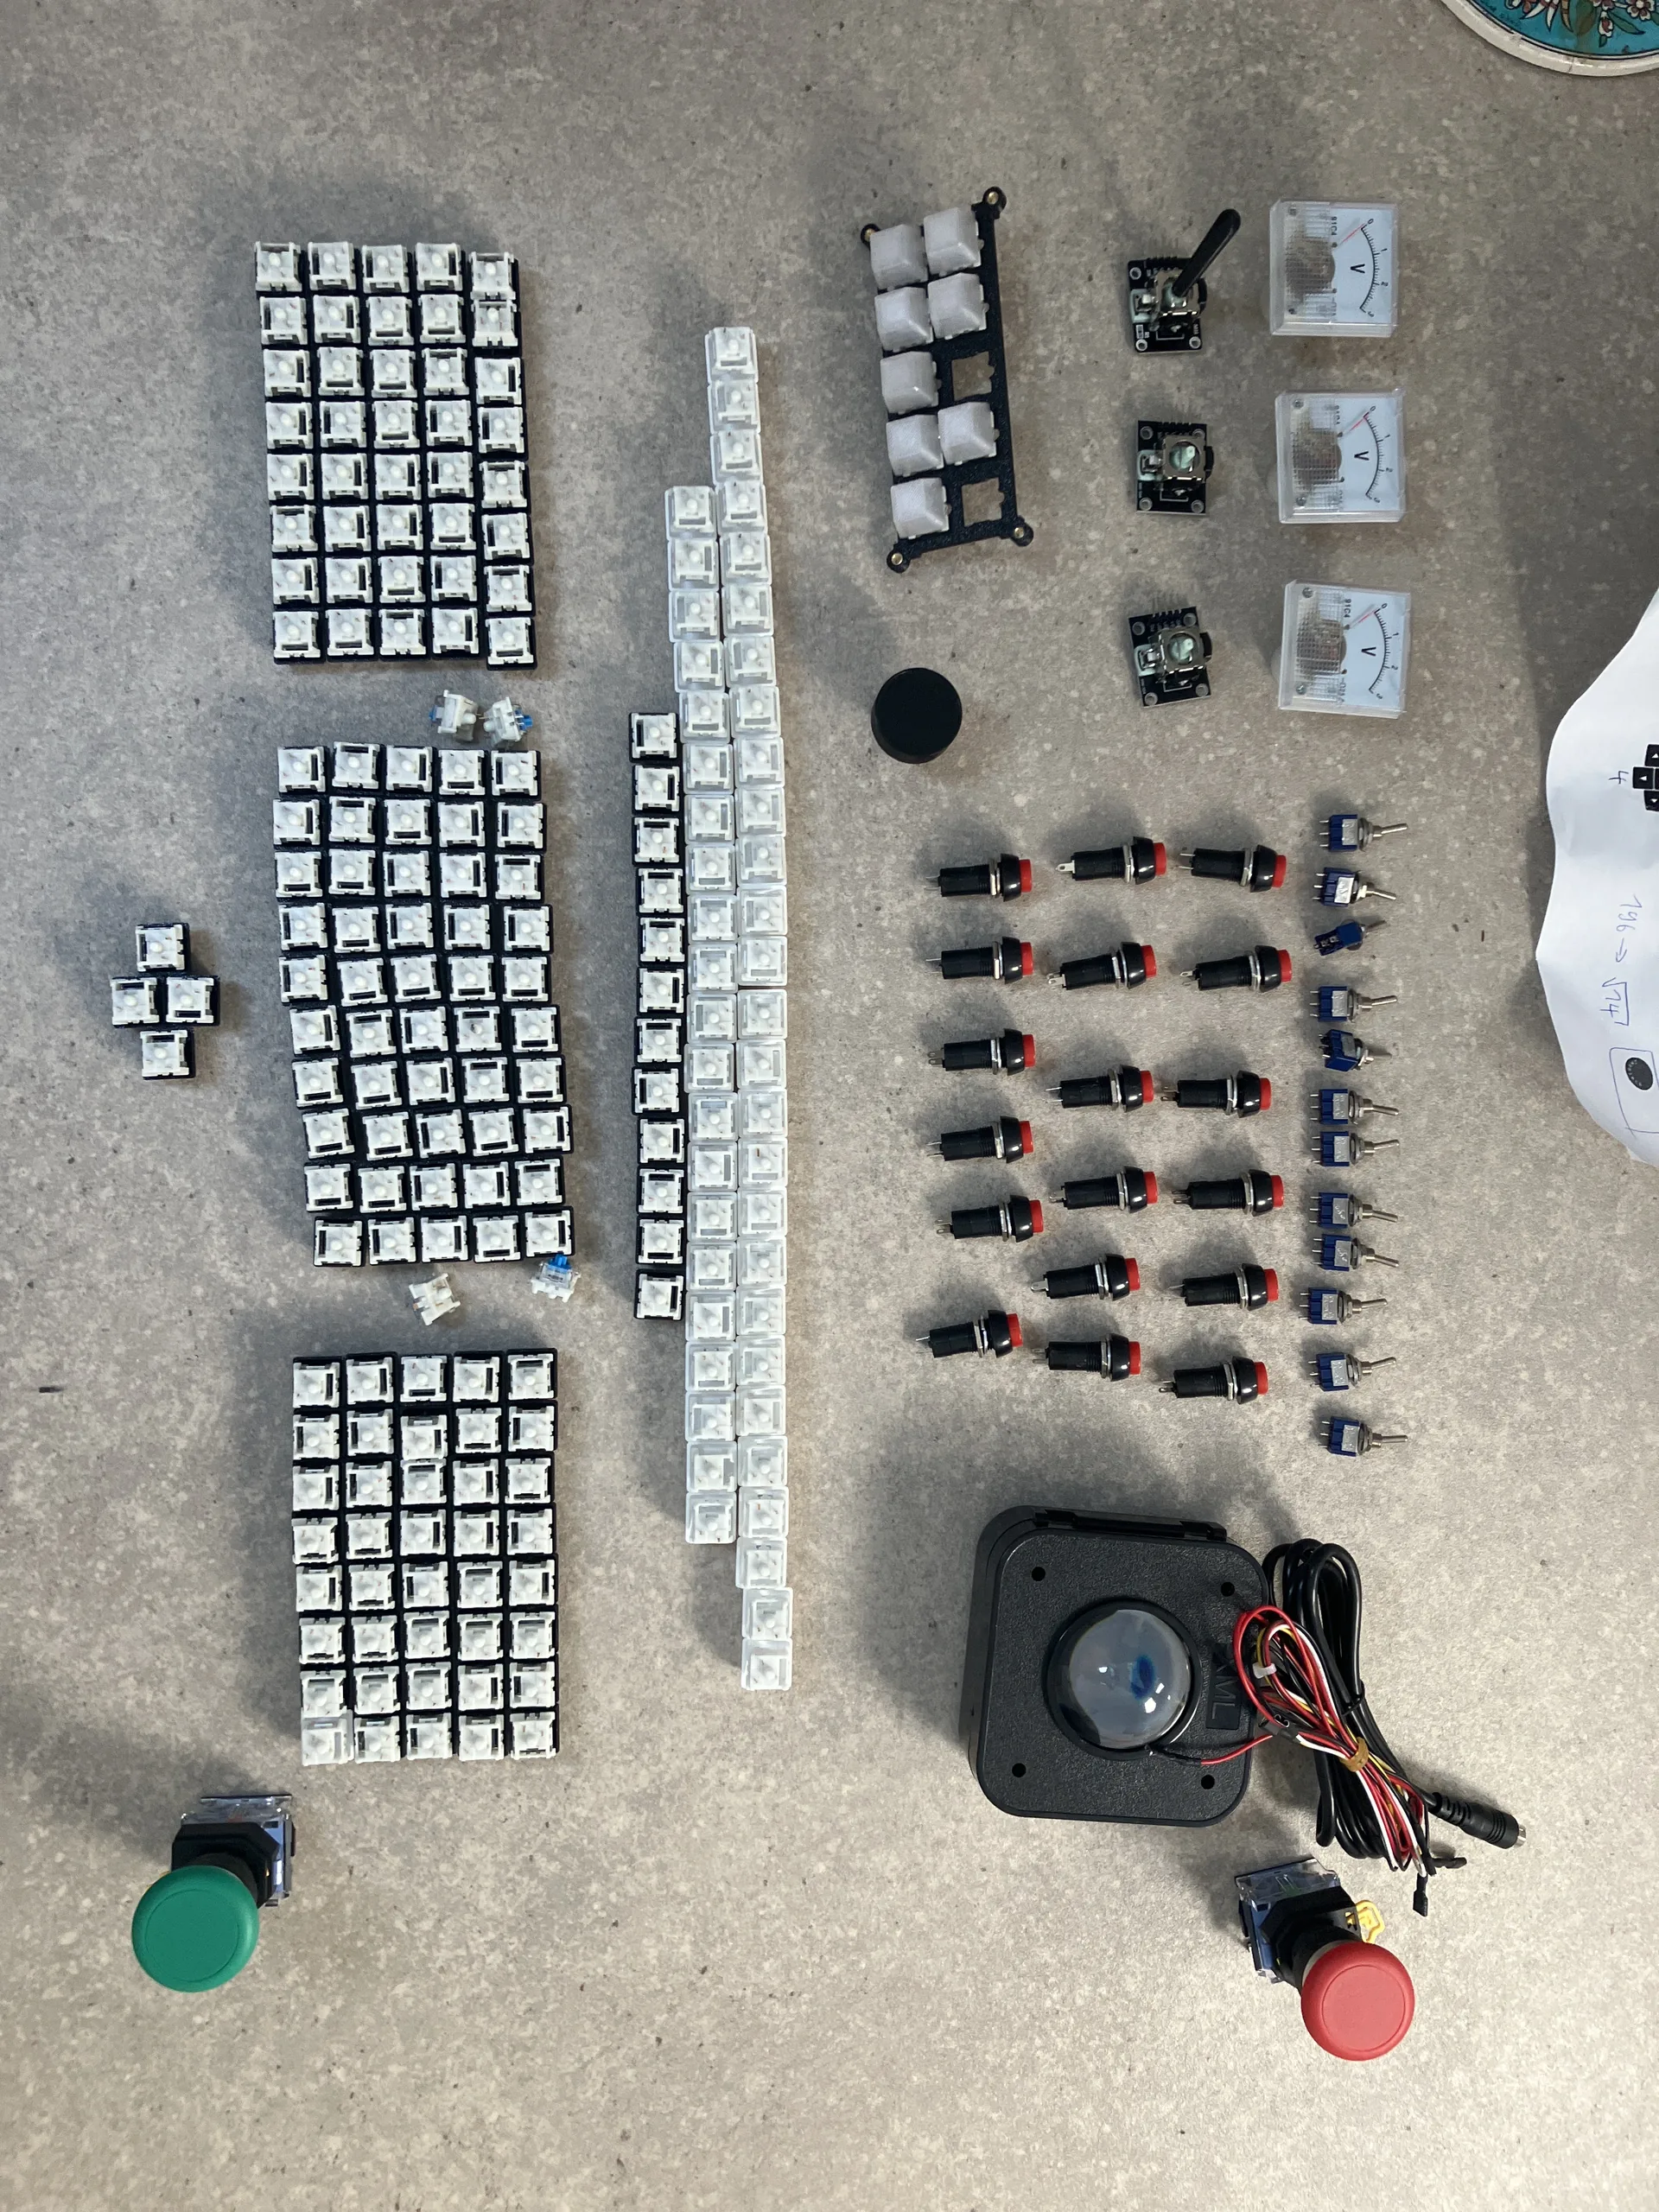
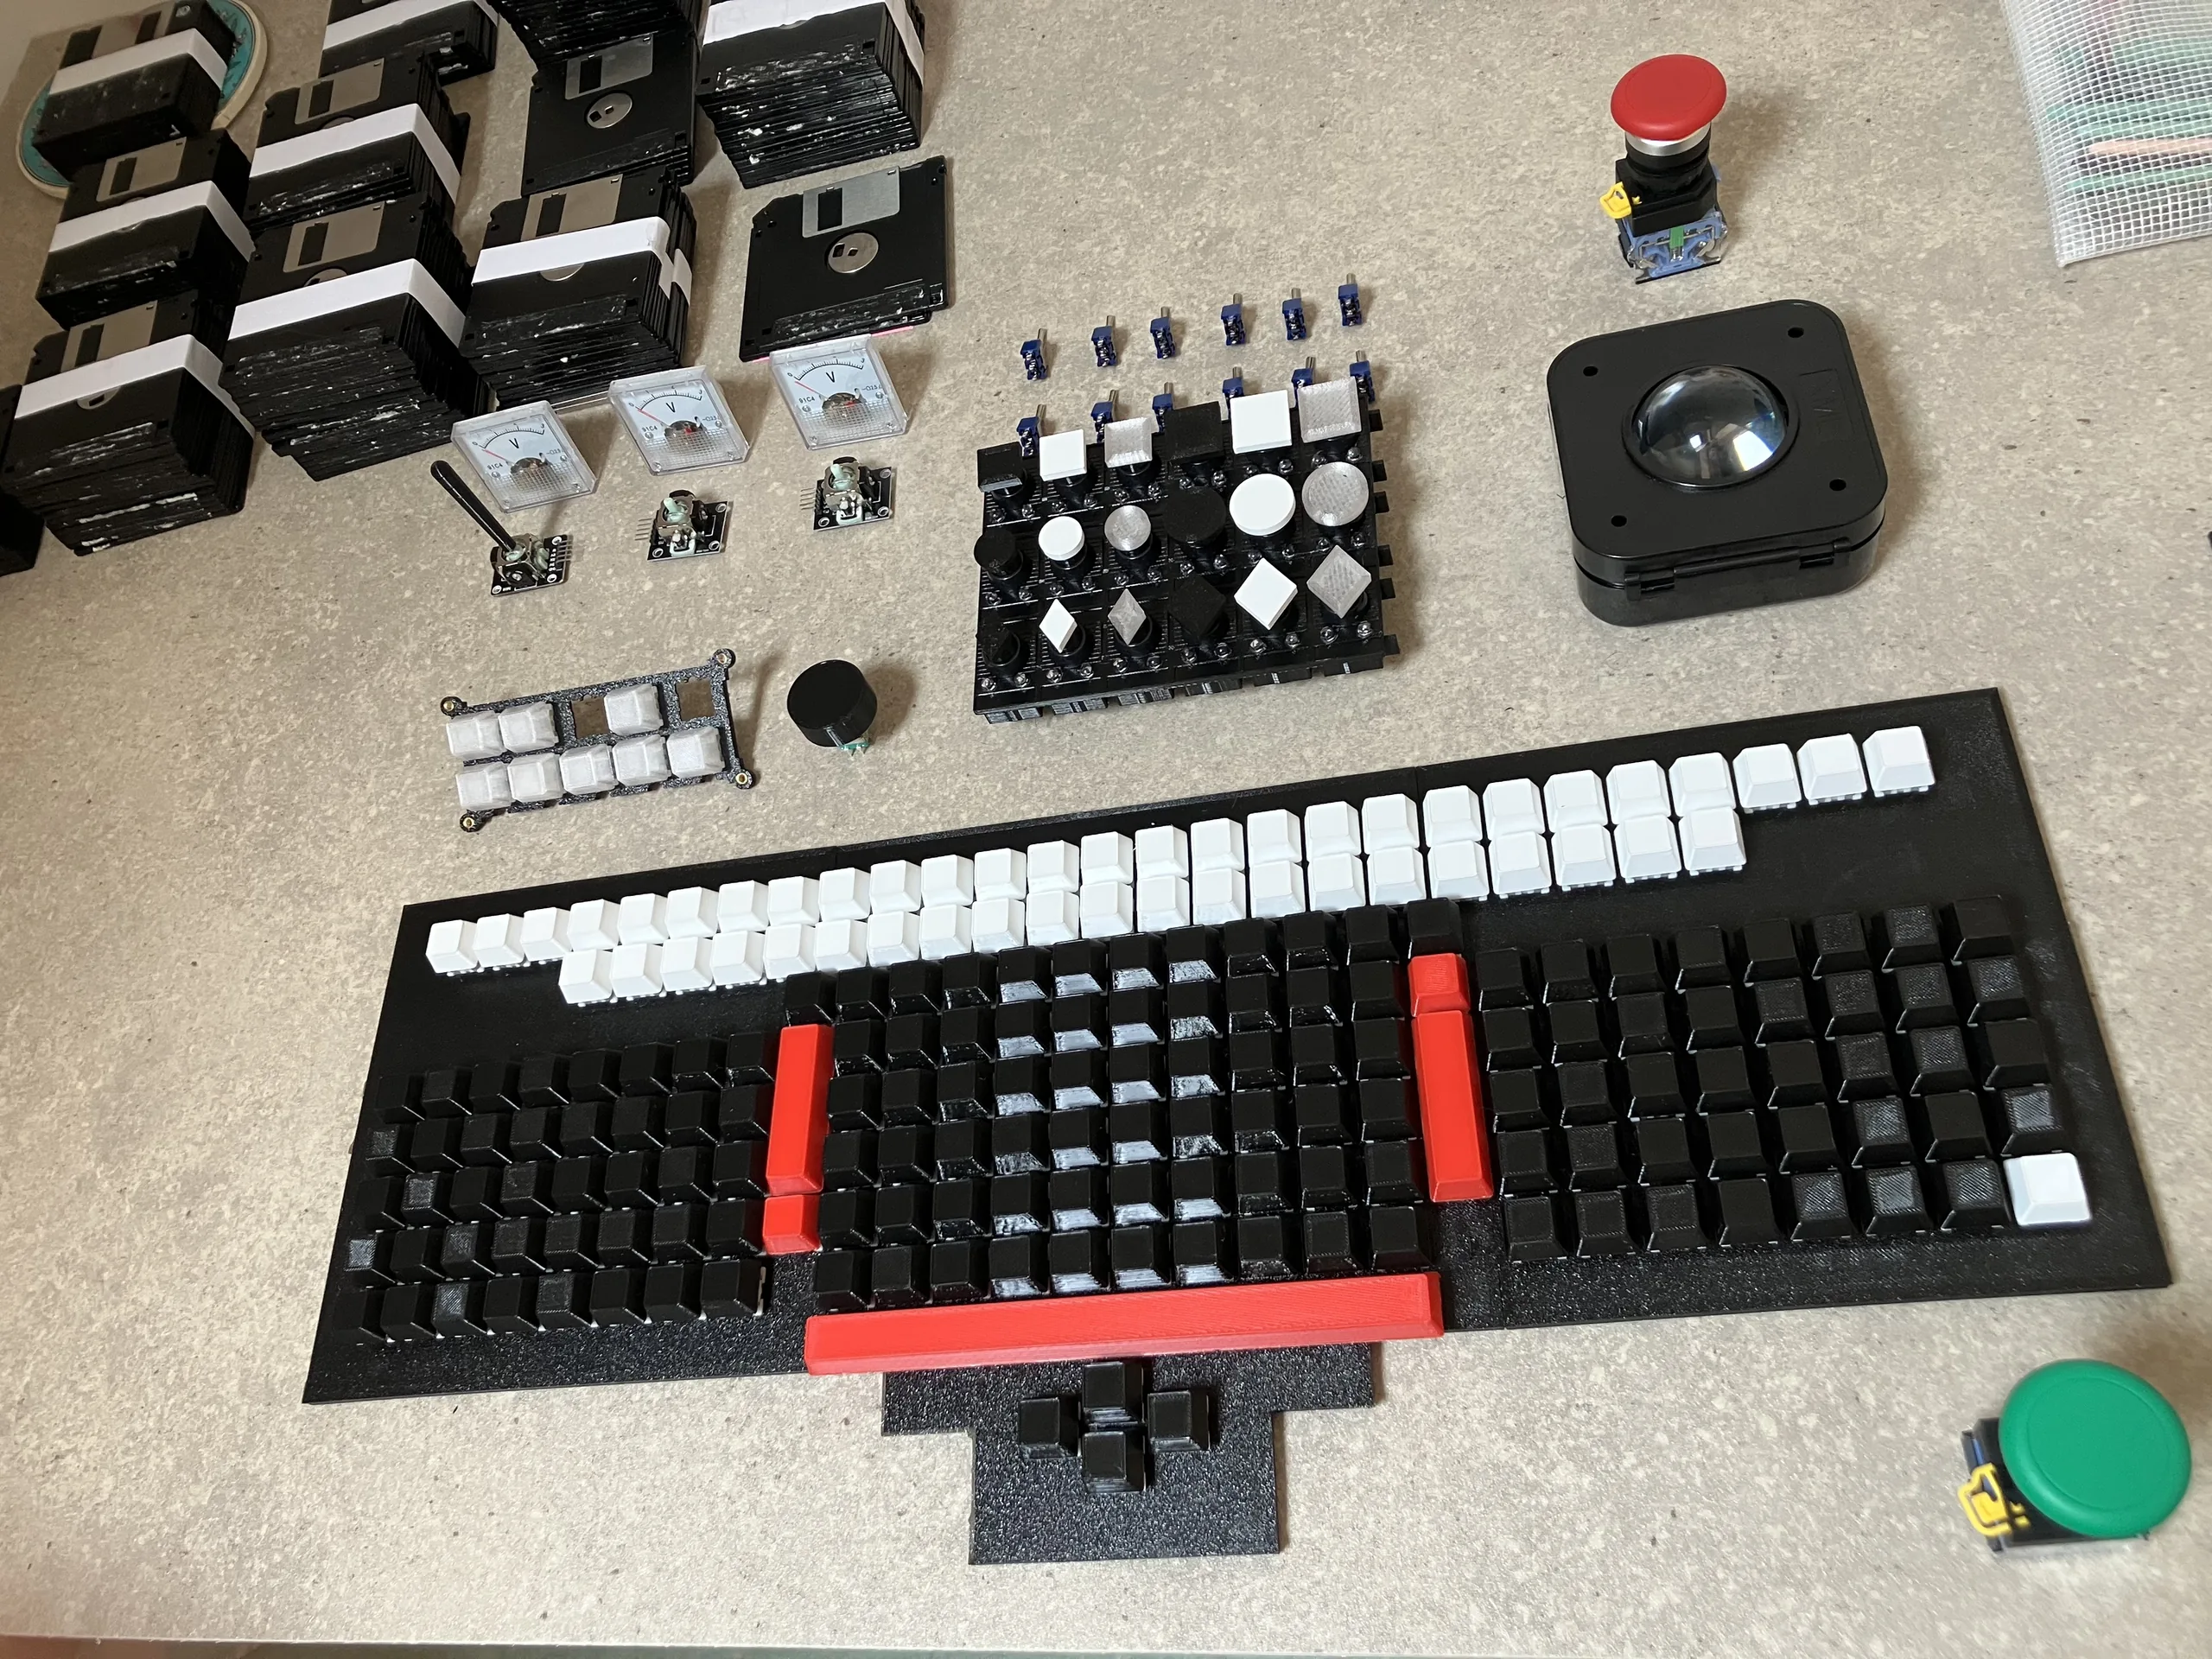
It featured picking a font by picking a floppy disk, type size/kerning/leading levers with analog feedback gauges, two opentype feature pickers that both acted as toggles and feature availability signals, a trackball to roll to input random words from a bank, a little keypad to act on text alignemnt and text nature (user or pre-filled texts), a 196-key keyboard also driven from Elixir, and of course a “print” button. Every control was very tactile and gave instant feedback on-screen and on-paper.
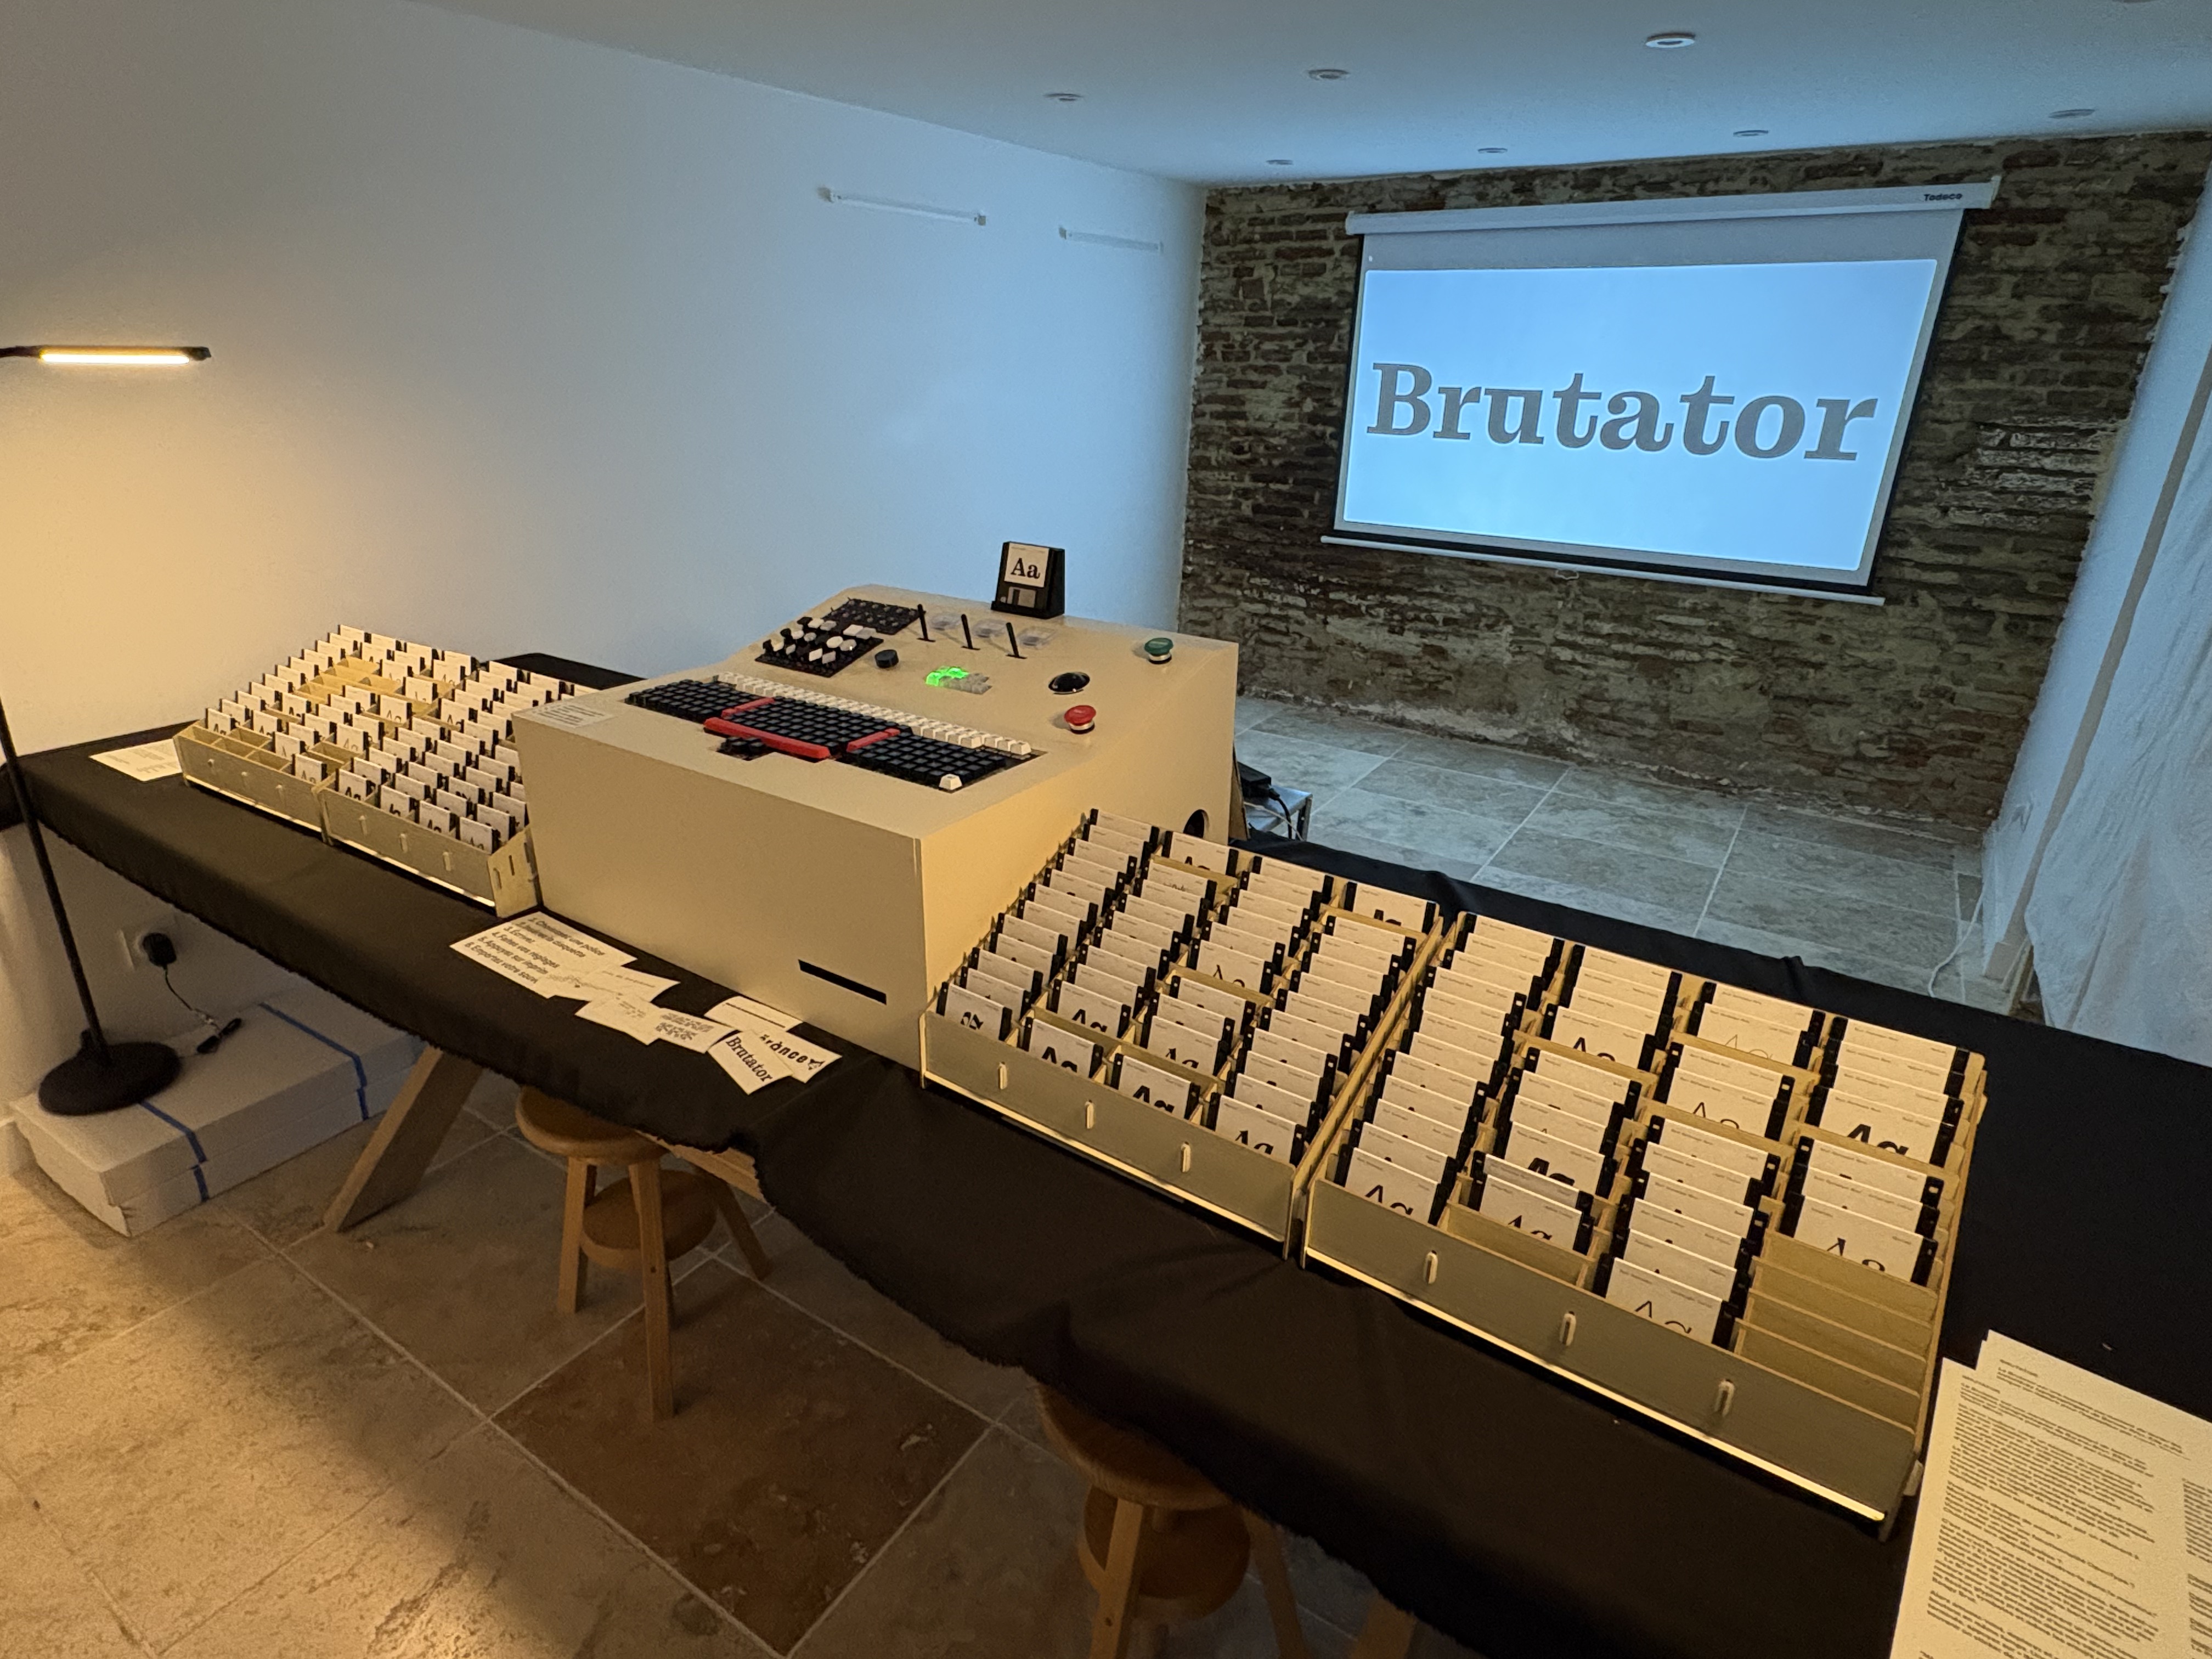
- Hardware:
- 196-key keyboard
- Arcade trackball (adapted to run on 3v3)
- 3 joysticks and analog needle gauges
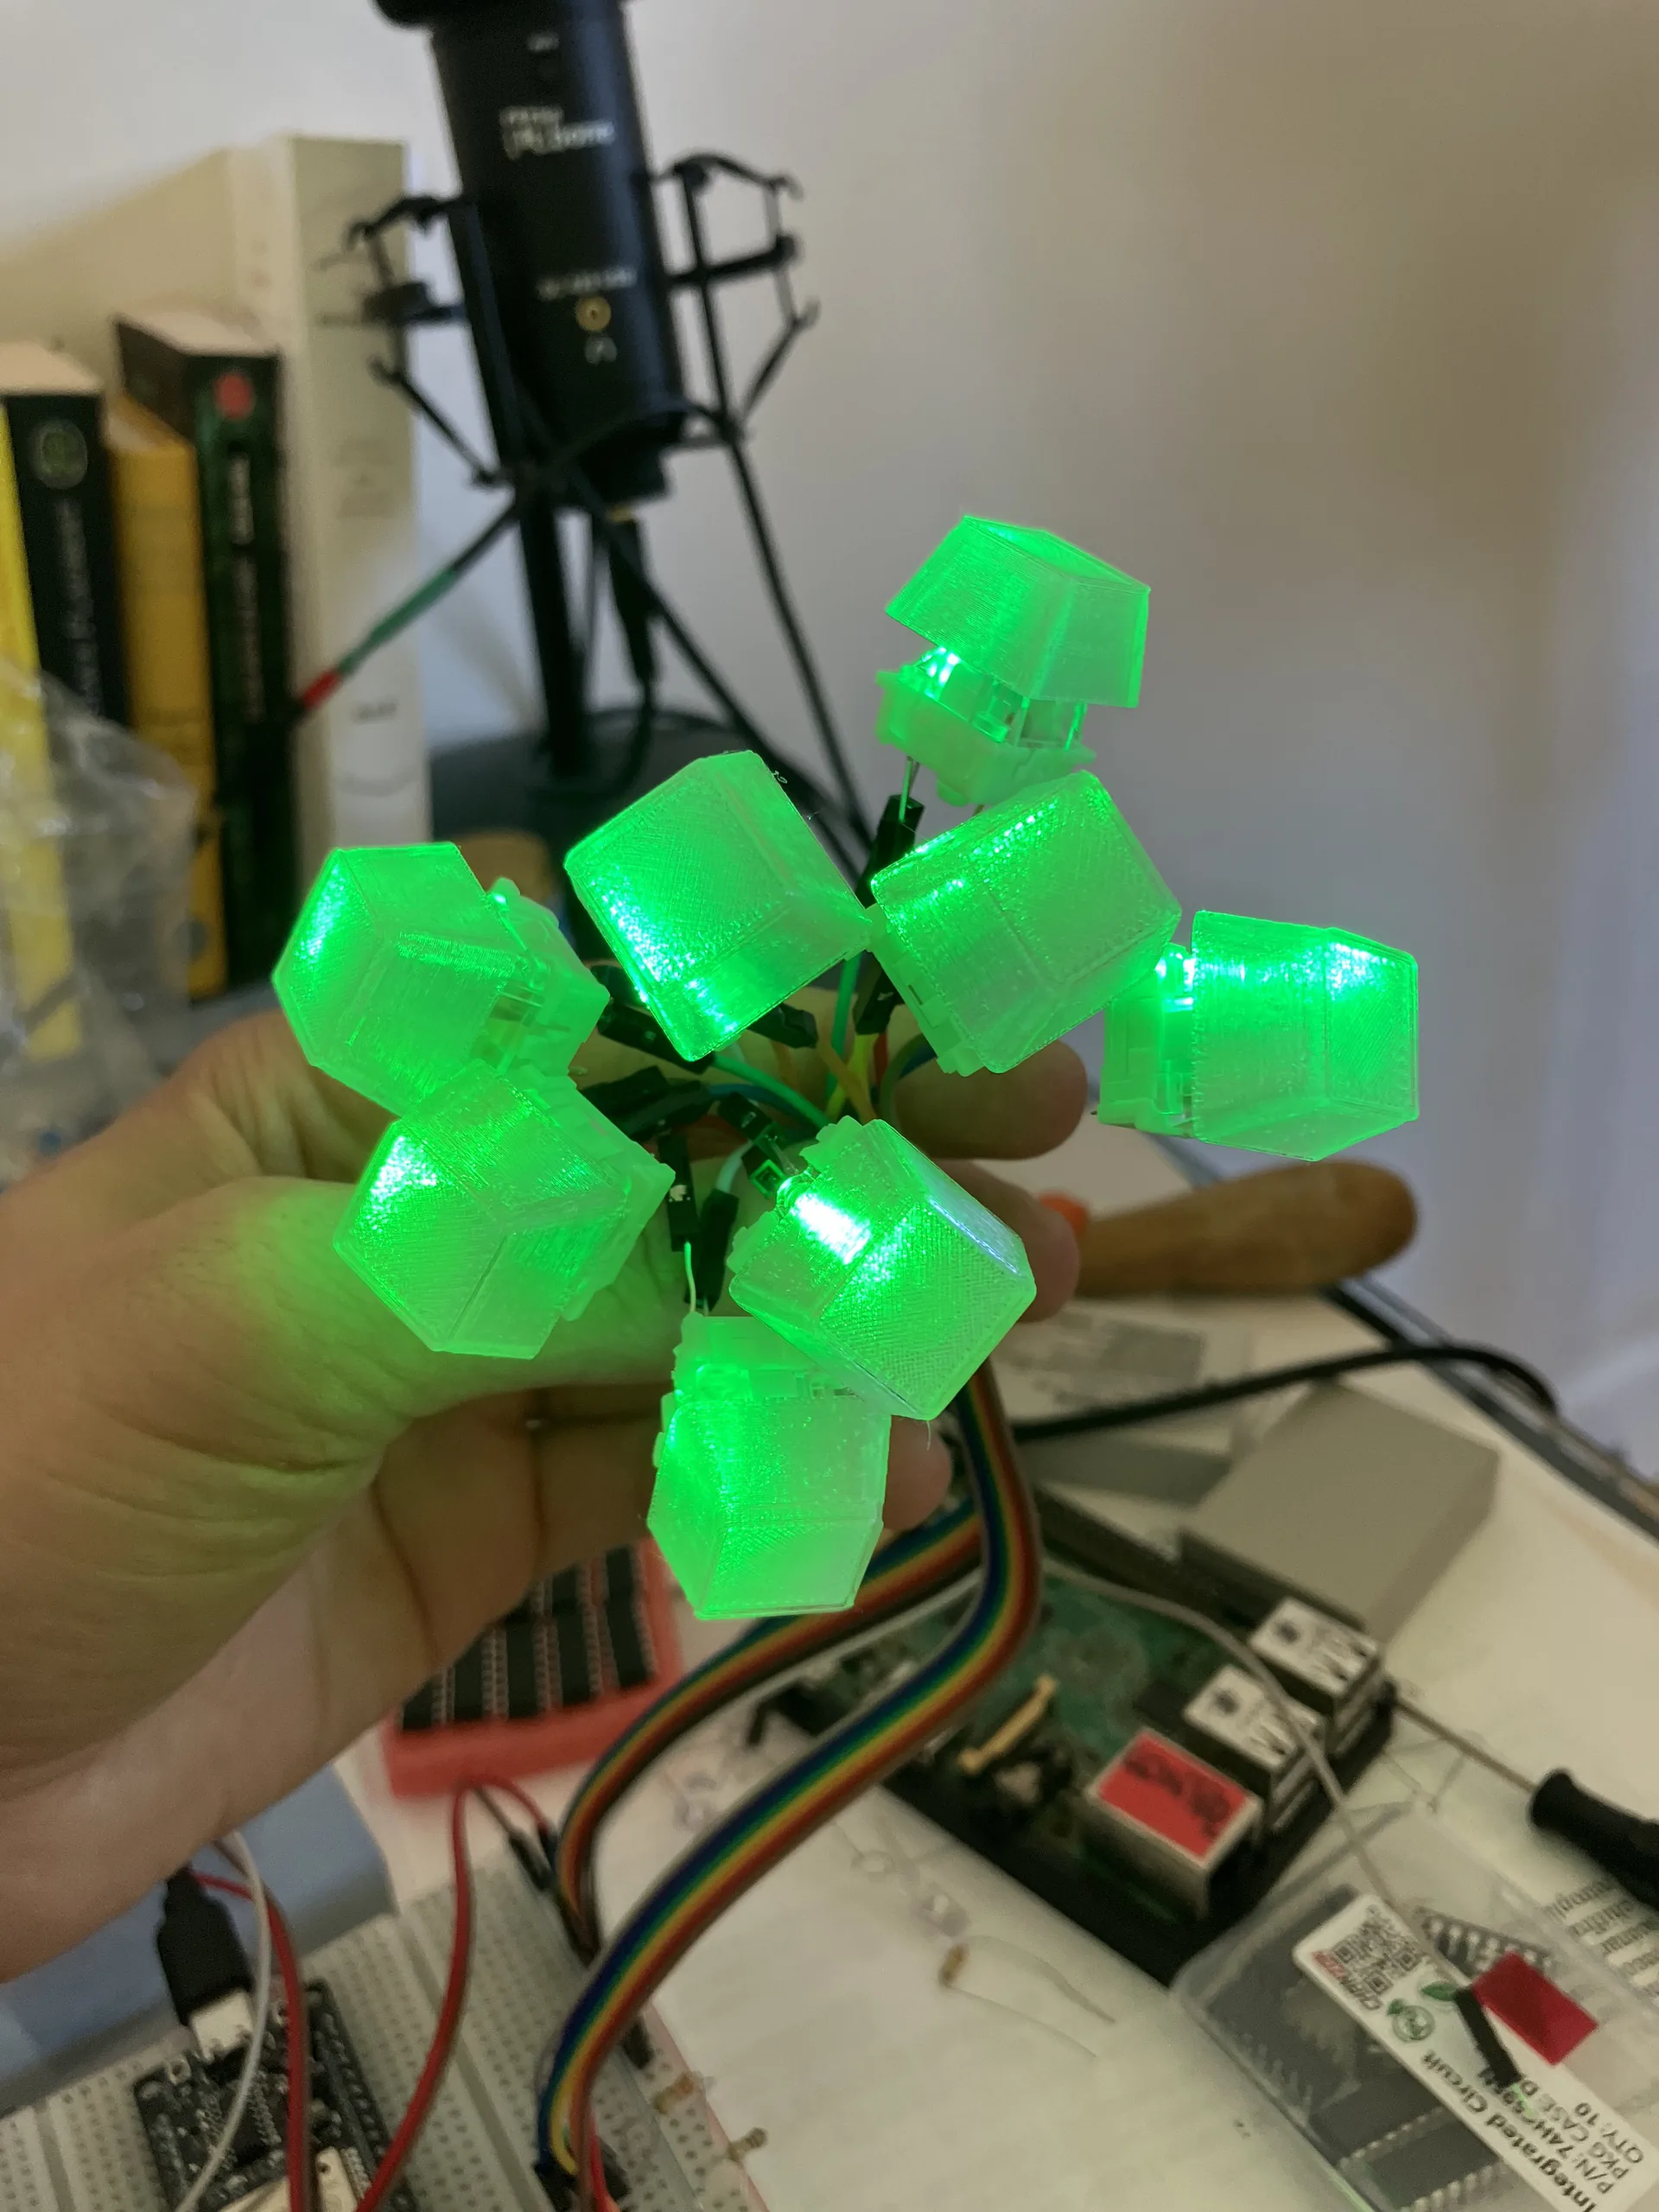
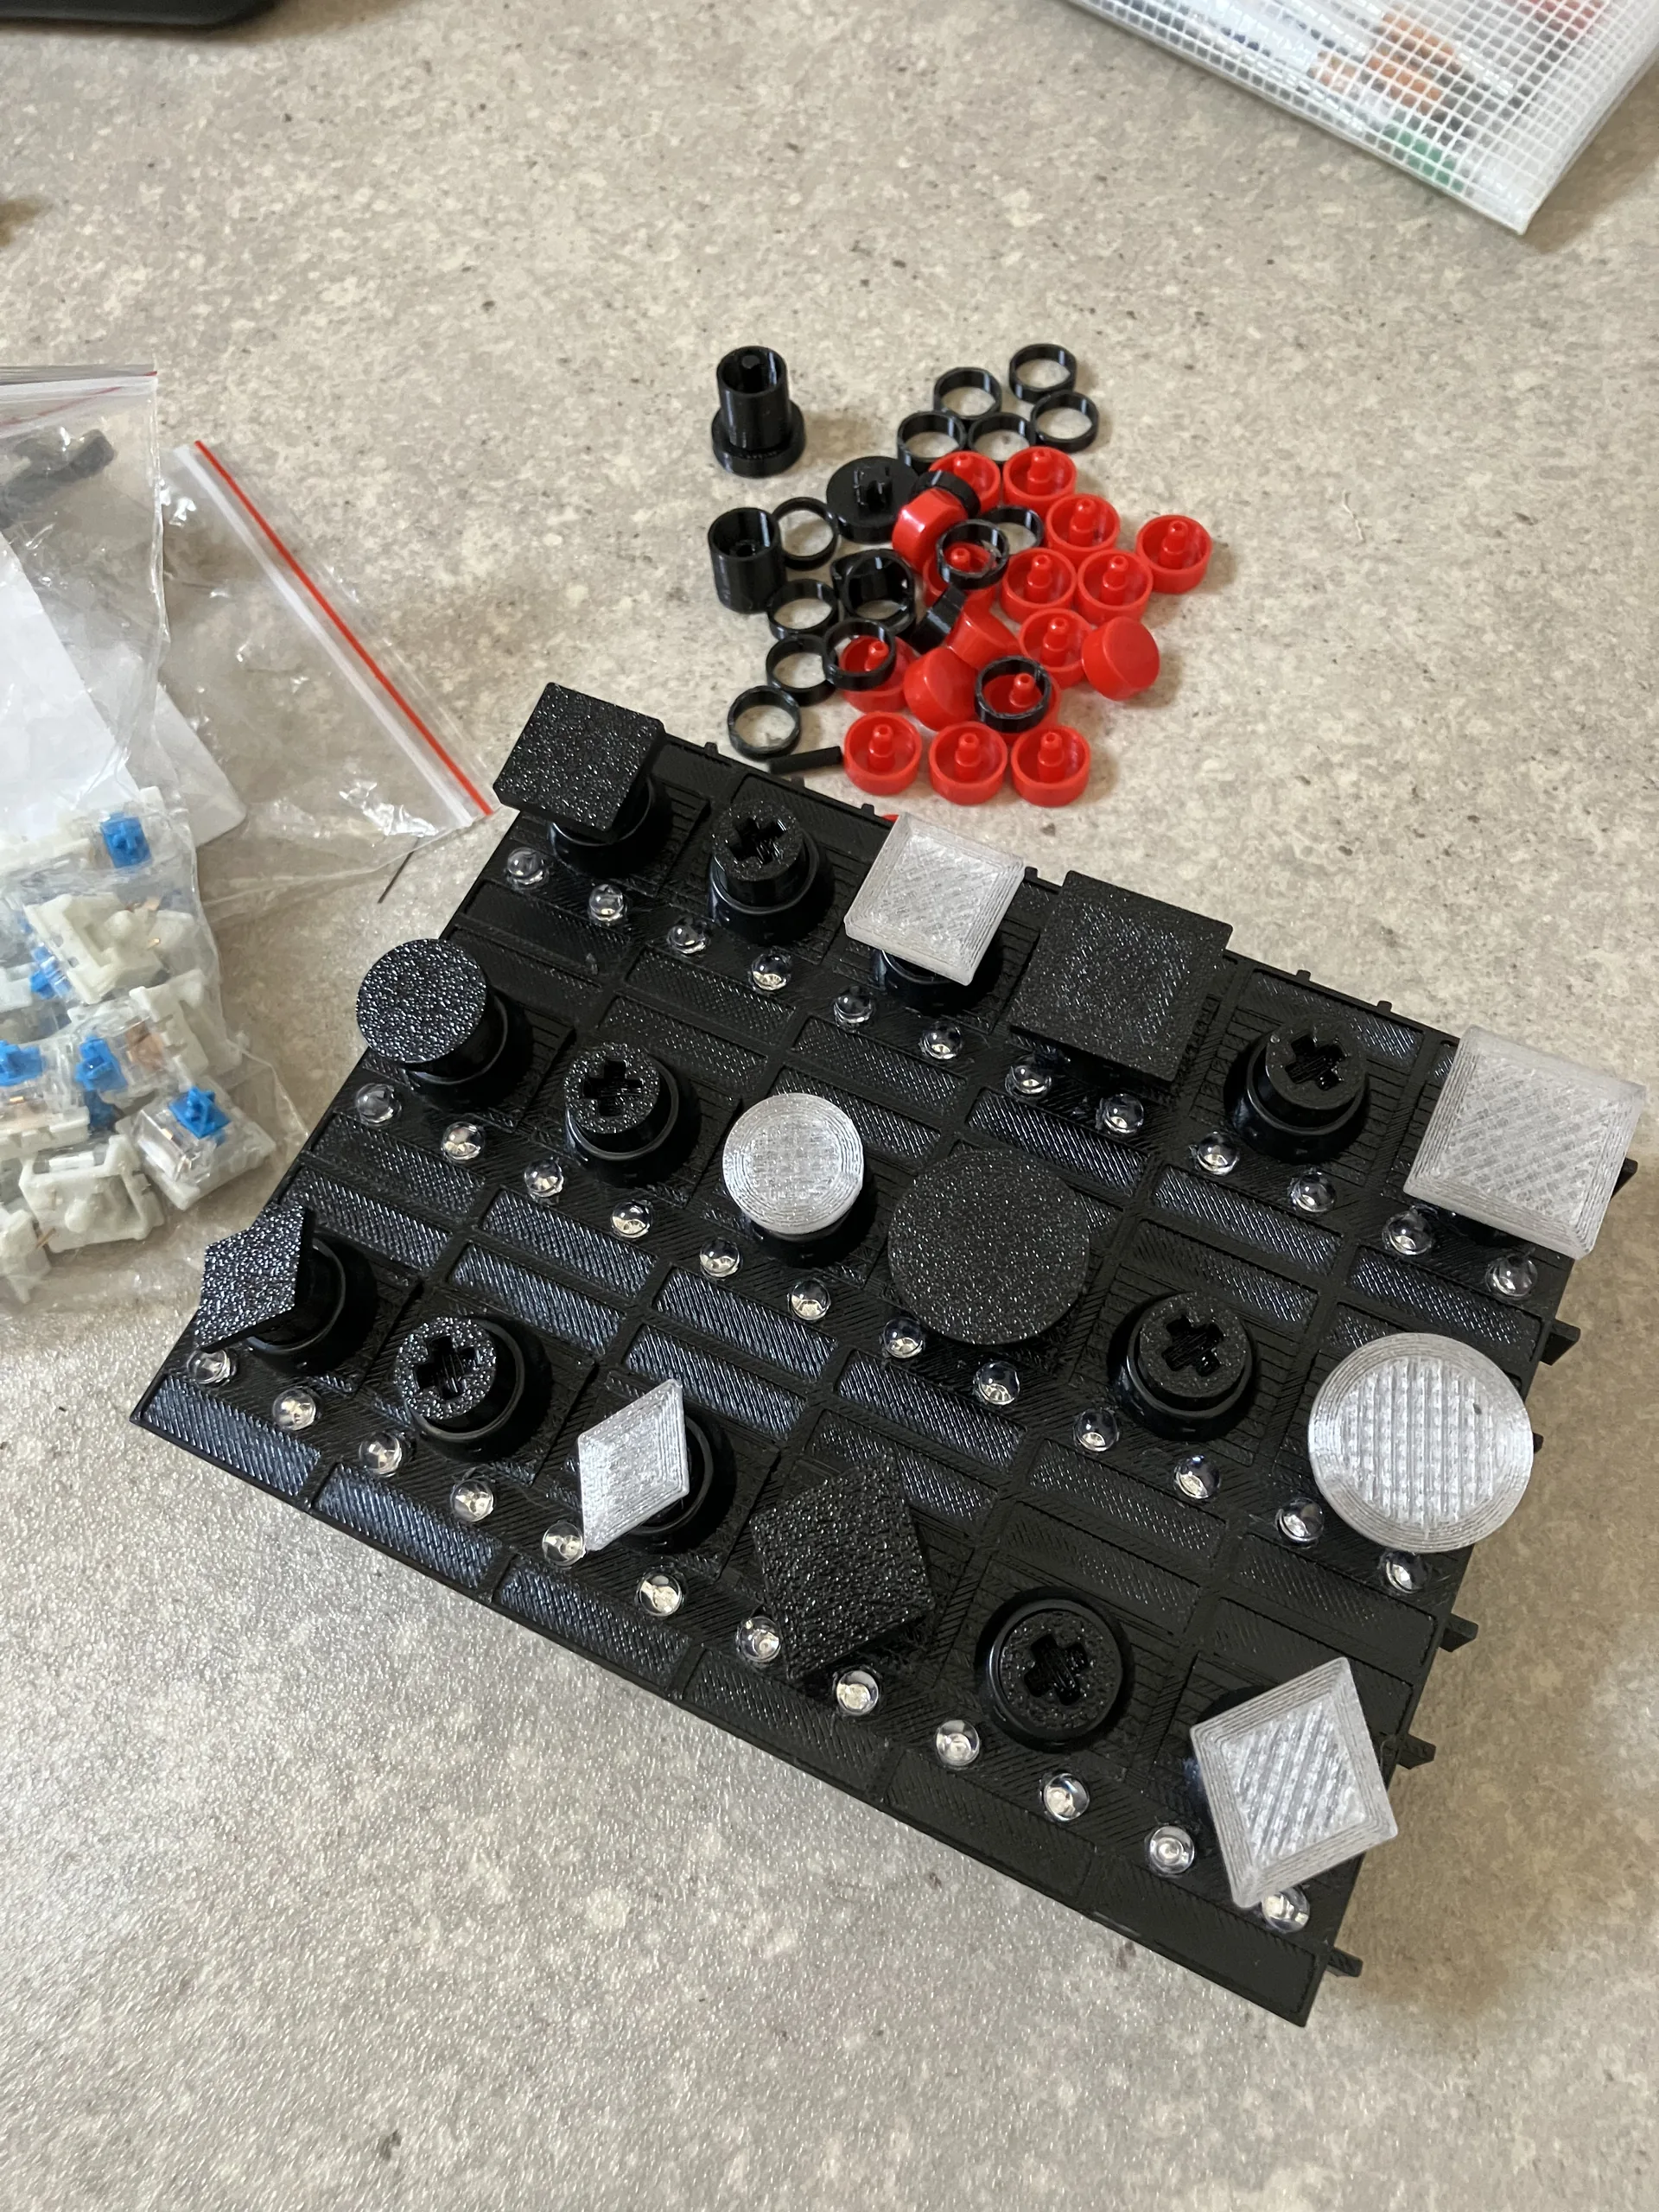
- Backlit keypad (self-built)
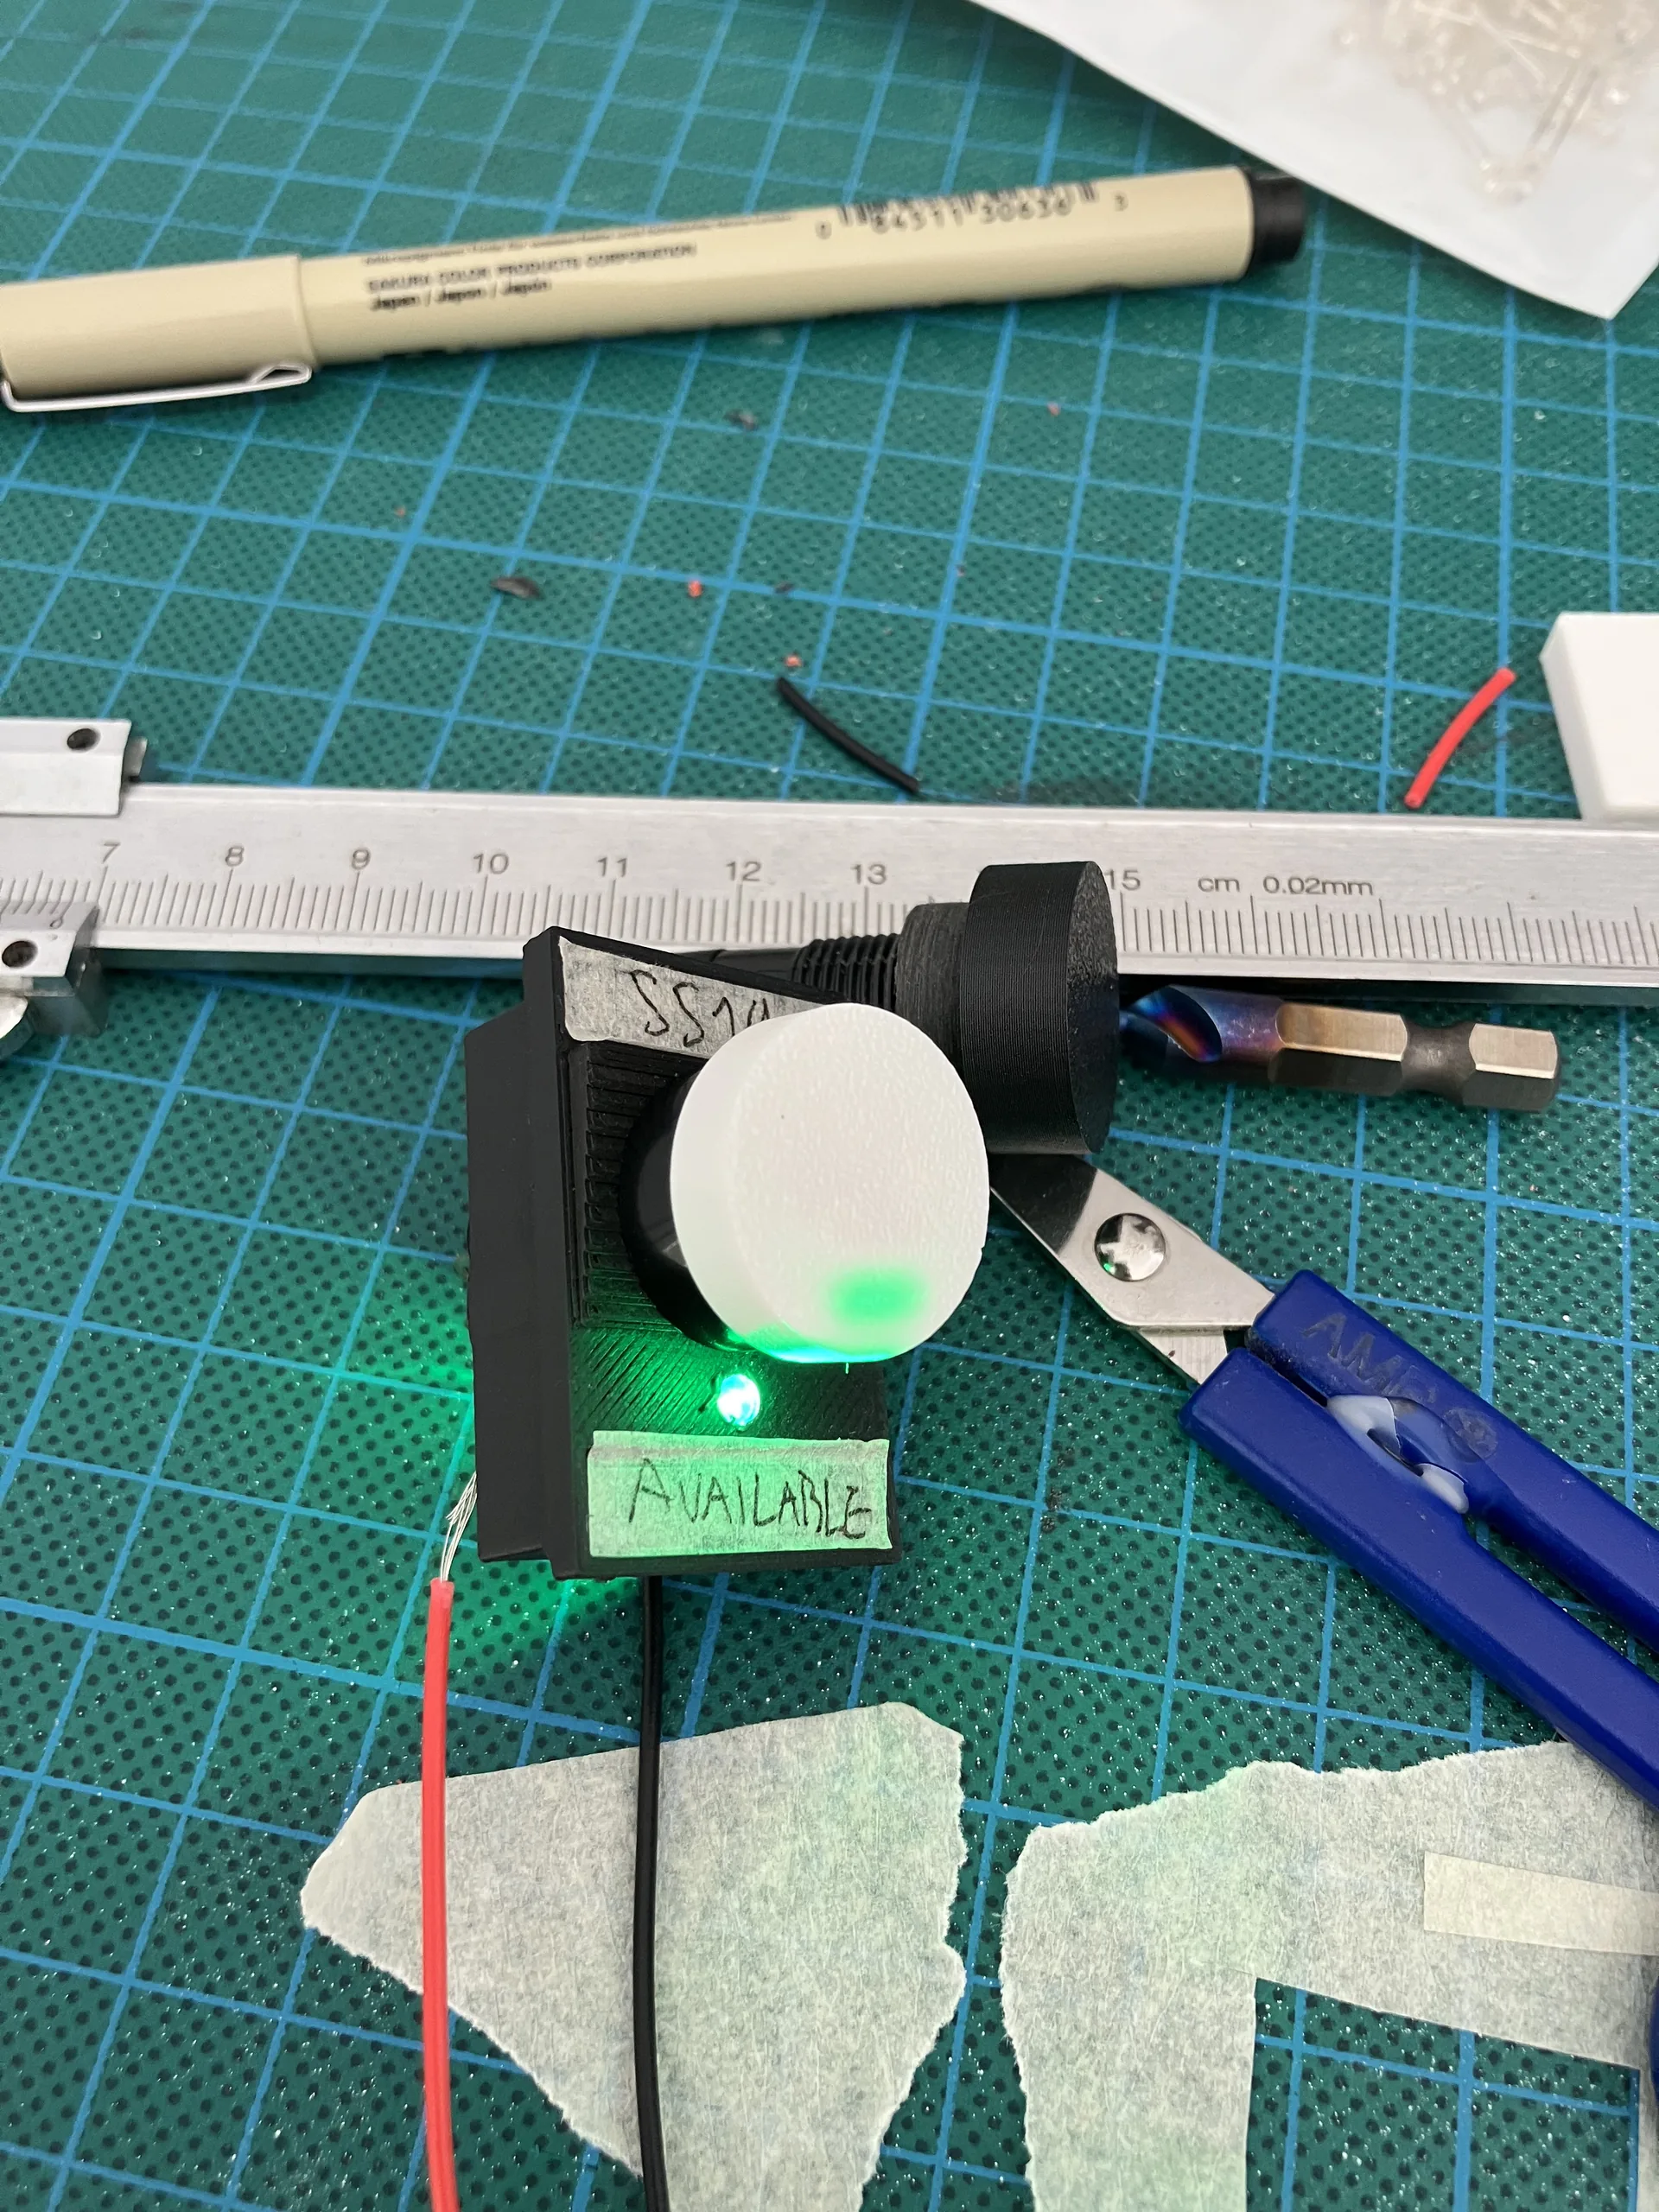
- Two switchboards: 30 switches, 60 indicators (self-built)
- Fake floppy reader (NFC tags inside the disks)
- Bixolon XD5-43d sticker printer
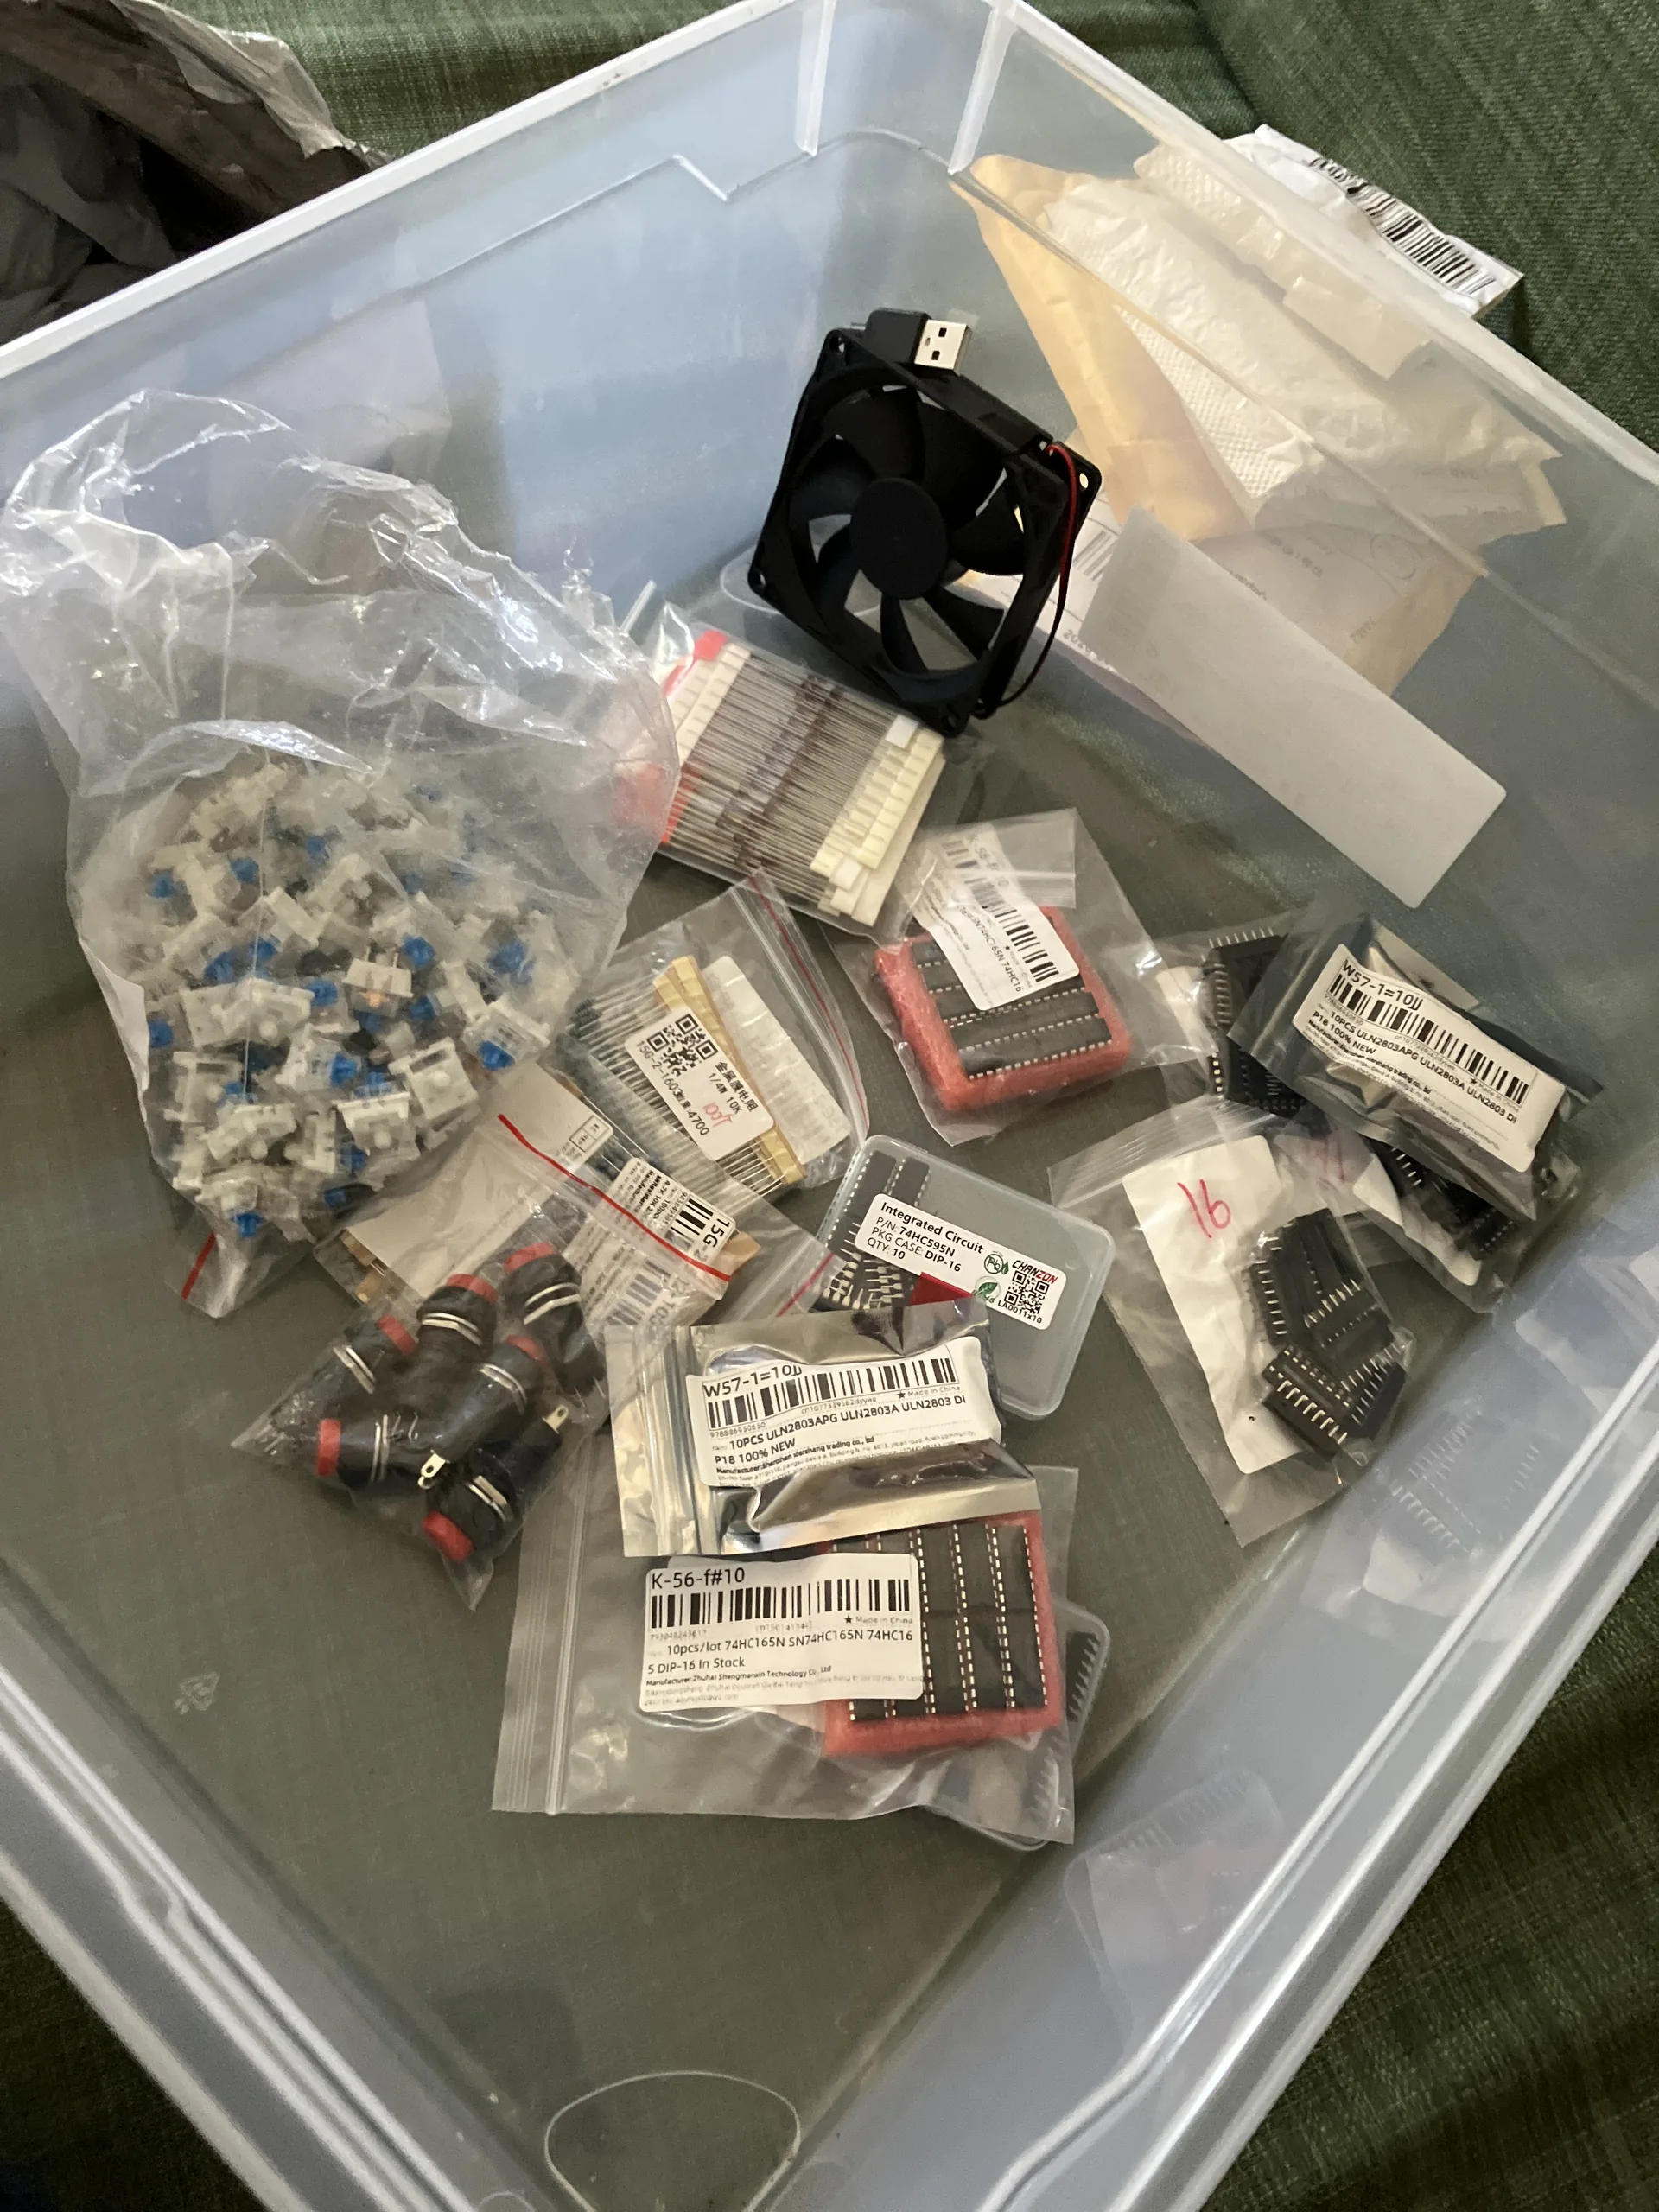
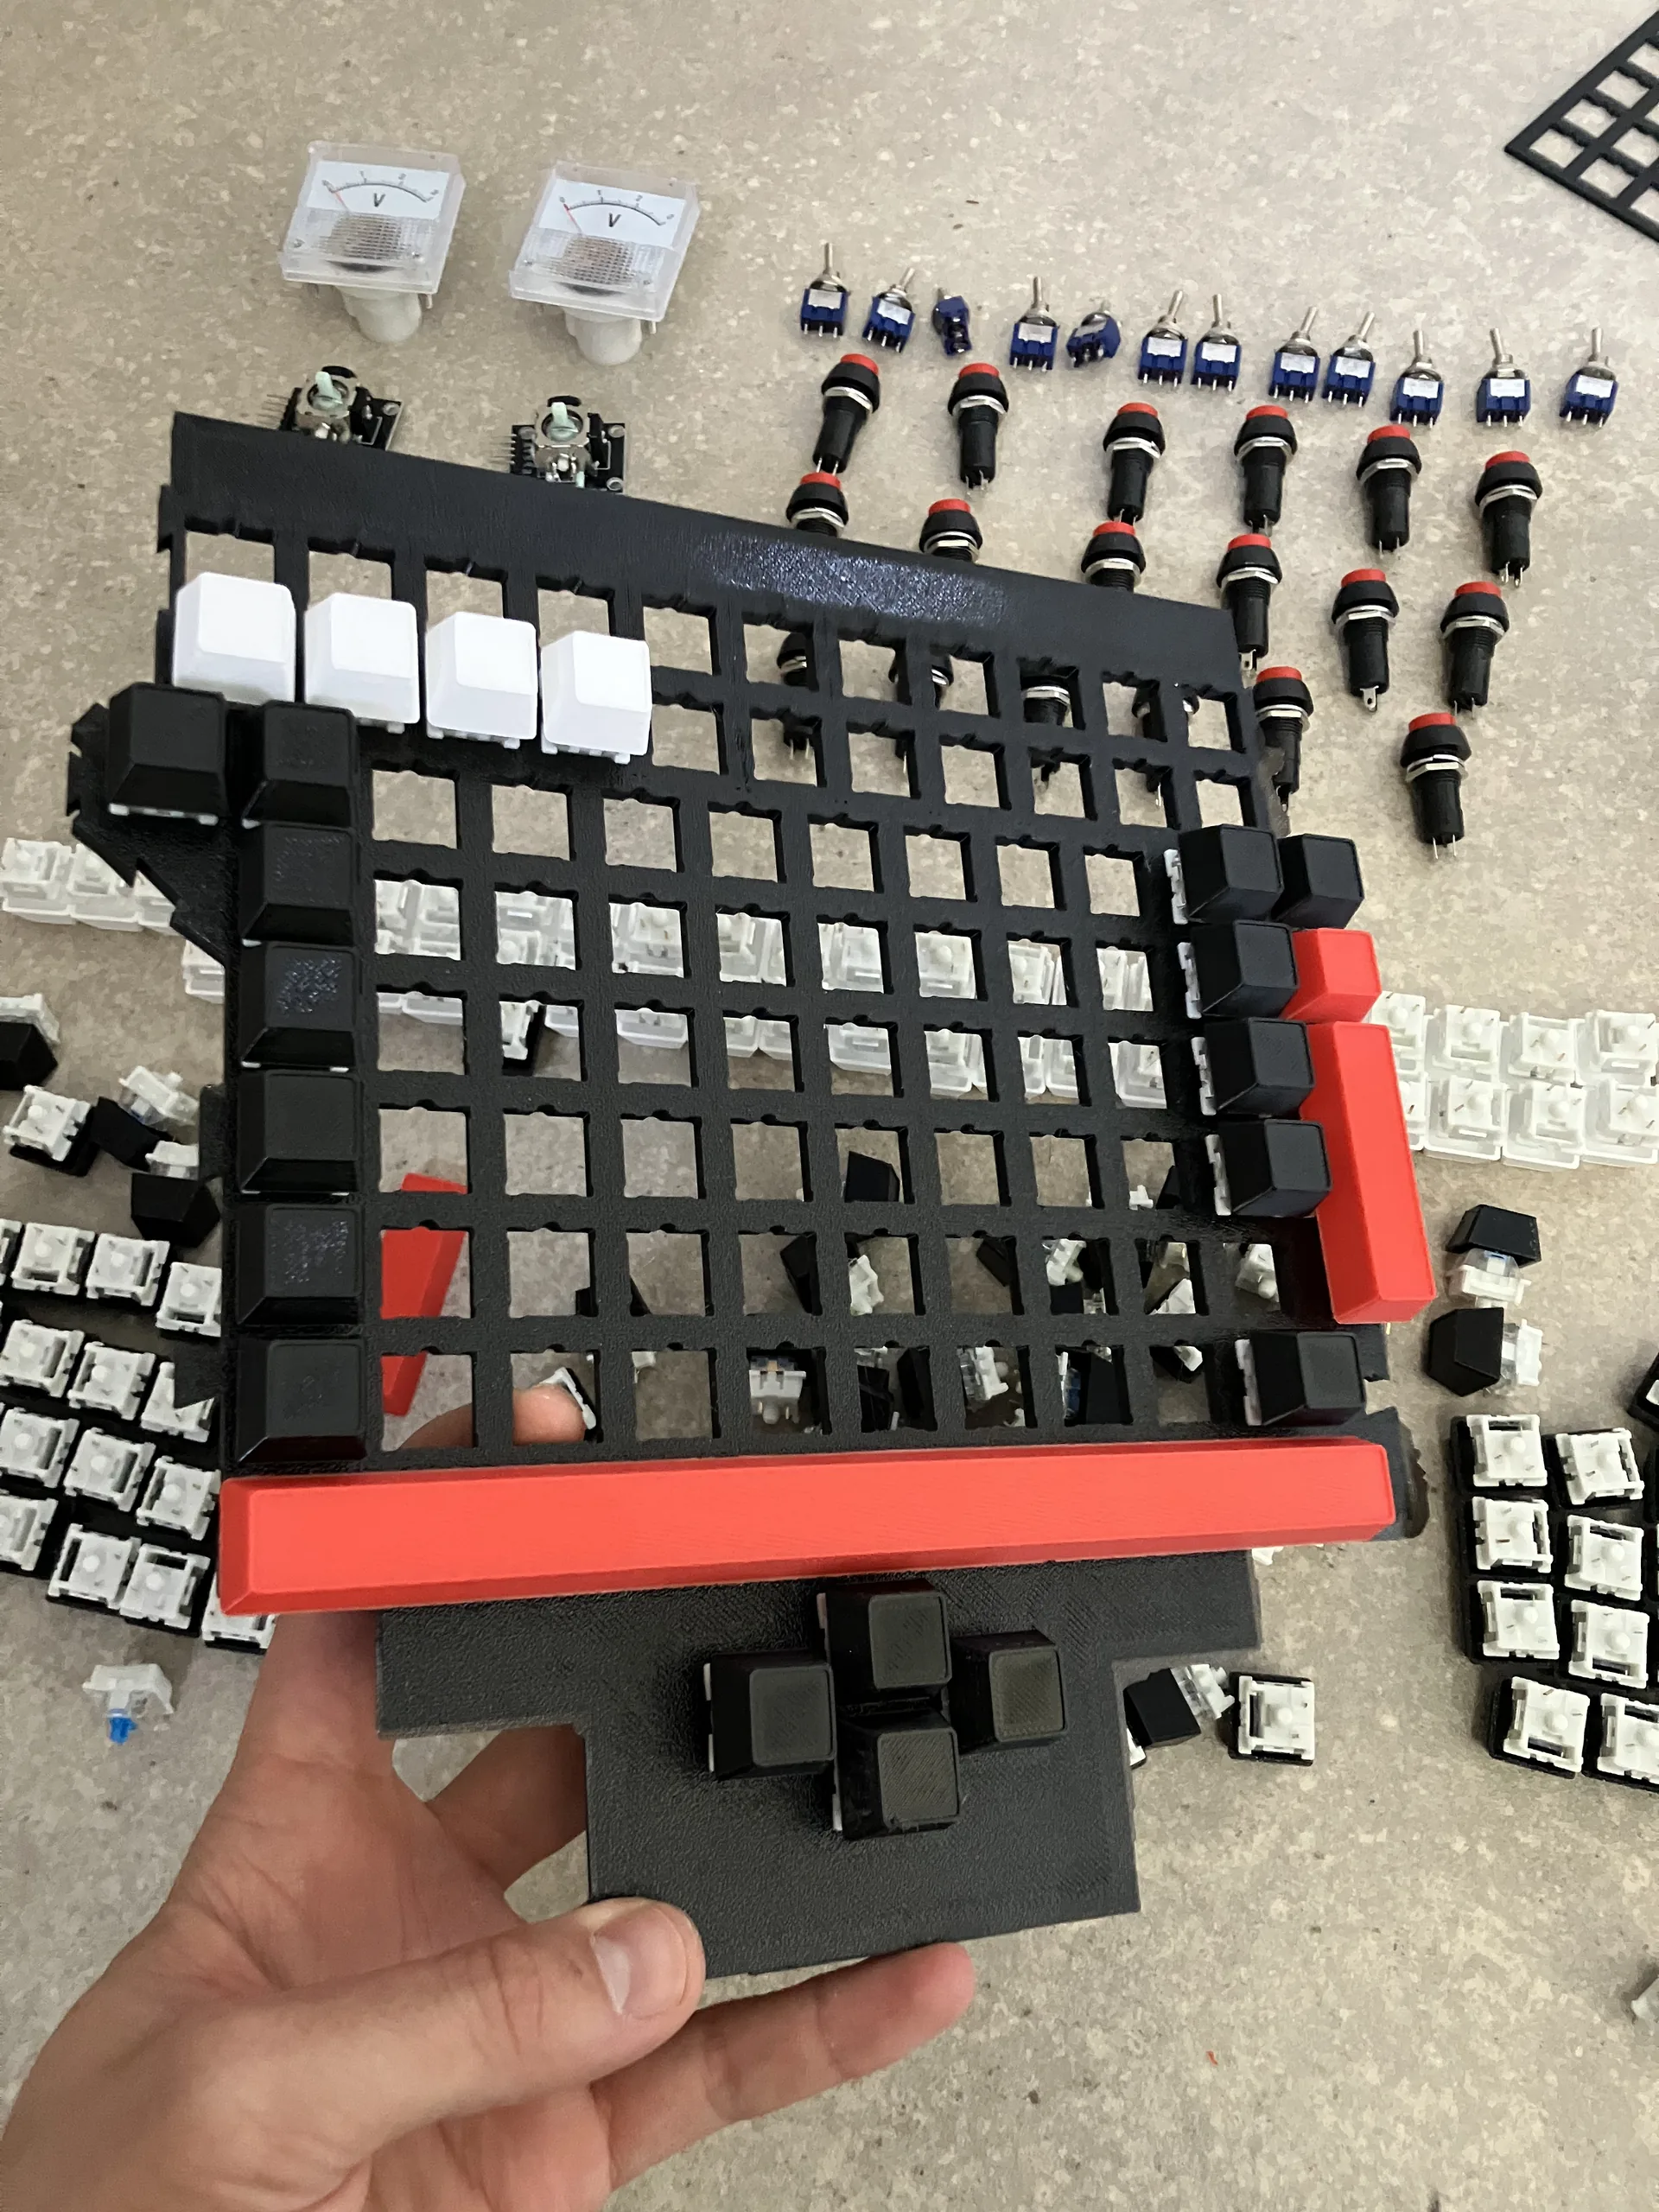
For a bit of trivia, I used shift register daisy chains rather than more “modern” IO expanders, DIP ICs instead of SMD, and hand-wired padboards. To ease the build, the components were separated in 4 distinct modules each driven by an ESP32 that we had already in stock - reuse instead of re-buy.
Why bother with a system simulation
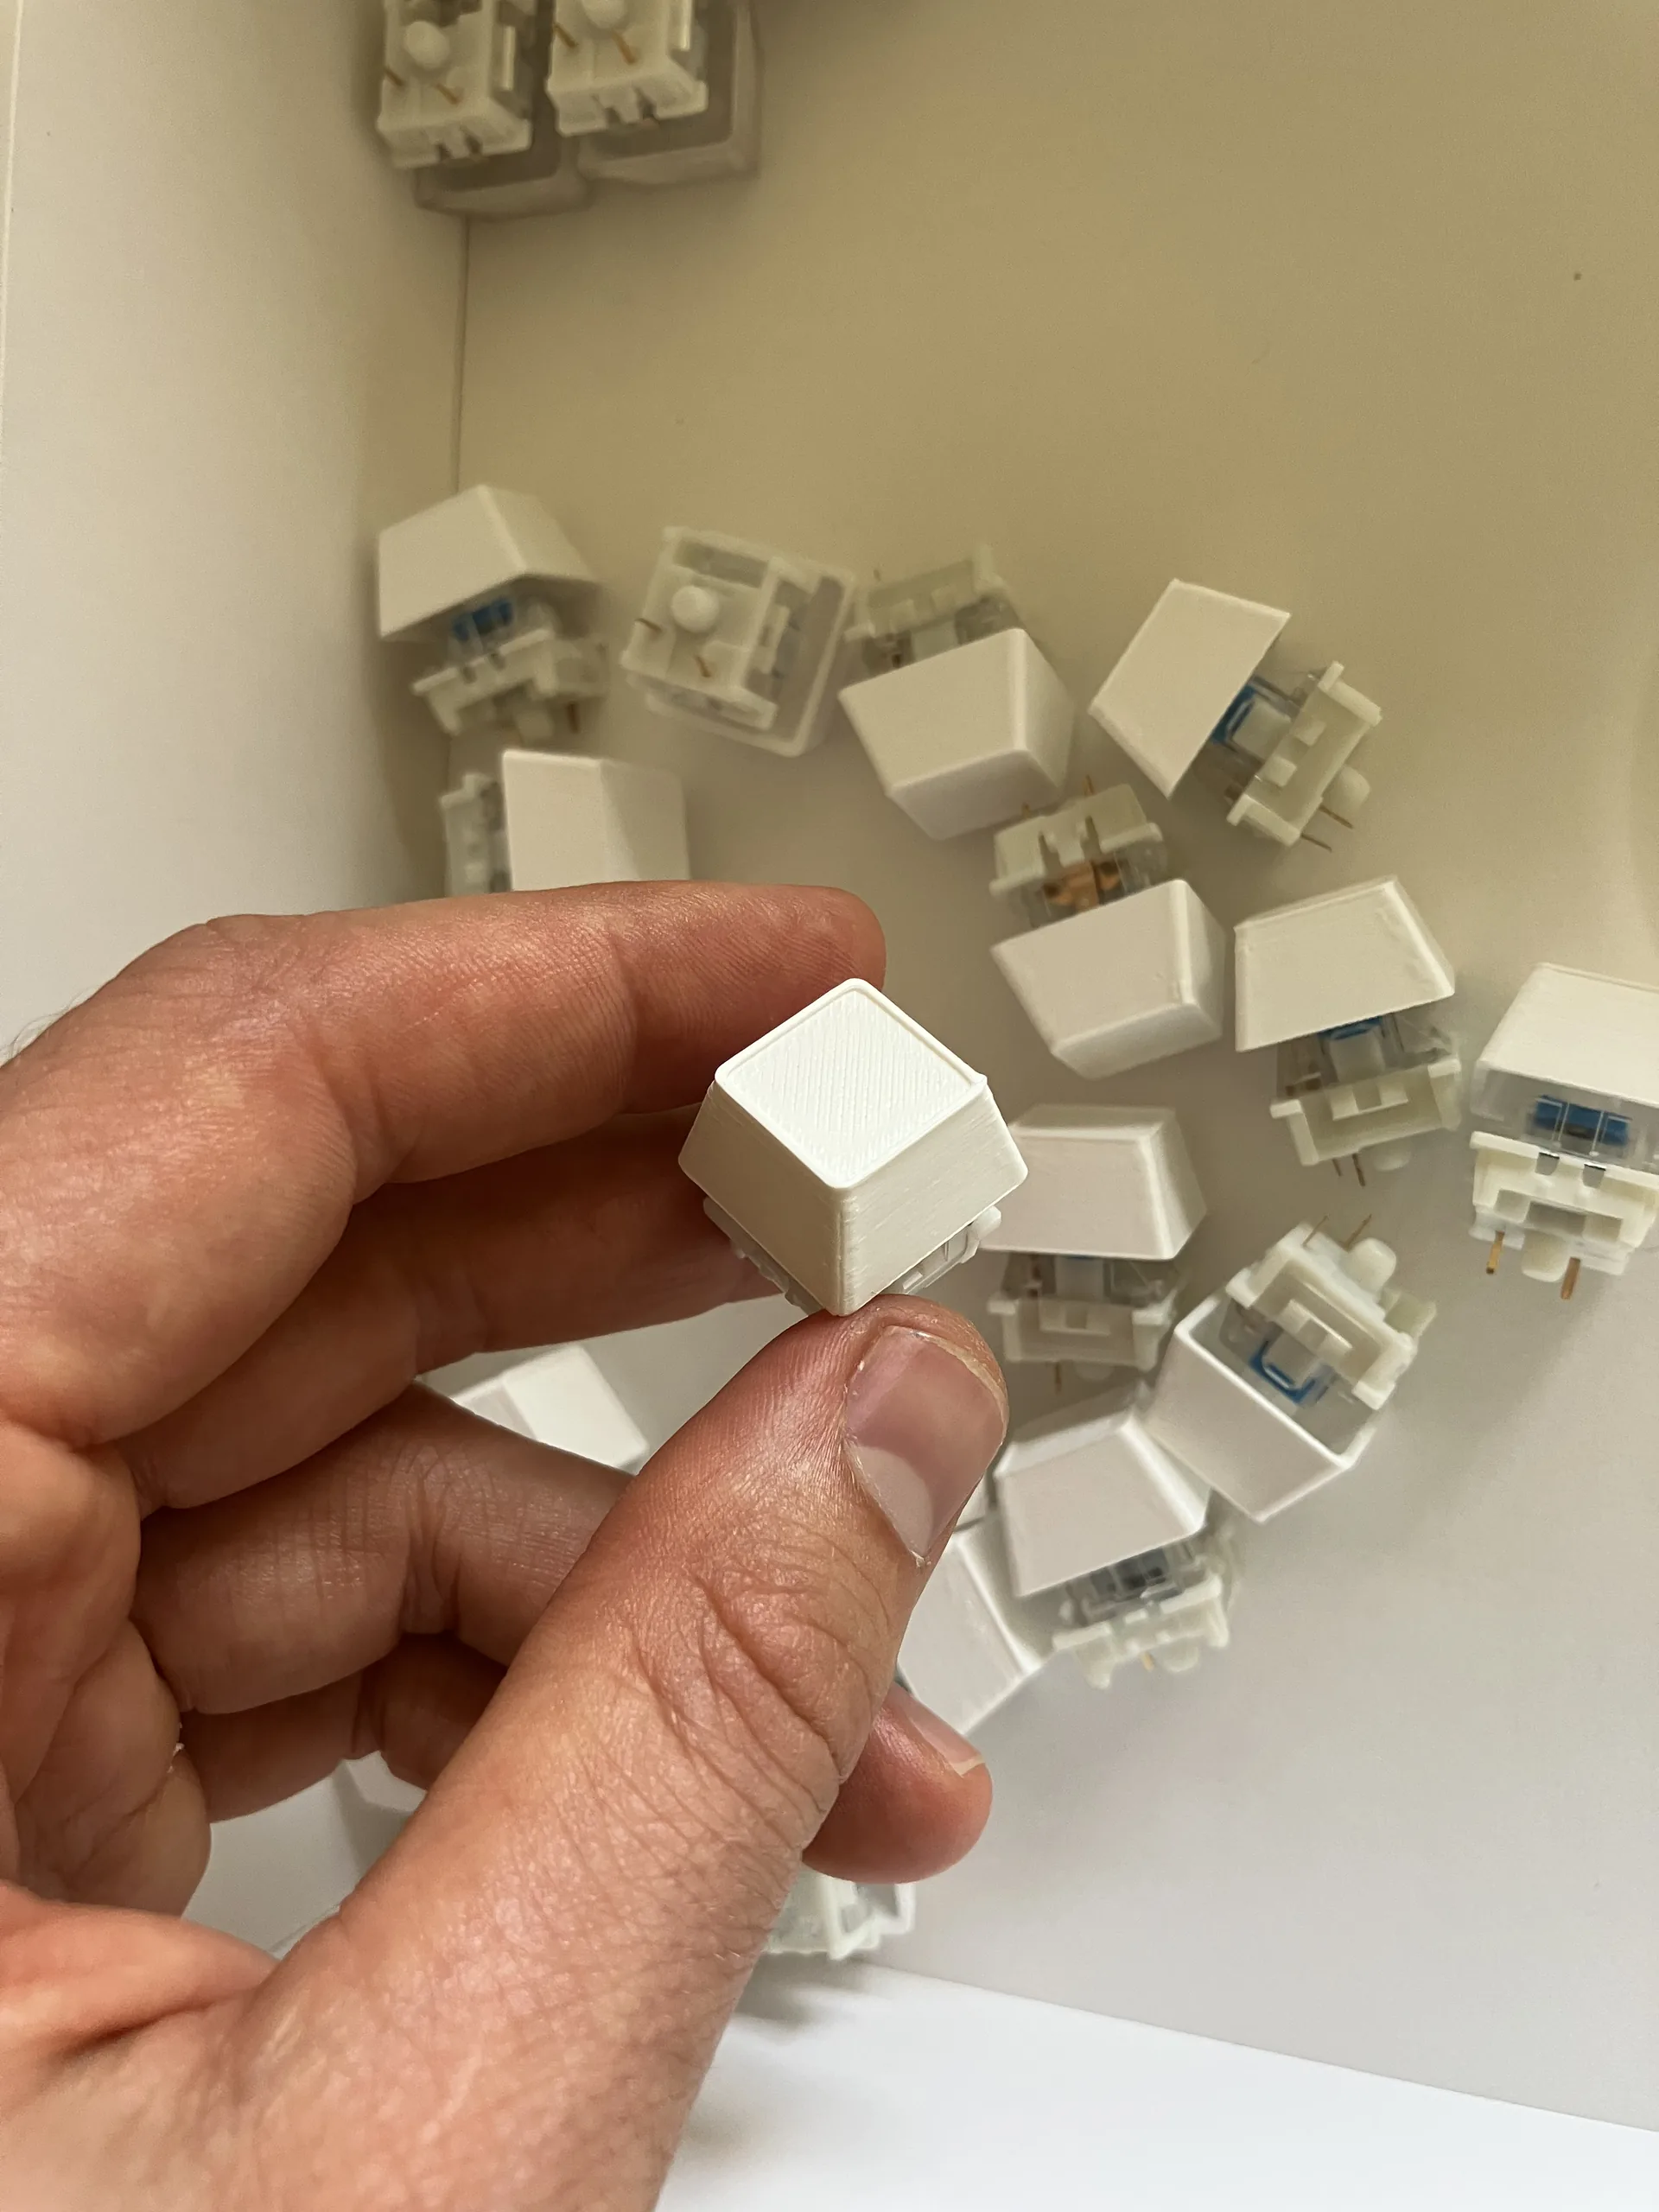
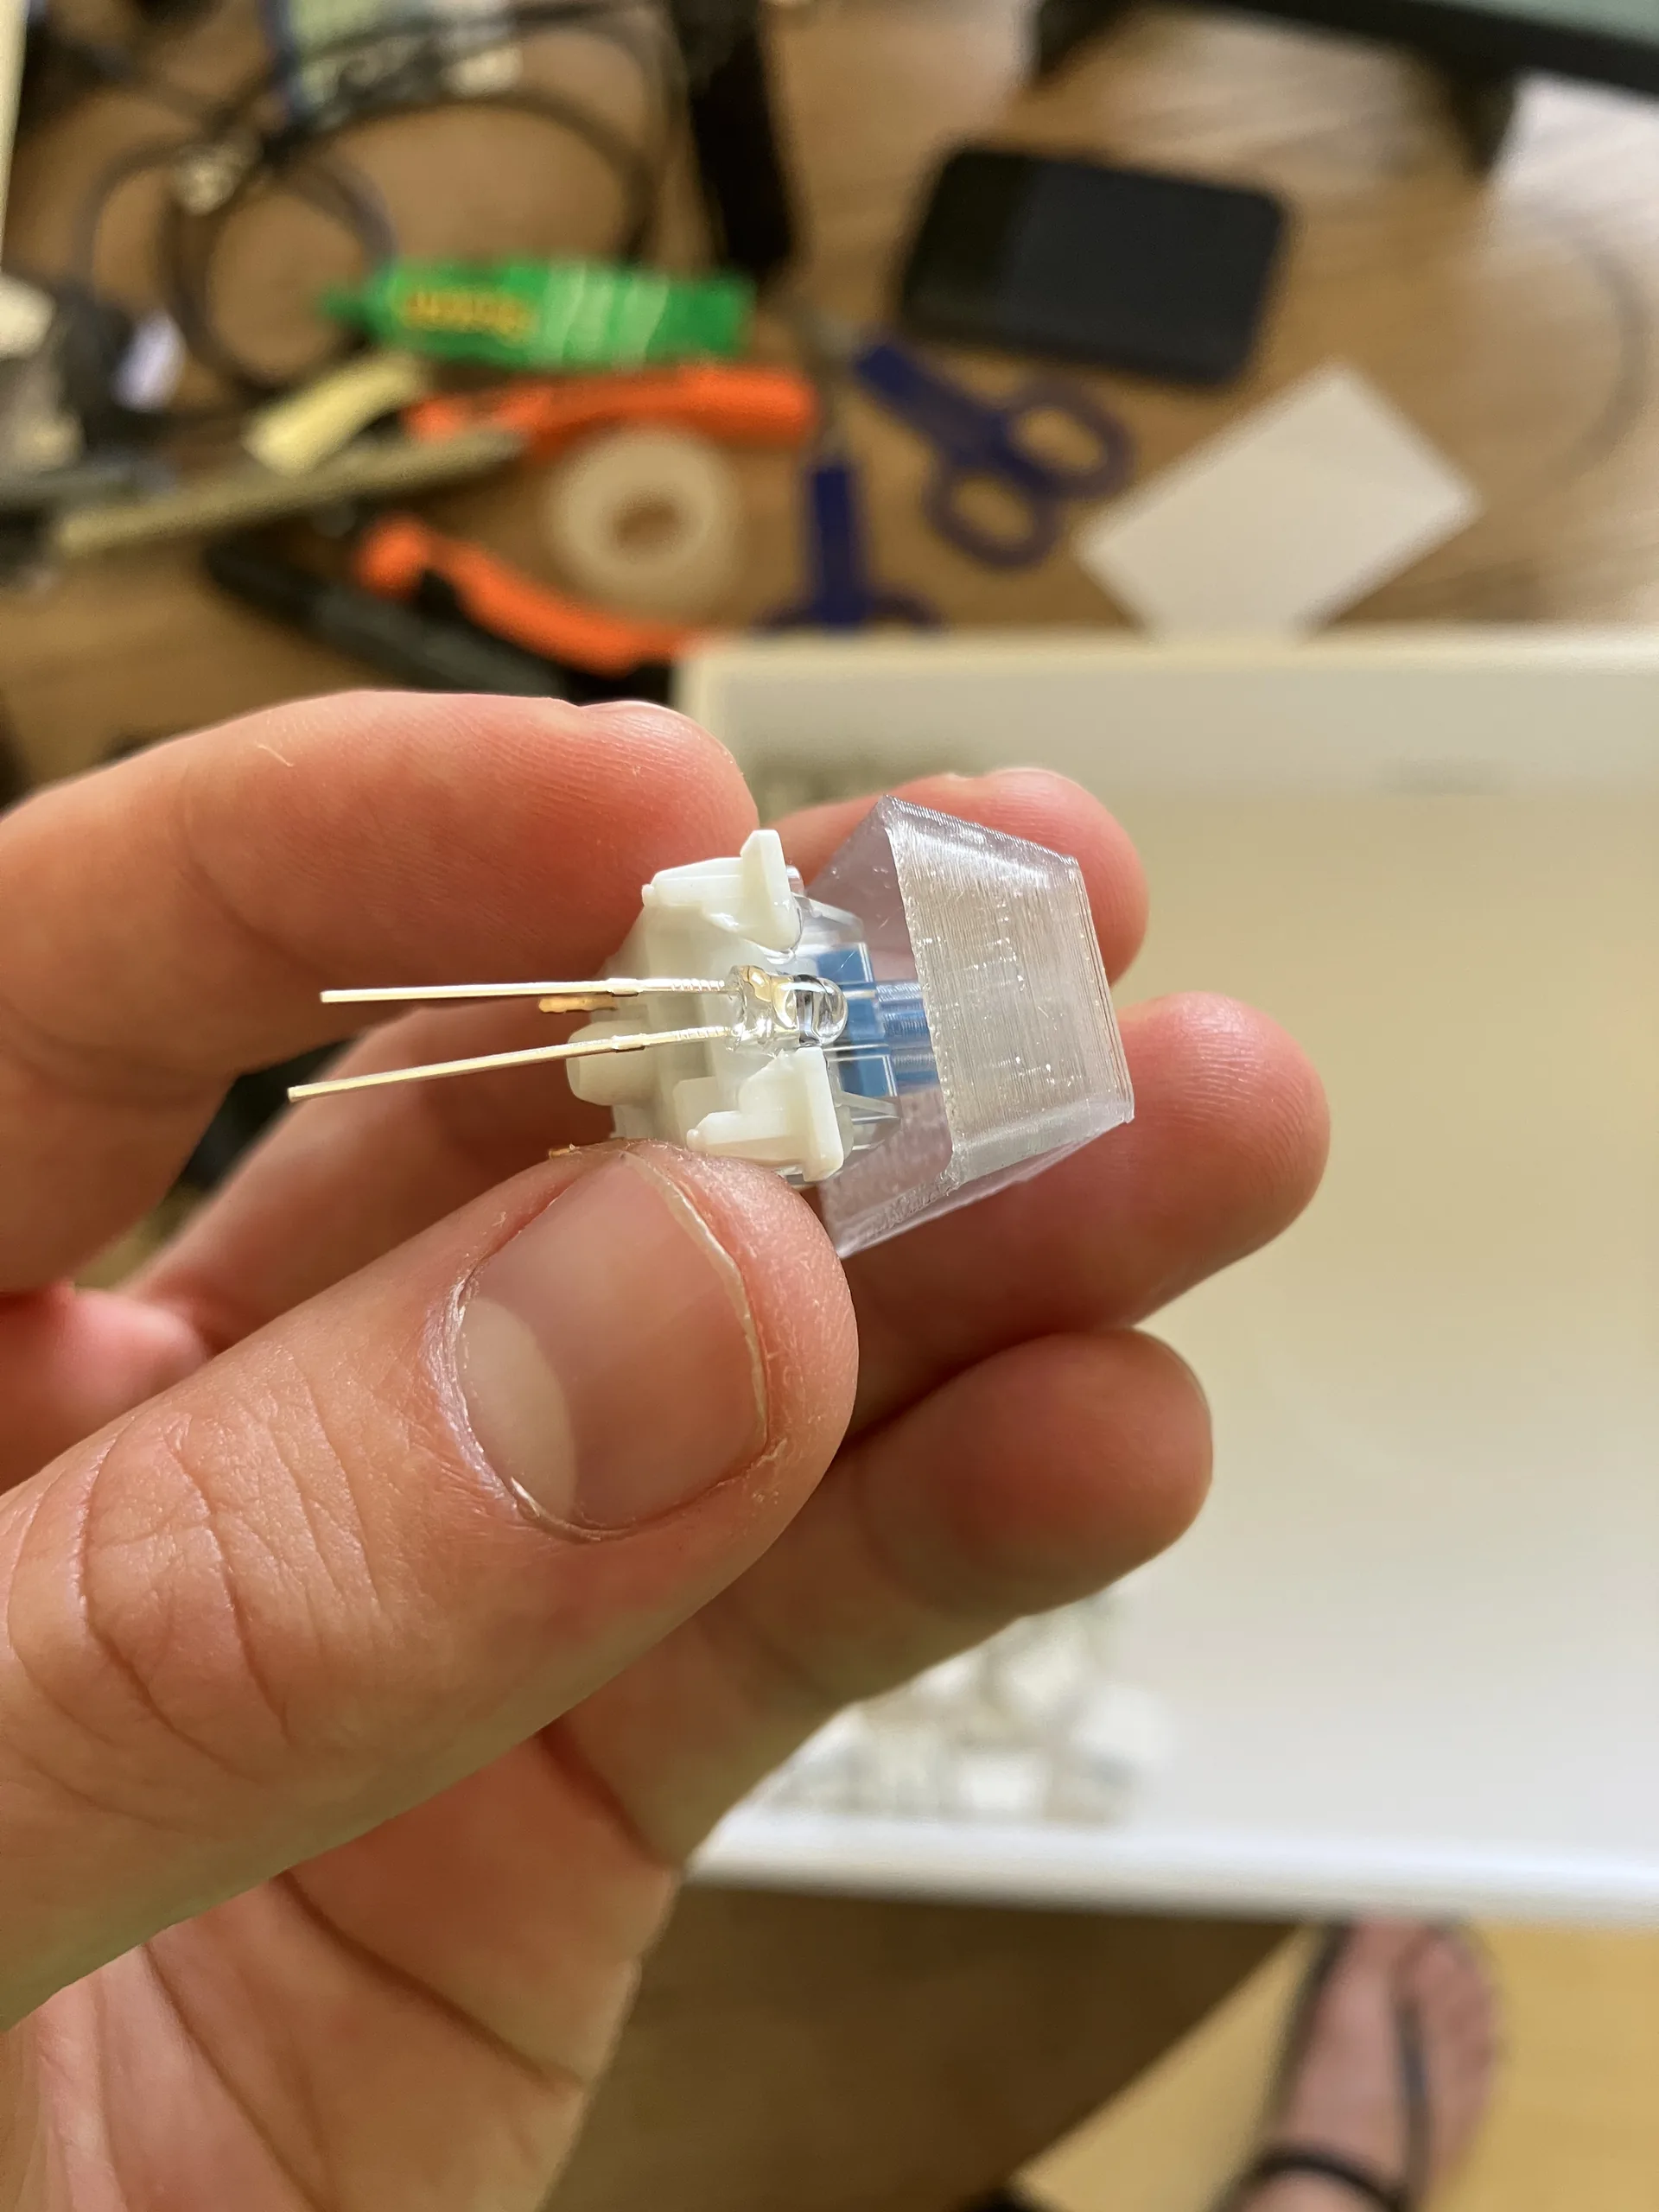
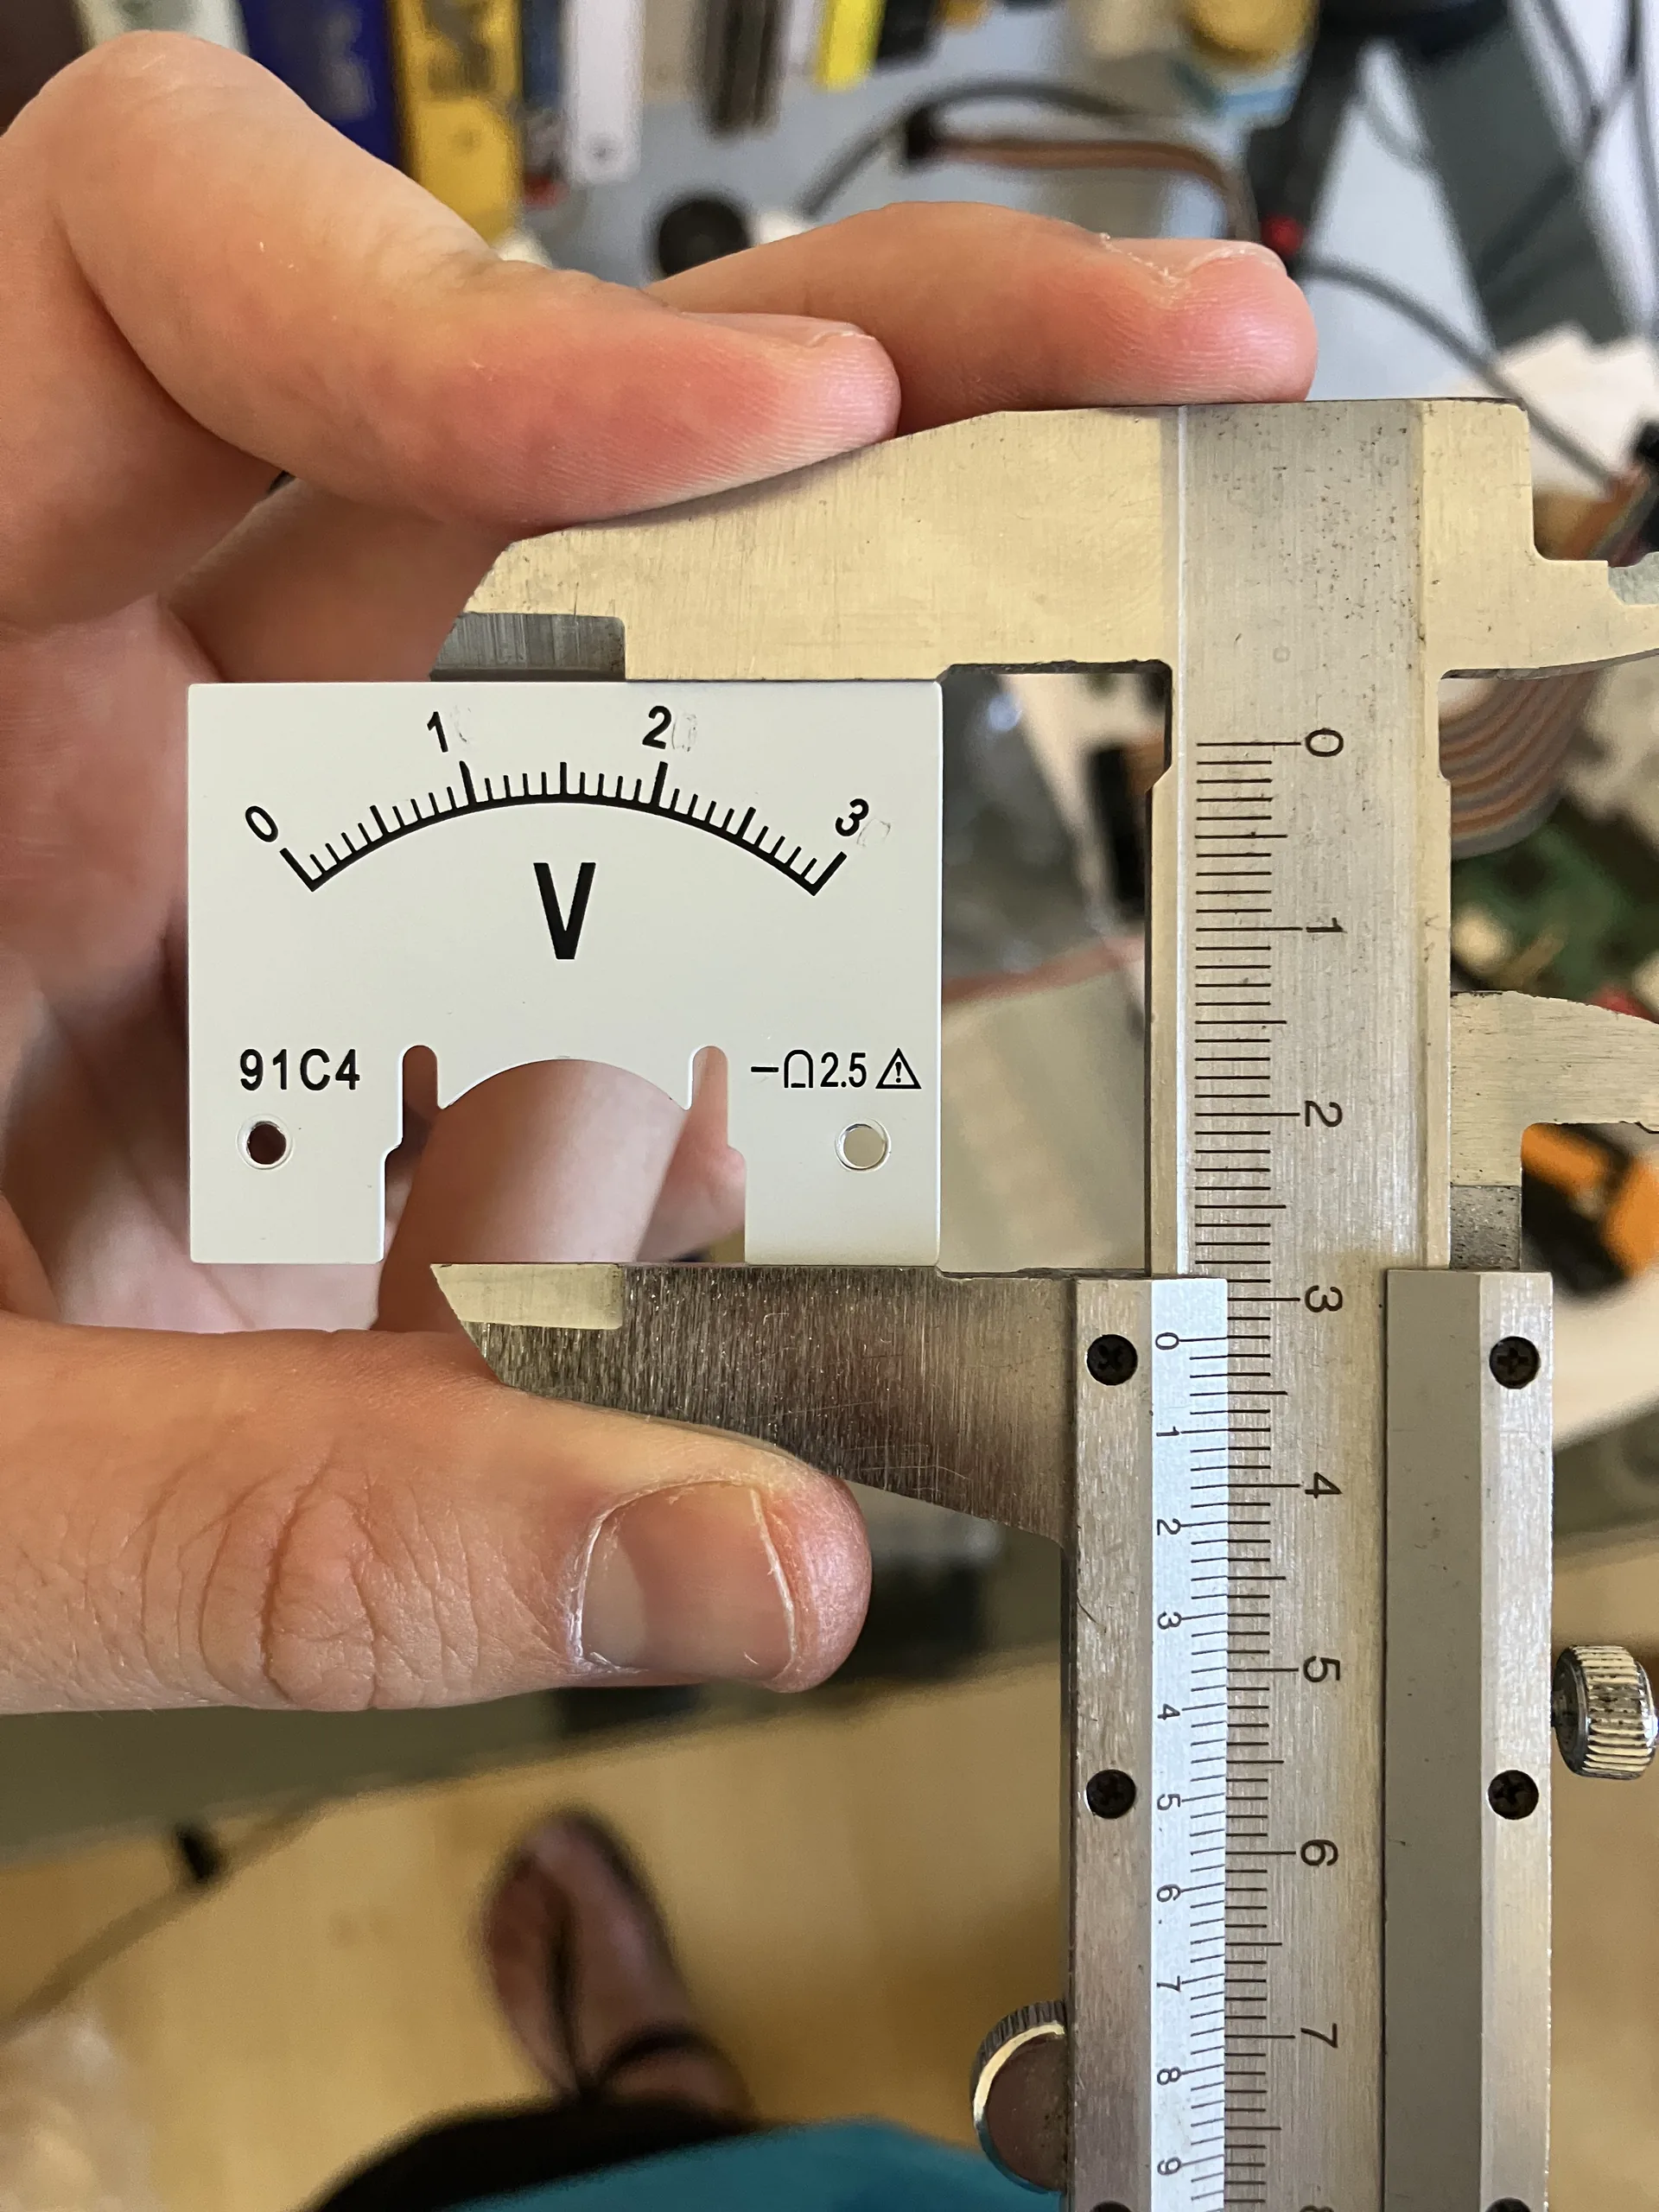
Given I wanted to design, print, cut, solder and assemble everything, we couldn’t wait for that to start writing the software. Plus, writing simulators forces to think about the states and their transitions and informs the physical build, while putting a software design in place that gets refined with the advancement of the build. Below are a few pictures of the first items starting to take shape.
Previous little simulators
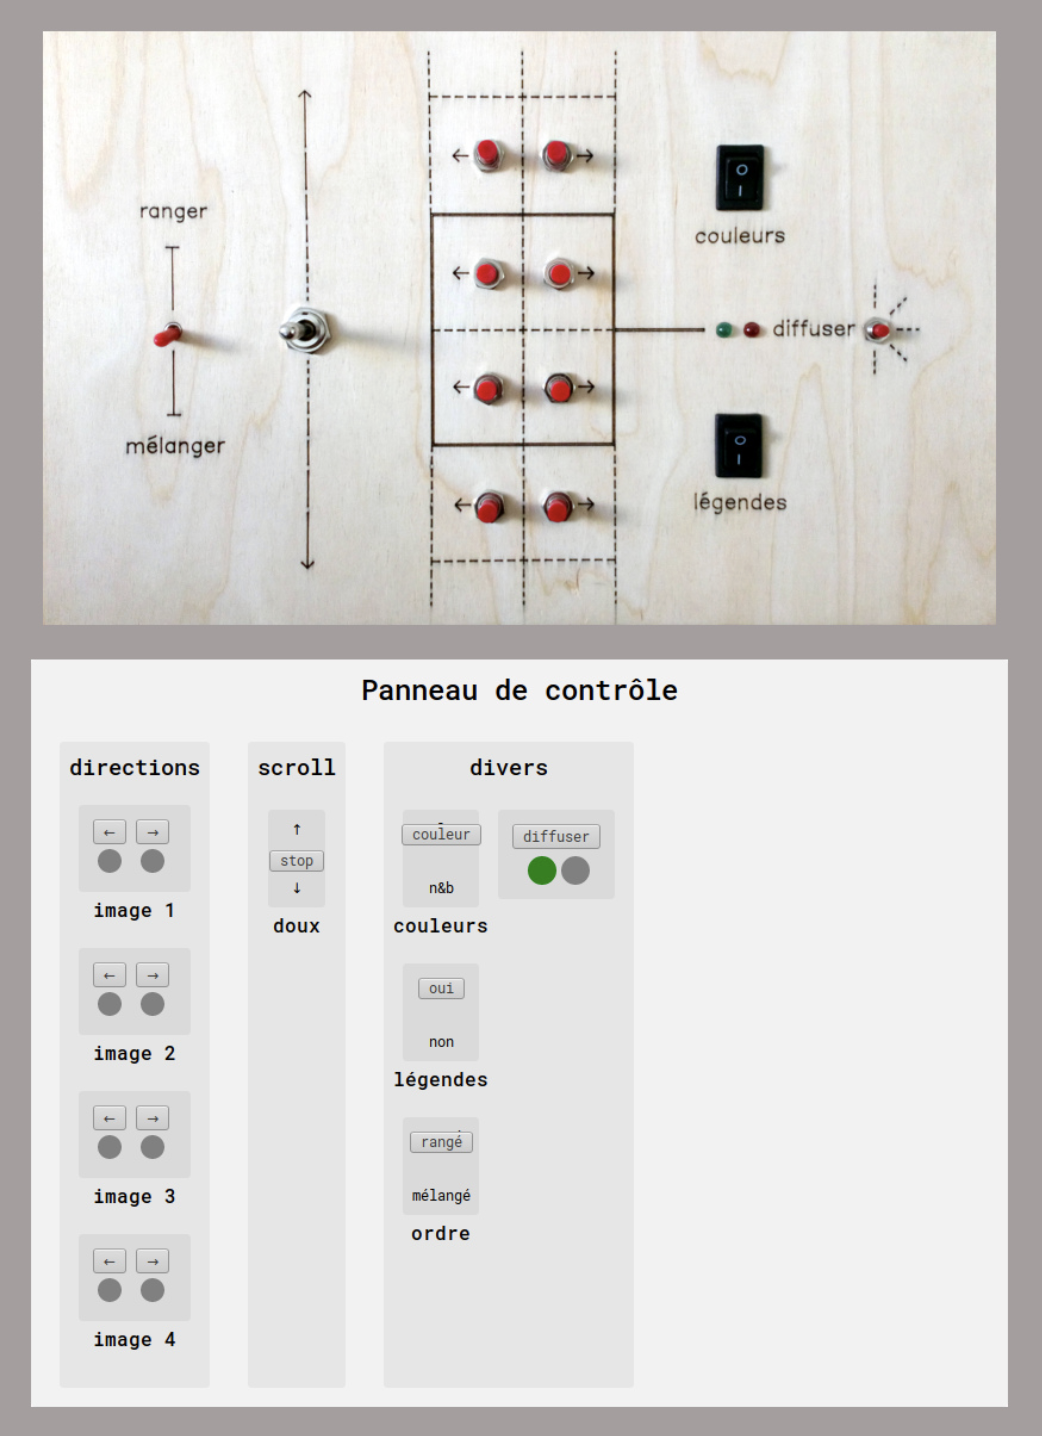
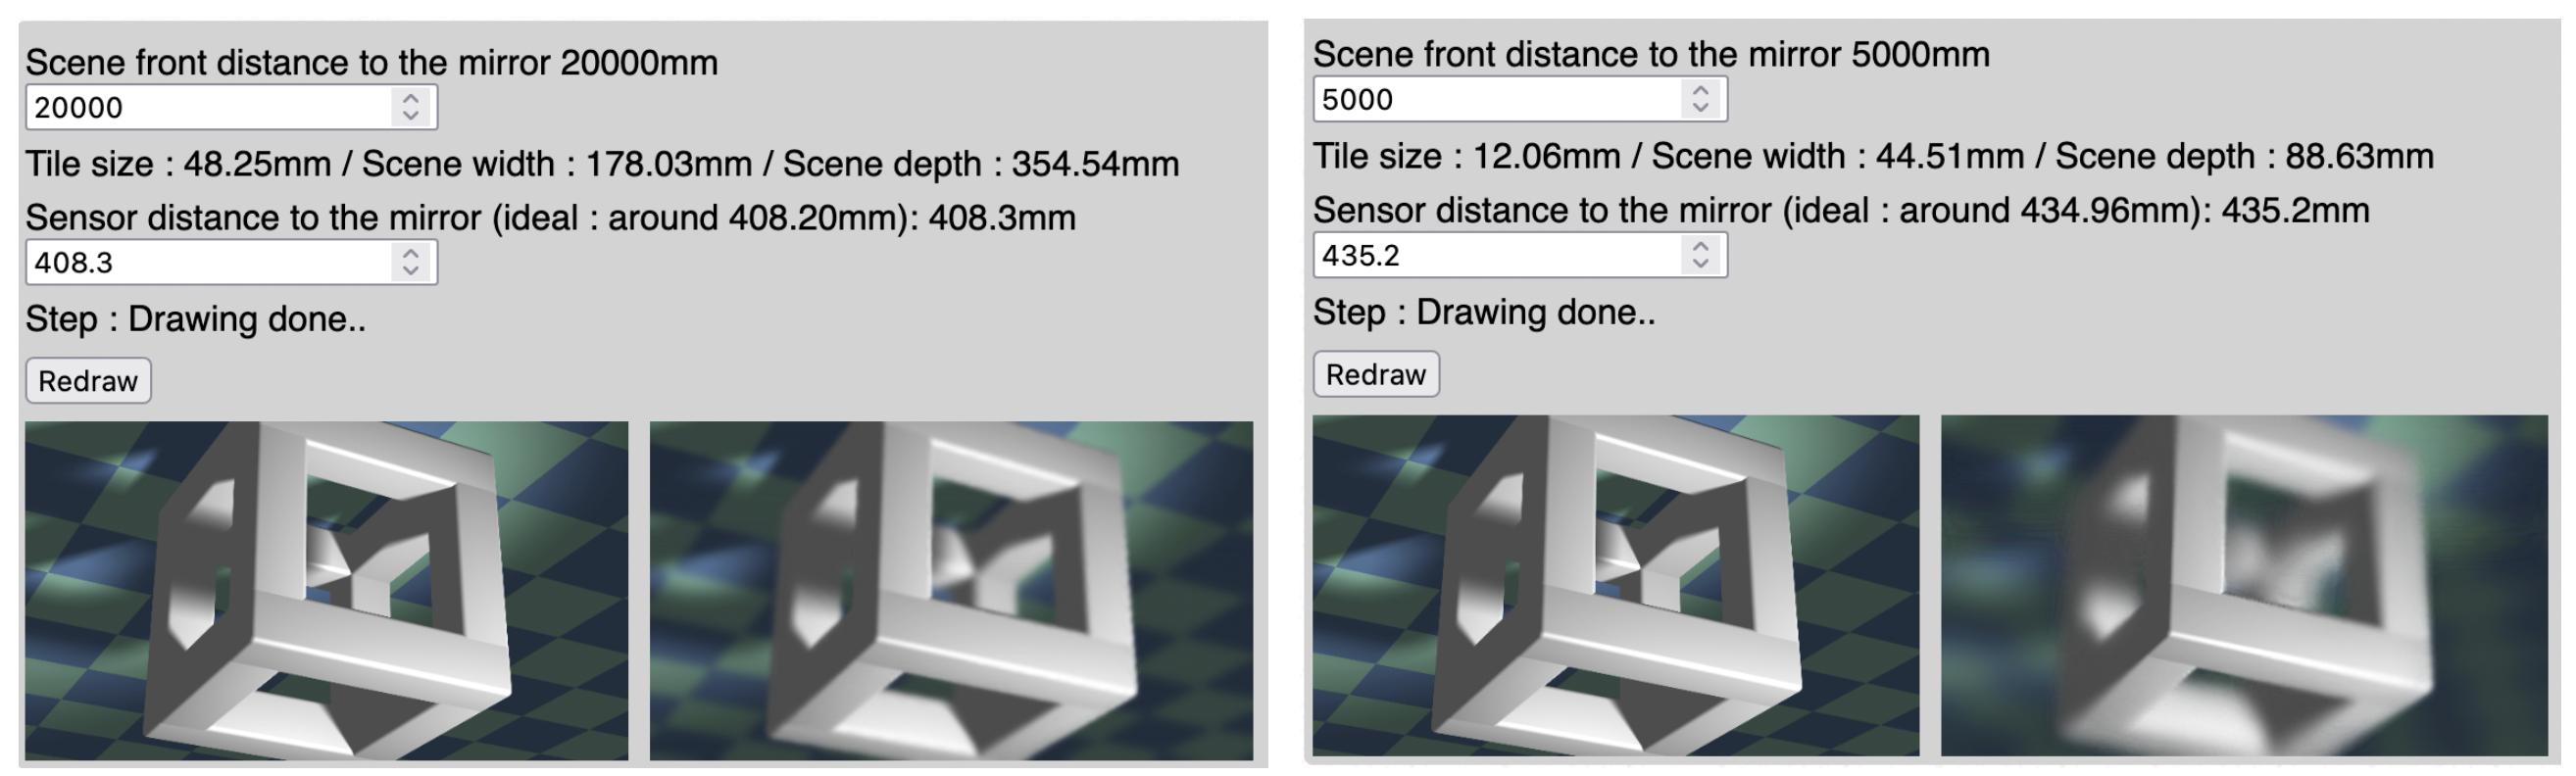
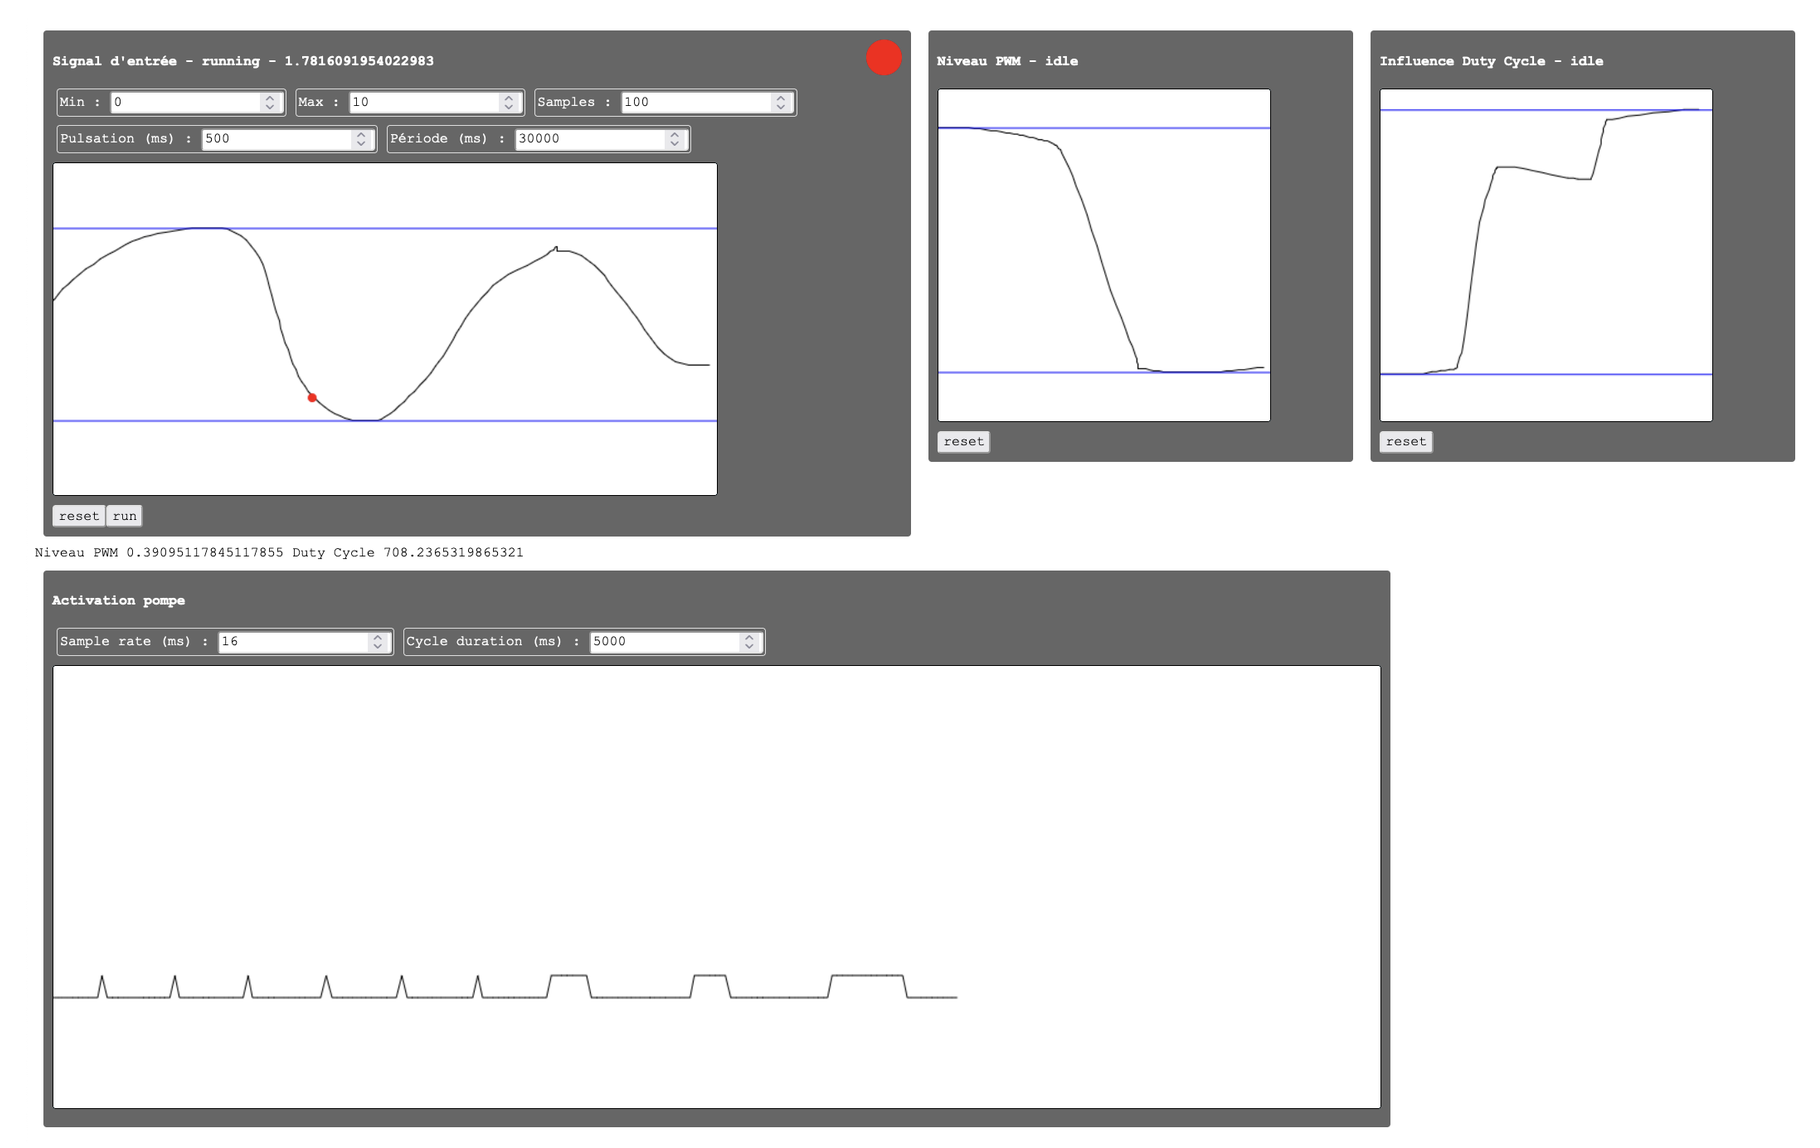
I most often build a simulator to gain knowledge about hardware projects or replace a missing component, but they usually get recycled when the real system is brought up. Below are a few examples from previous project, a control panel, an optically dubious depth of focus simulation, and a little PWM/duty cycle curve tuner while we were missing a signal generator. Today those would be one-shot generated, and you’ll see later in this post that thanks to LLMs, we can afford better UX for those prototypes. But I insisted on not bringing Claude early in the process in this project, to offer myself the pleasure of designing the software loop.
Where does complexity go?
I decided to make all the hardware as simple as possible code-wise. All the modules have absolutely no idea what they are used for and just provide raw inputs to the Elixir host. Some have outputs and they just have “receive bitmap, light LEDs” code, absolutely no business logic hints. This allowed to fully generate the ESP32 firmwares and make them a small implementation detail.
As an example, the keyboard’s firmware can be summarized as the following C++ snippet : read the key matrix, send it.
void app_setup() {
  serial_link::begin(proto::kBaud, proto::kModuleId);

  g_key_spi.begin(kSck, kMiso, kMosi, -1);
  g_drive.begin();
  g_sense.begin();
  g_keys.set_settle(settle);
}

void app_loop() {
  serial_link::poll(apply_command);

  const unsigned long now = millis();
  if (now - g_last_scan_ms < kScanIntervalMs) {
    return;
  }
  g_last_scan_ms = now;

  g_keys.scan(on_key_event, nullptr);
The software bridge doesn’t know its purpose either
I simply described each kind of element in Elixir : what is a button ? What is a joystick ? What is a gauge ? And write a simple struct and pure transition functions for it. An idle button through a press function gives a pressed button, and nothing more.
I don’t describe actions at all like “if I push the text size joystick right, increase the text size” or “when rolling the trackball replace the text with a random word” because that would couple everything very tightly and make it rigid.
Instead the installation is fully described by data : what instances of elements are present in the layout, and what properties do they bear to route signals between the hardware and the pure core that manipulates the state.
This means that a component is a type (data and functions) handled by an instance (an Elixir process).
Signals, no matter their source, maybe find a corresponding instance. The instance holds data that maybe routes the signal, transformed as an event, to the pure core.
defmodule Hardware.Component do
  @callback new(opts :: keyword()) :: struct()
  @callback events() :: list(atom())
  @callback effects() :: list(atom())
  @callback handle_event(state :: struct(), event :: term(), payload :: term()) ::
              {:ok, struct()} | {:ok, struct(), [{atom(), term()}]} | {:error, term()}
  @callback handle_effect(
              id :: term(),
              effect :: term(),
              payload :: term(),
              old_state :: term(),
              new_state :: term()
            ) :: :ok
  @callback editable_fields() :: keyword(atom())
  @callback dimensions() :: {number(), number()}
  @callback input_binding(state :: struct()) :: term() | nil
The above behaviour lists what describes a component : what is my data, do I do something on the world, how do I map to a rendering, how am I configured. The below snippet is the pushbutton component : it asks : am I pushed ? what is my character ? do I represent a special action ? am I red (physically a red key) ?
defmodule Hardware.Components.PushButton do
  @behaviour Hardware.Component

  defstruct [:pushed, :char, :shift, :action, :red]

  @impl true
  def new(opts) do
    %__MODULE__{
      pushed: false,
      char: Keyword.get(opts, :char, nil),
      shift: Keyword.get(opts, :shift, nil),
      action: Keyword.get(opts, :action, nil),
      red: Keyword.get(opts, :red) == true
    }
  end

  @impl true
  def events(), do: [:key_up, :key_down, :set_pushed]

  @impl true
  def handle_event(state, :key_down, _),
    do: {:ok, %{state | pushed: true}, [{:key_down, meaning(state)}]}
We can then use it purely and see that handling a “key is down” event produces an event carrying the necessary meaning for the core :
iex> PushButton.new(char: "a", shift: "A")
      |> PushButton.handle_event(:key_down, nil)

{:ok, %PushButton{pushed: true}, [{:key_down, %{char: "a", shift: "A", action: nil}}]}
Some components need to touch the world, and they have a transition function that diffs (if needed) their previous state with the new one to update any reflection, mainly LEDs. The body of handle_transition is impure. If the LED here is actually bound to a physical LED channel, it will get updated.
defmodule Hardware.Output do
  @callback handle_transition(old :: struct(), next :: struct(), opts :: keyword()) :: :ok
end
  @impl Hardware.Output
  def handle_transition(%__MODULE__{} = _old, %__MODULE__{} = new, _opts) do
    if bound?(new) do
      LedShadow.put(new.module, new.led, new.lit)
    end

    :ok
  end
All components can be rendered too, having a Display counterpart for the installation’s control/setup panel.
defmodule Hardware.Components.NeedleGauge.Display do
  use Phoenix.Component

  defp compute_rotation(value) when is_number(value) do
    value / 100 * 120 -60
  end

  defp compute_rotation(_), do: -60

  attr :attrs, :any
  attr :data, :any

  def render(assigns) do
    ~H"""
    <div class="w-48 h-24 bg-blue-300 relative">
      <div
        class="needle w-[2px] bg-red-500 h-[80px] left-[50%] top-[10px] absolute origin-bottom"
        style={"transform: rotate(#{compute_rotation(@data.progress)}deg)"}
      >
      </div>
    </div>
    """
  end
end
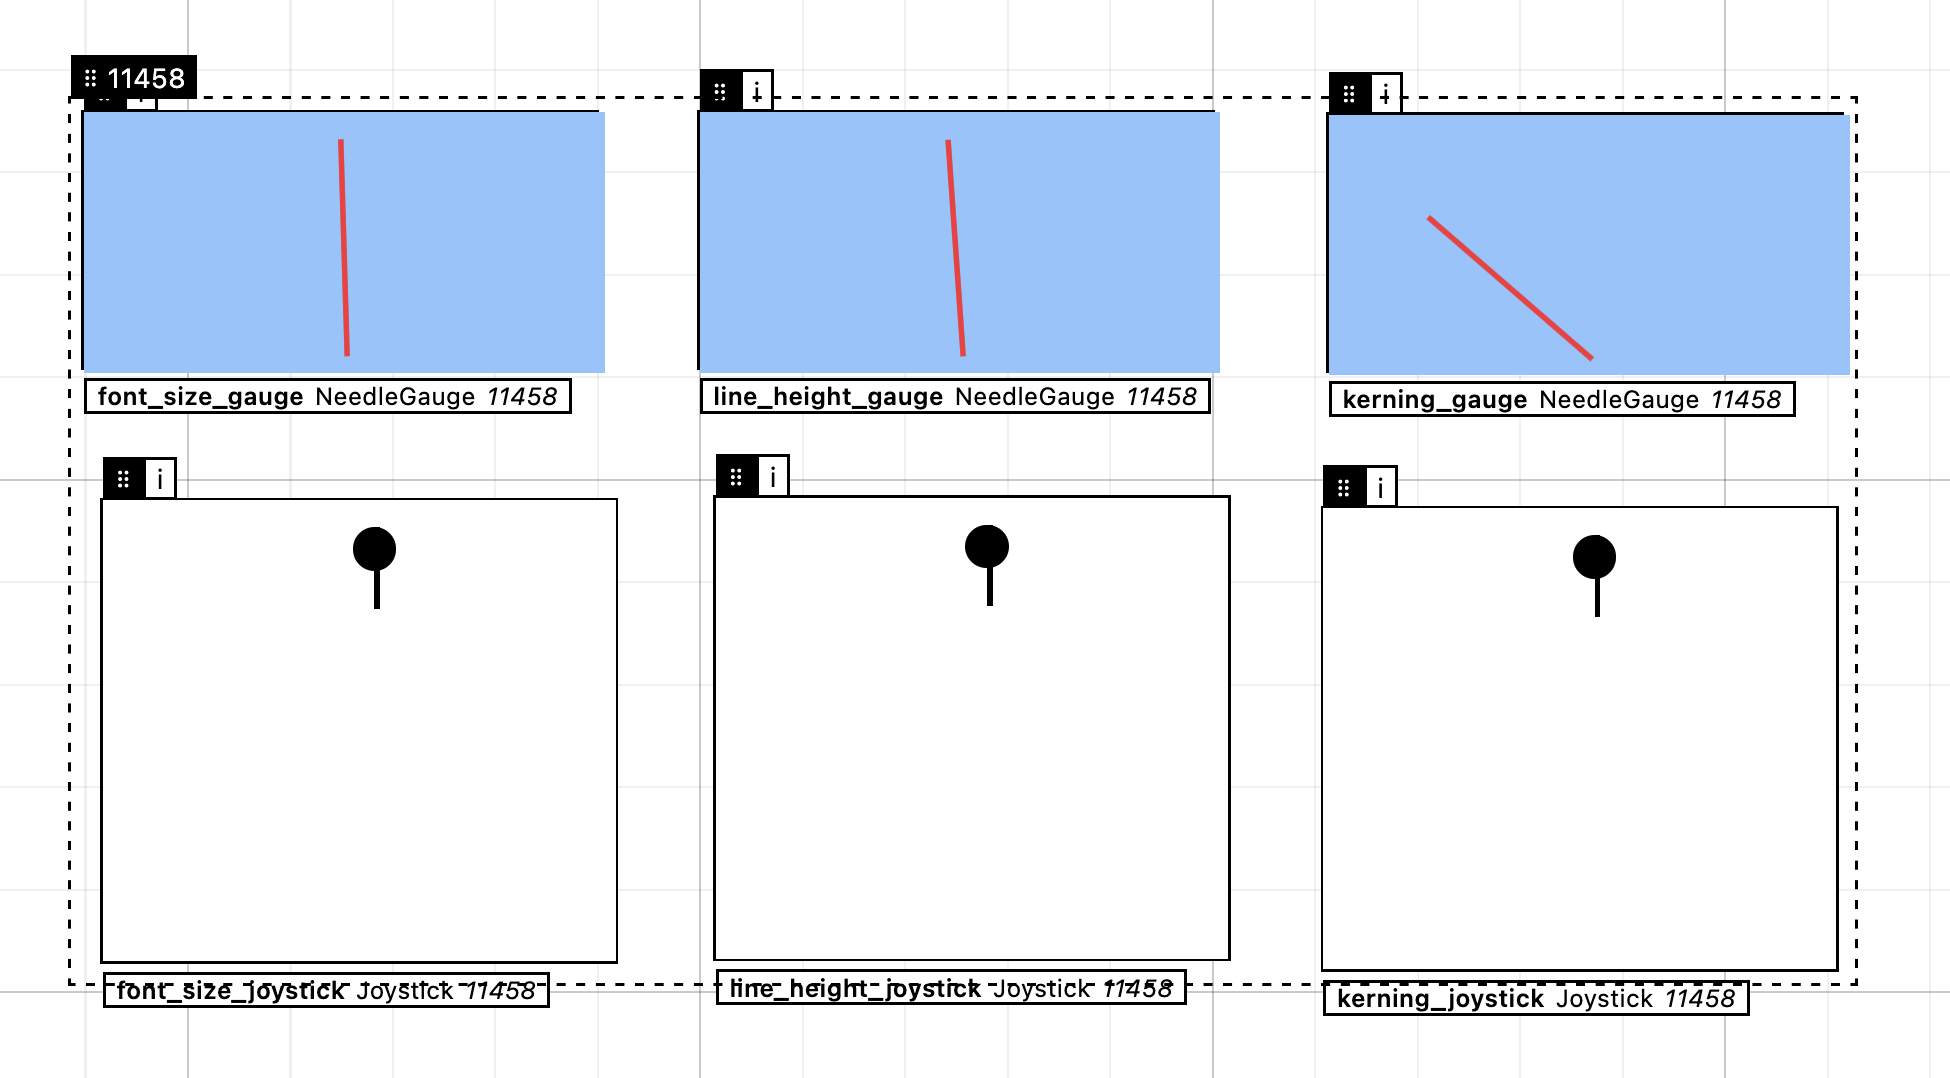
apply(:"#{module}.Display", :render, [assigns])inControlPanelLive: resolved from the layout data by naming convention
On startup, all instantiated components get registered in a registry and are restored from postgres.
[info] Start switch_4_5 via {:via, Registry, {Bbparty.ComponentsRegistry, :PhysicalComponent_switch_4_5}}
[info] Start text_quantity via {:via, Registry, {Bbparty.ComponentsRegistry, :PhysicalComponent_text_quantity}}
[info] Start m4_trackball via {:via, Registry, {Bbparty.ComponentsRegistry, :PhysicalComponent_m4_trackball}}
[info] Start font_size_joystick via {:via, Registry, {Bbparty.ComponentsRegistry, :PhysicalComponent_font_size_joystick}}
[info] Start kerning_gauge via {:via, Registry, {Bbparty.ComponentsRegistry, :PhysicalComponent_kerning_gauge}}
The runtime of components is handled by their process, broadcasting any changes, cascading events, and triggering effects on the world.
  defp step(id, event, payload, state, origin) do
    module = state.__struct__

    if event in module.events() do
      case module.handle_event(state, event, payload) do
        {:ok, new_state, emits} ->
          broadcast_changed(id, new_state)
          publish(id, emits, origin)
          maybe_output(module, state, new_state)
          {:noreply, new_state}

        {:error, _e} ->
          {:noreply, state}
      end
    else
      {:noreply, state}
    end
  end

  defp publish(id, emits, :world), do: broadcast_emits(id, emits)
  defp publish(_id, _emits, :system), do: :ok
Those processes are the entry point of signals, no matter their nature. Following this principle, this means that the actual wiring between hardware and software is a component list, or, concretely, an SQL table.
defmodule Bbparty.Layout.ComponentInstance do
  use Ecto.Schema
  import Ecto.Changeset

  schema "component_instances" do
    field :component_id, :binary
    field :module, :binary
    field :attrs, :map
    field :position, :map
    field :group_id, :binary

    timestamps(type: :utc_datetime)
  end
And viewed as json, we can see that it is the place holding the translation between the button channel “6” and its meaning “align_left”.
{
  "attrs": { "action": "align_left", "char": "", "led": 2, "module": "2", "shift": "" },
  "component_id": "button_6",
  "group_id": "1767",
  "module": "Hardware.Components.PushButtonWithLed",
  "position": { "x": 682, "y": -554 }
}
At boot, the components are simply enumerated and started, then a full sync of the state is done so the initial state reflects the actual hardware state.
    for component <- Bbparty.Layout.list_components() do
      Hardware.PhysicalComponent.start(component.component_id, component)
    end

    Bbparty.RenderStateServer.sync()
This gives us a control panel liveview where it is possible to act on components as if they were the physical ones, configure them and change their wiring or meaning re: the core. This helped the physical build a lot as nothing needed a reflash as soon as the ESP32s had valid firmwares. You will be able to play with this control panel at the very bottom of the post.
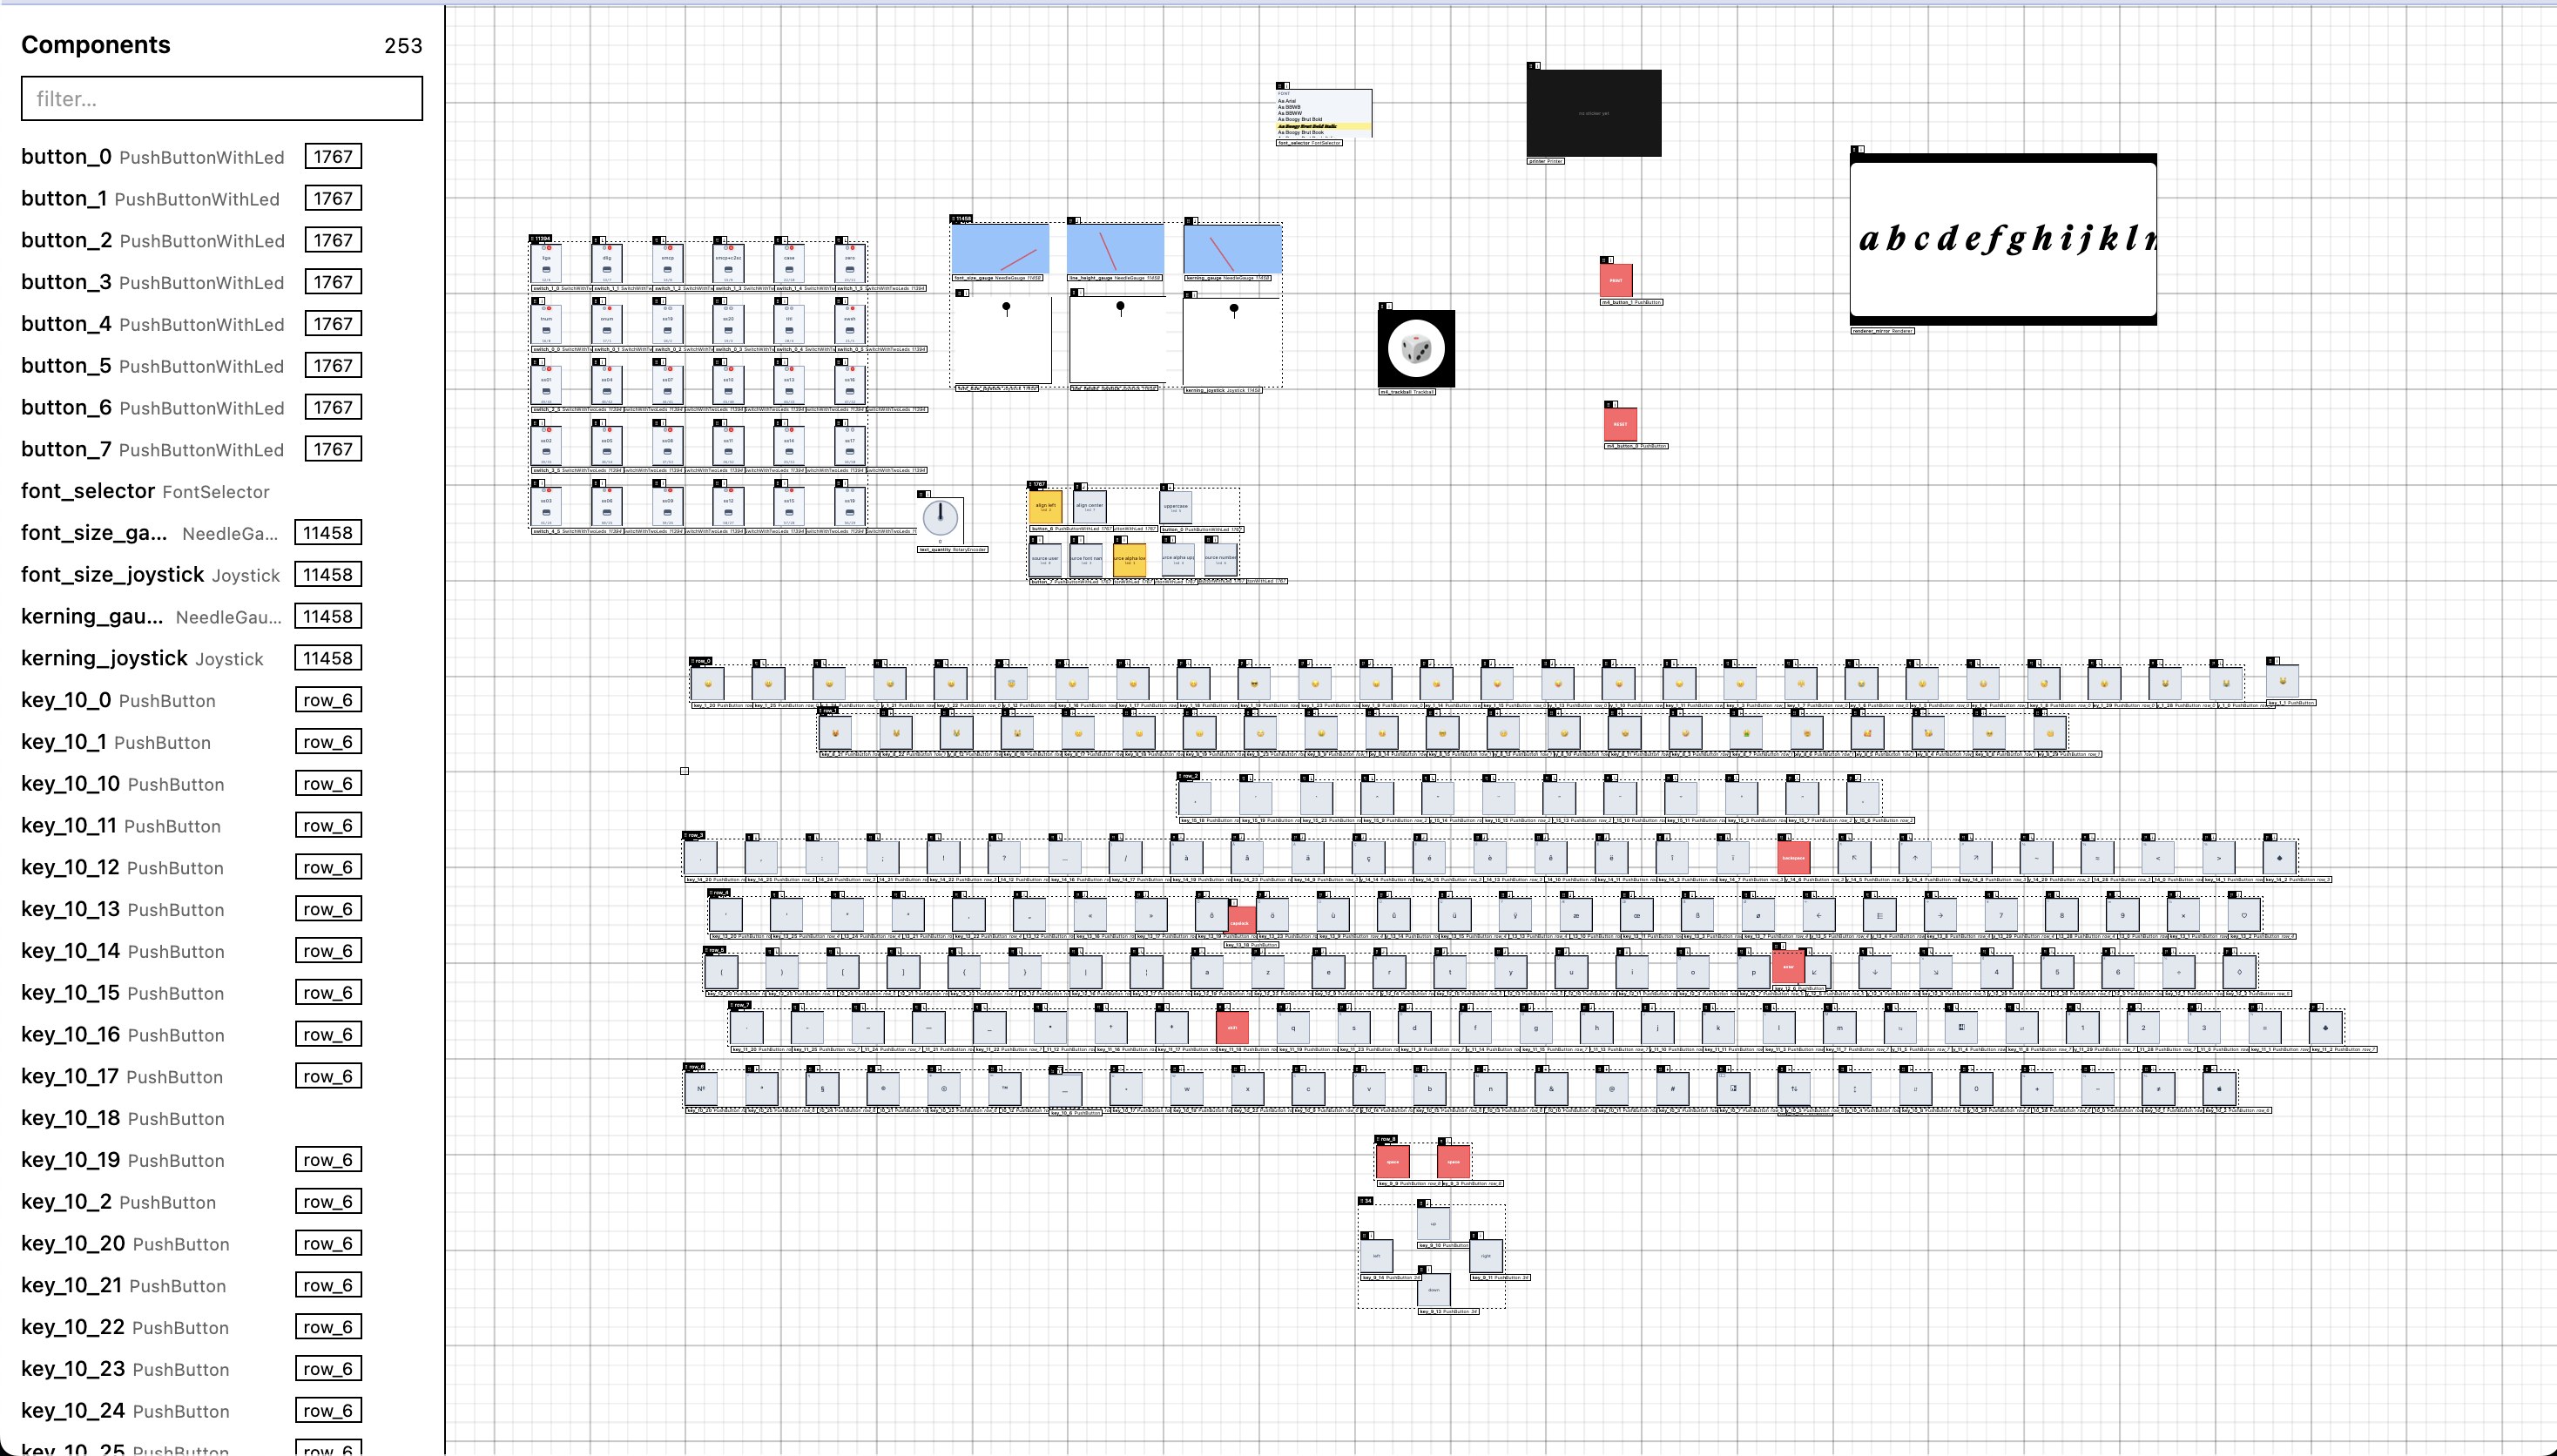
So, my job here was to think about the actual editing logic and capabilities, and configure the components one by one (one-off commissionning scripts helped a lot, I did not add 196 keys manually) while verifying that their routing was correct, since when soldering hundreds of wires, an inversion can happen. A few actually happened and I was happy to be able to fix them so easily.
At this point, everything was a matter of formalizing that old state + event = new state + instructions
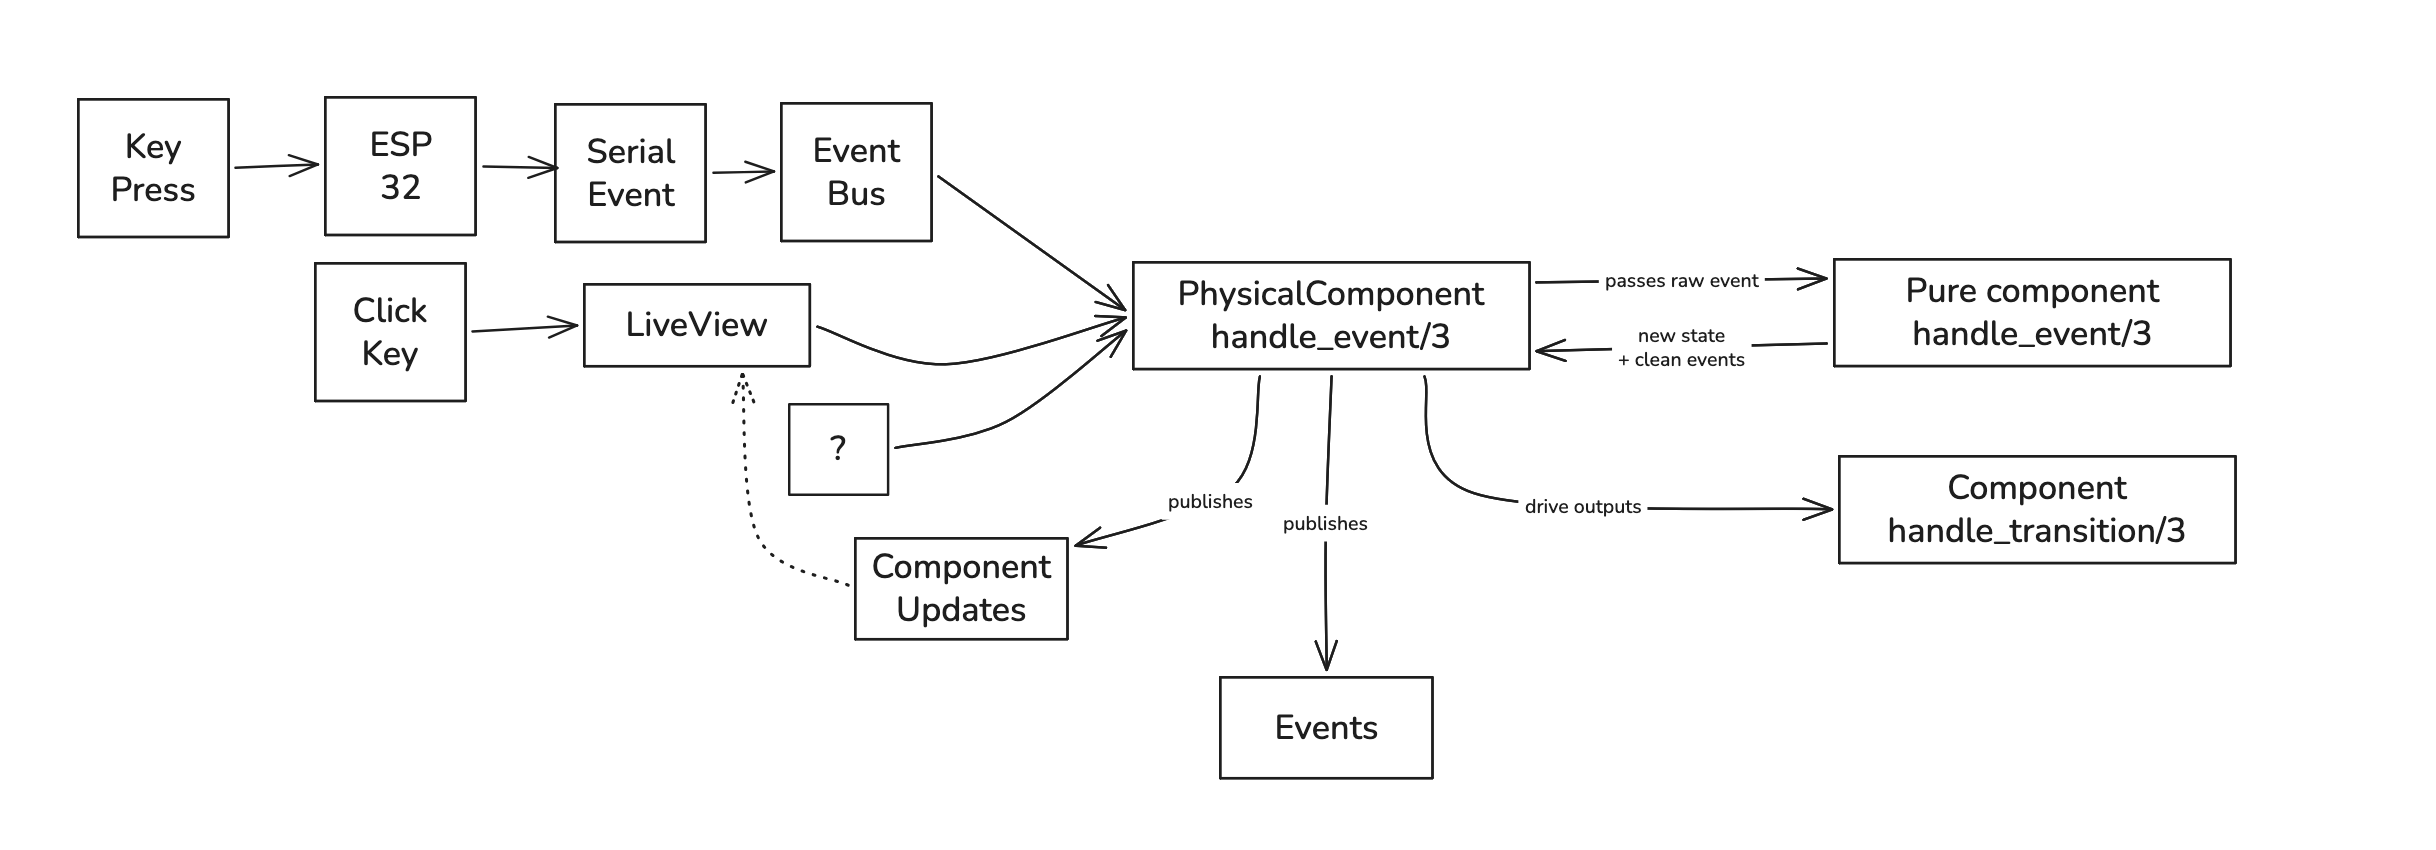
A RenderStateServer is the only subscriber to "events". For the controls that need impurity (the reset button uses the time to know how long it is held, the trackball wants a random word), it is injected here, this makes each effect testable.
  def handle_info({:component_event, id, event, payload}, state) do
    {render, commands, effects} =
      RenderState.apply(state.render, {id, event, fold_payload(event, payload)}, state.layout)

    dispatch_commands(commands)

    Enum.each(effects, &run_effect(&1, payload, state.render, render))

    if render != state.render do
      Phoenix.PubSub.broadcast(Bbparty.PubSub, "render", {:new_state, render})
    end

    {:noreply, %{state | render: render}}
  end

  defp fold_payload(:roll, _intensity), do: %{word: Enum.random(TextToWrite.roll_words())}

  defp fold_payload(event, payload) when event in [:key_down, :key_up] and is_map(payload),
    do: Map.put(payload, :at, System.monotonic_time(:millisecond))

  defp fold_payload(_event, payload), do: payload
In the core, it is then a matter of applying various functions to the state, and emitting any necessary commands, computed by a propagation helper that removes the need of keeping track of dependencies (i.e. a needle gauge component will need to be updated if a joystick component is used).
  def apply(state, event, %TextLayout{} = layout) do
    {new_state, effects} = do_apply(state, event, layout)
    {new_state, Projections.propagate(state, new_state), effects}
  end

  defp do_apply(state, {id, :nudge, value}, _layout), do: {Sizings.nudge(state, id, value), []}

  defp do_apply(state, {_id, :nudge_quantity, chars}, _layout) when is_integer(chars),
    do: {TextSource.nudge_quantity(state, chars), []}

  defp do_apply(state, {_id, :toggle_feature, tag}, _layout) when is_binary(tag),
    do: {Font.toggle_feature(state, tag), []}

  defp do_apply(state, {_id, :select_font, font}, _layout), do: {Font.select(state, font), []}

  defp do_apply(state, {_id, :roll, %{word: word}}, _layout) when is_binary(word),
    do: {TextSource.roll_word(state, word), []}
As another example, here, we can see the alignment projection function. This way anything that acts on the alignment (alignment buttons, reset button, hardware reset or unplug/replug) projects to the correct LED.
  @spec propagate(RenderState.t(), RenderState.t()) :: [command()]
  def propagate(old, new),
    do: project(new, fn field -> Map.get(old, field) != Map.get(new, field) end)

  @spec sync(RenderState.t()) :: [command()]
  def sync(state), do: project(state, fn _field -> true end)

  defp alignment_lamps(alignment) do
    [
      {{:action, :align_left}, {:set_lit, alignment == :left}},
      {{:action, :align_center}, {:set_lit, alignment == :center}}
    ]
  end

  defp font_commands(font),
    do: [{{:field, :selected_font}, {:set_font, font}} | feature_availability_commands(font)]
The core is also free of the responsiblity of saying what components should update.
So if we follow the “Align left” key, with text centred and the “user text” lamp lit, from start to end :
| Step | Location | Effect |
|---|---|---|
| 1 | ESP32, module 2 | scan, debounce, <<0x82, 6, 1>> |
| 2 | Bus.Link | UART chunk → decode → {:frame, 0x02, <<0x82, 6, 1>>} on PubSub |
| 3 | Module2Dispatcher | decode → :button_6 → handle_event(:button_6, :key_down, nil) |
| 4 | PushButtonWithLed | pushed: true, translates to action: "align_left" |
| 5 | PhysicalComponent | broadcasts component_changed (liveview rendering) and component_event (core) |
| 6 | RenderStateServer | adds timestamp |
| 7 | RenderState.apply/3 | alignment: :left |
| 8 | Projections.propagate/2 | only :alignment changed → two set_lit commands |
| 9 | PhysicalComponent.command/2 | set_lit applied |
| 10 | handle_transition/3 | LedShadow.put(2, 2, true), and put(2, 7, false) |
| 11 | LedShadow | sends both in 1 frame <<0x12, 0x05>> |
| 12 | RenderLive | re-render |
A few more build excerpts :
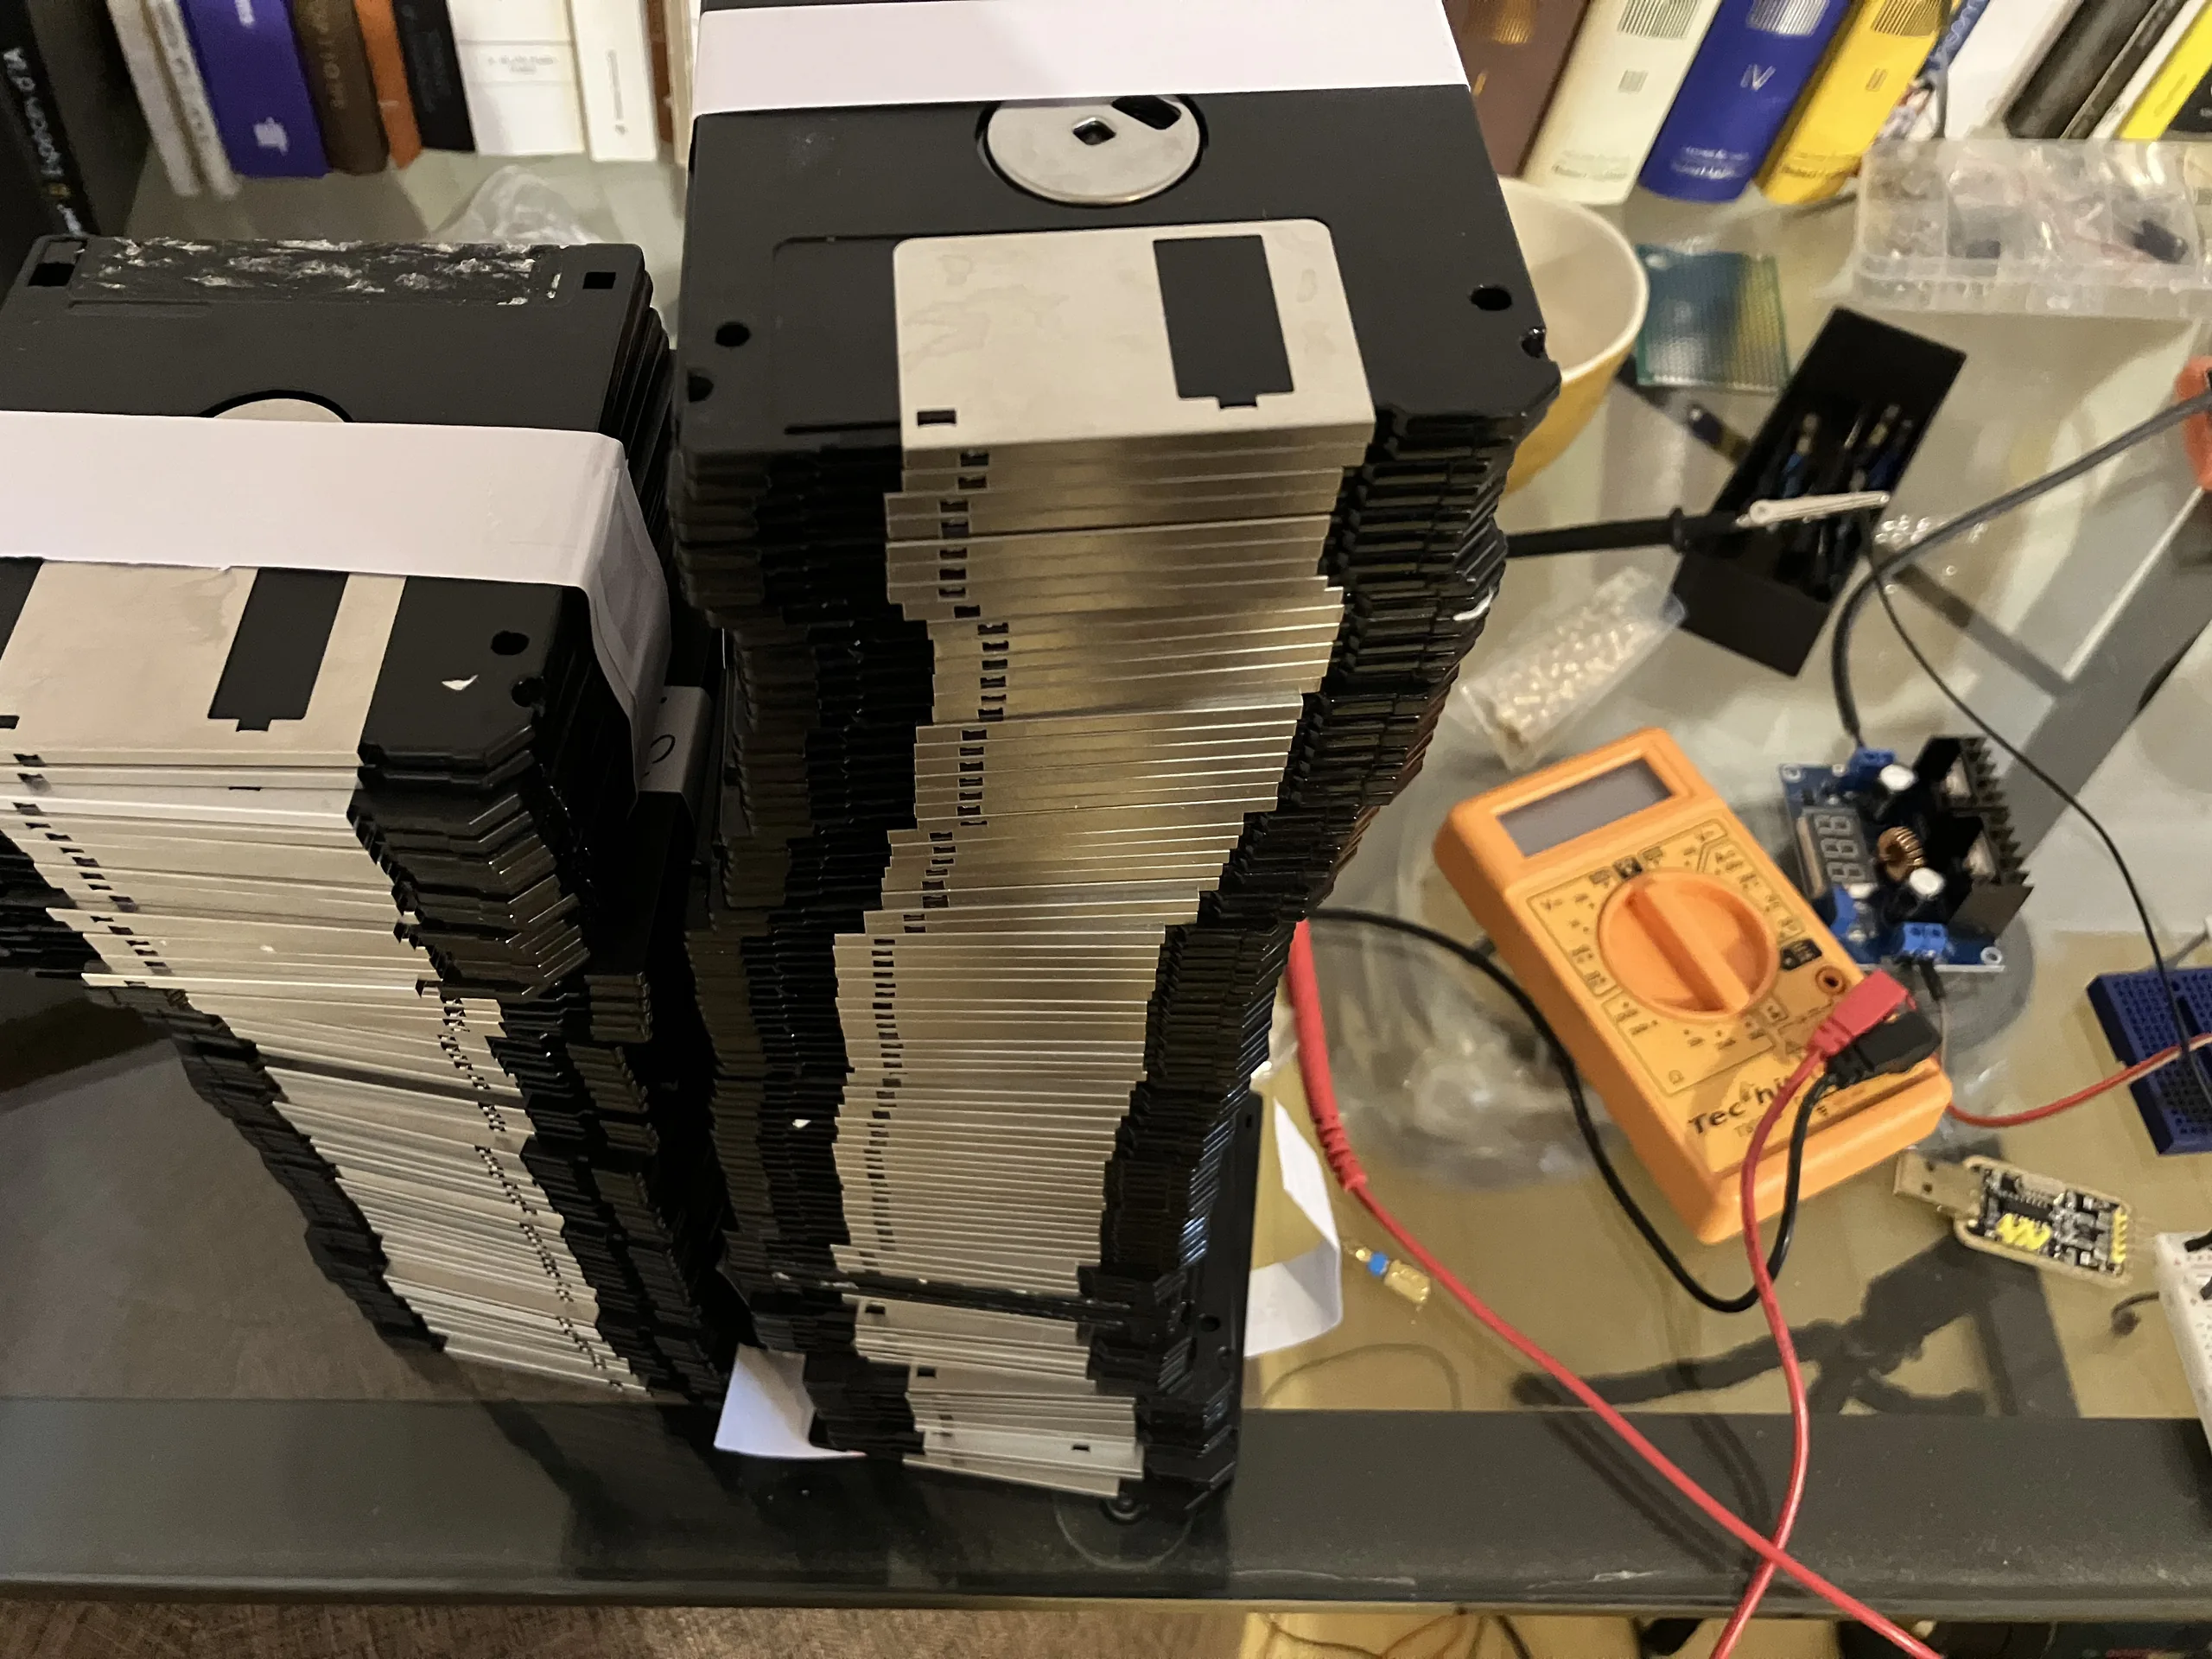
Below we can see Liveview reacting to state changes (to avoid joystick event spam, I batched the updates every 200ms at the time) :
Please excuse my wiring for the next galleries :
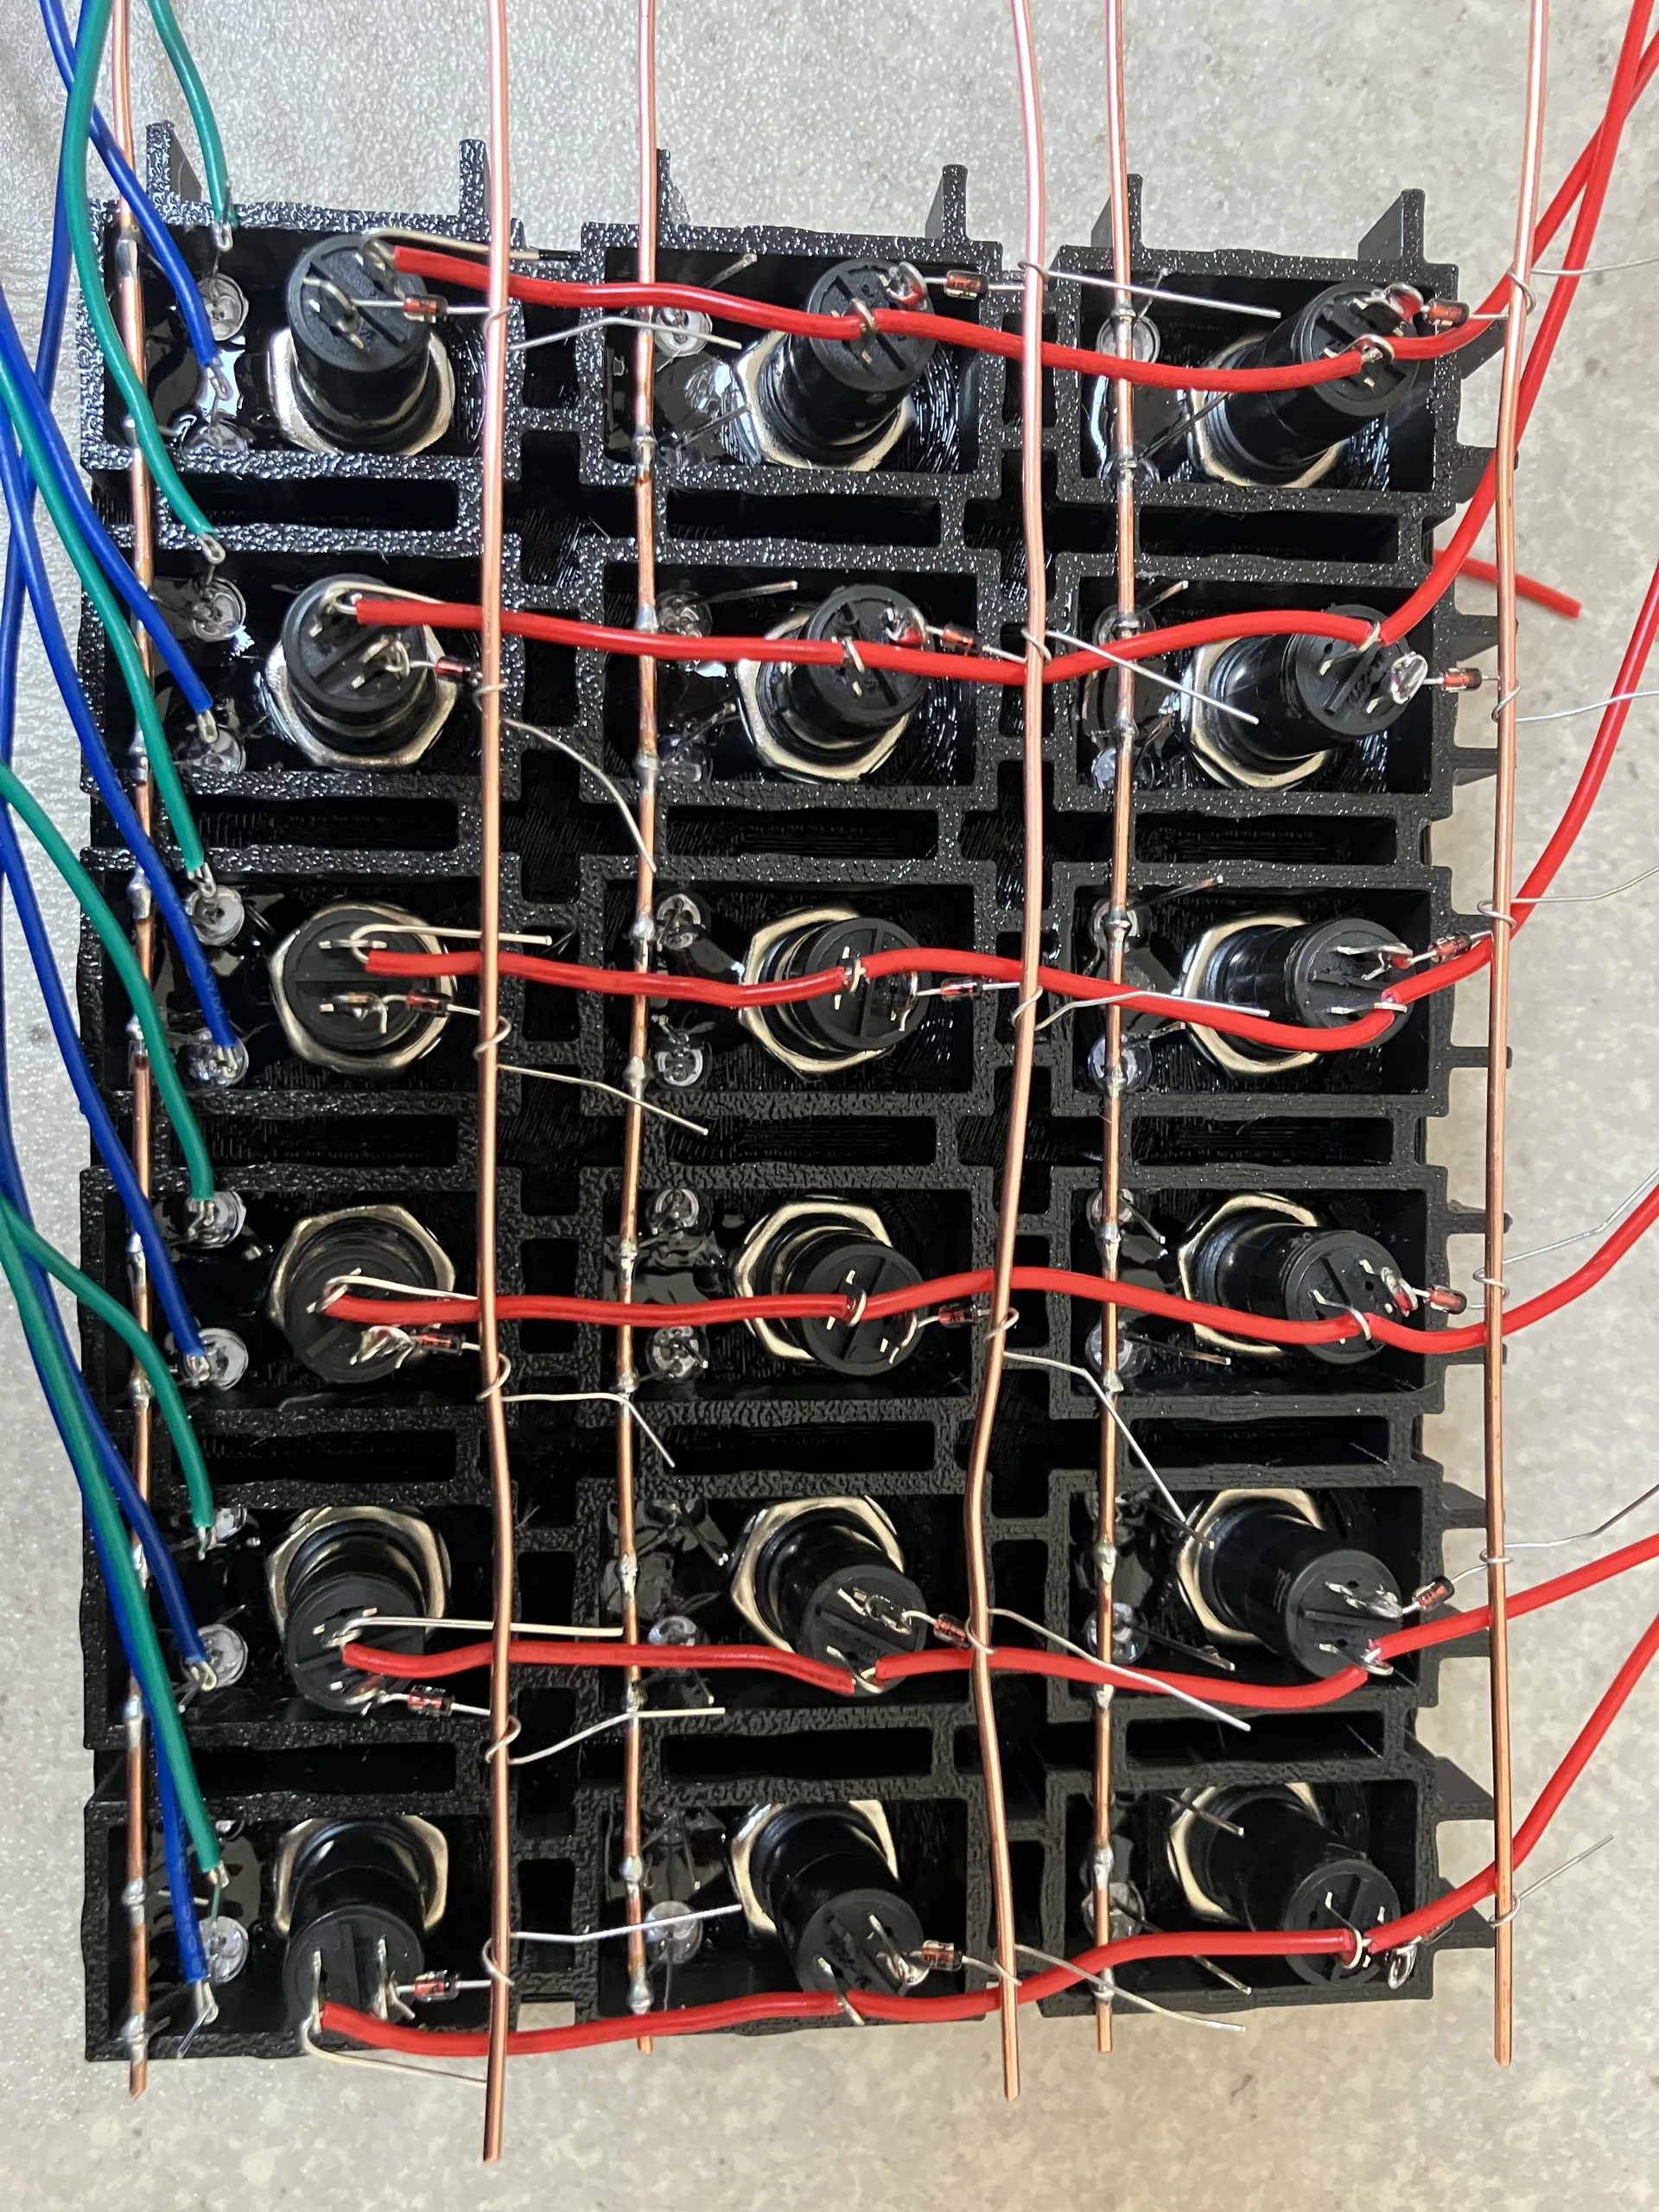
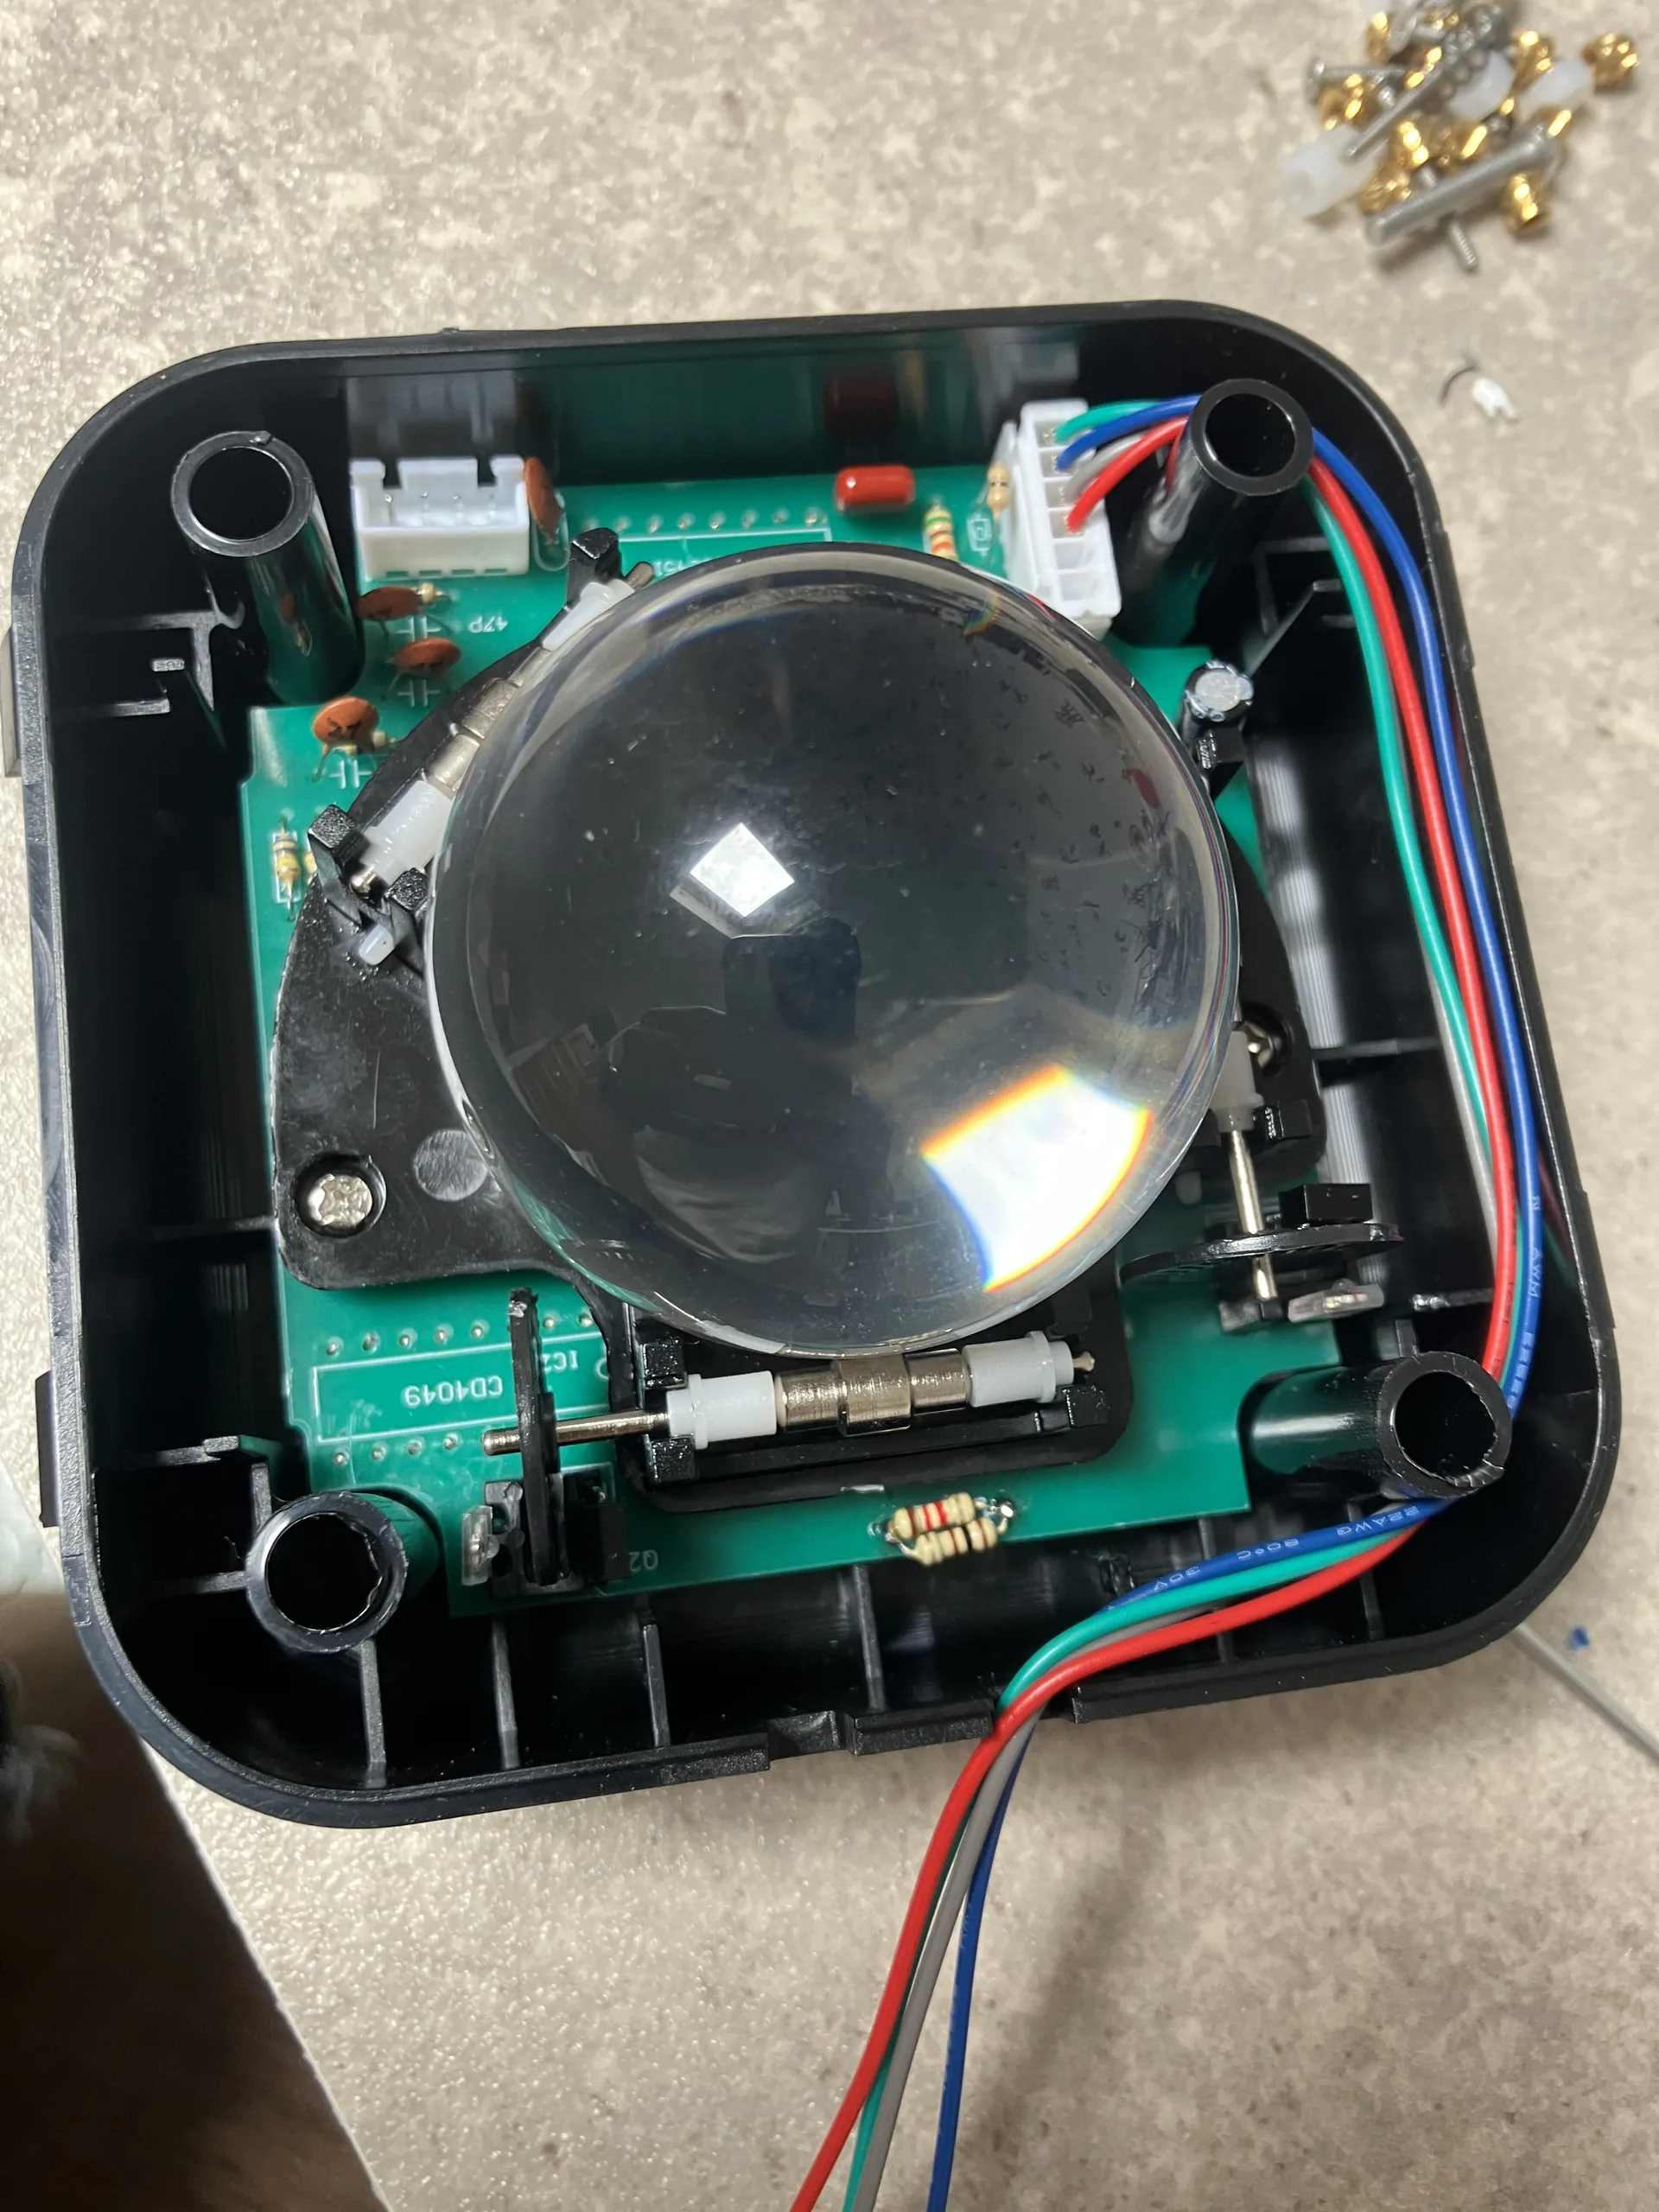
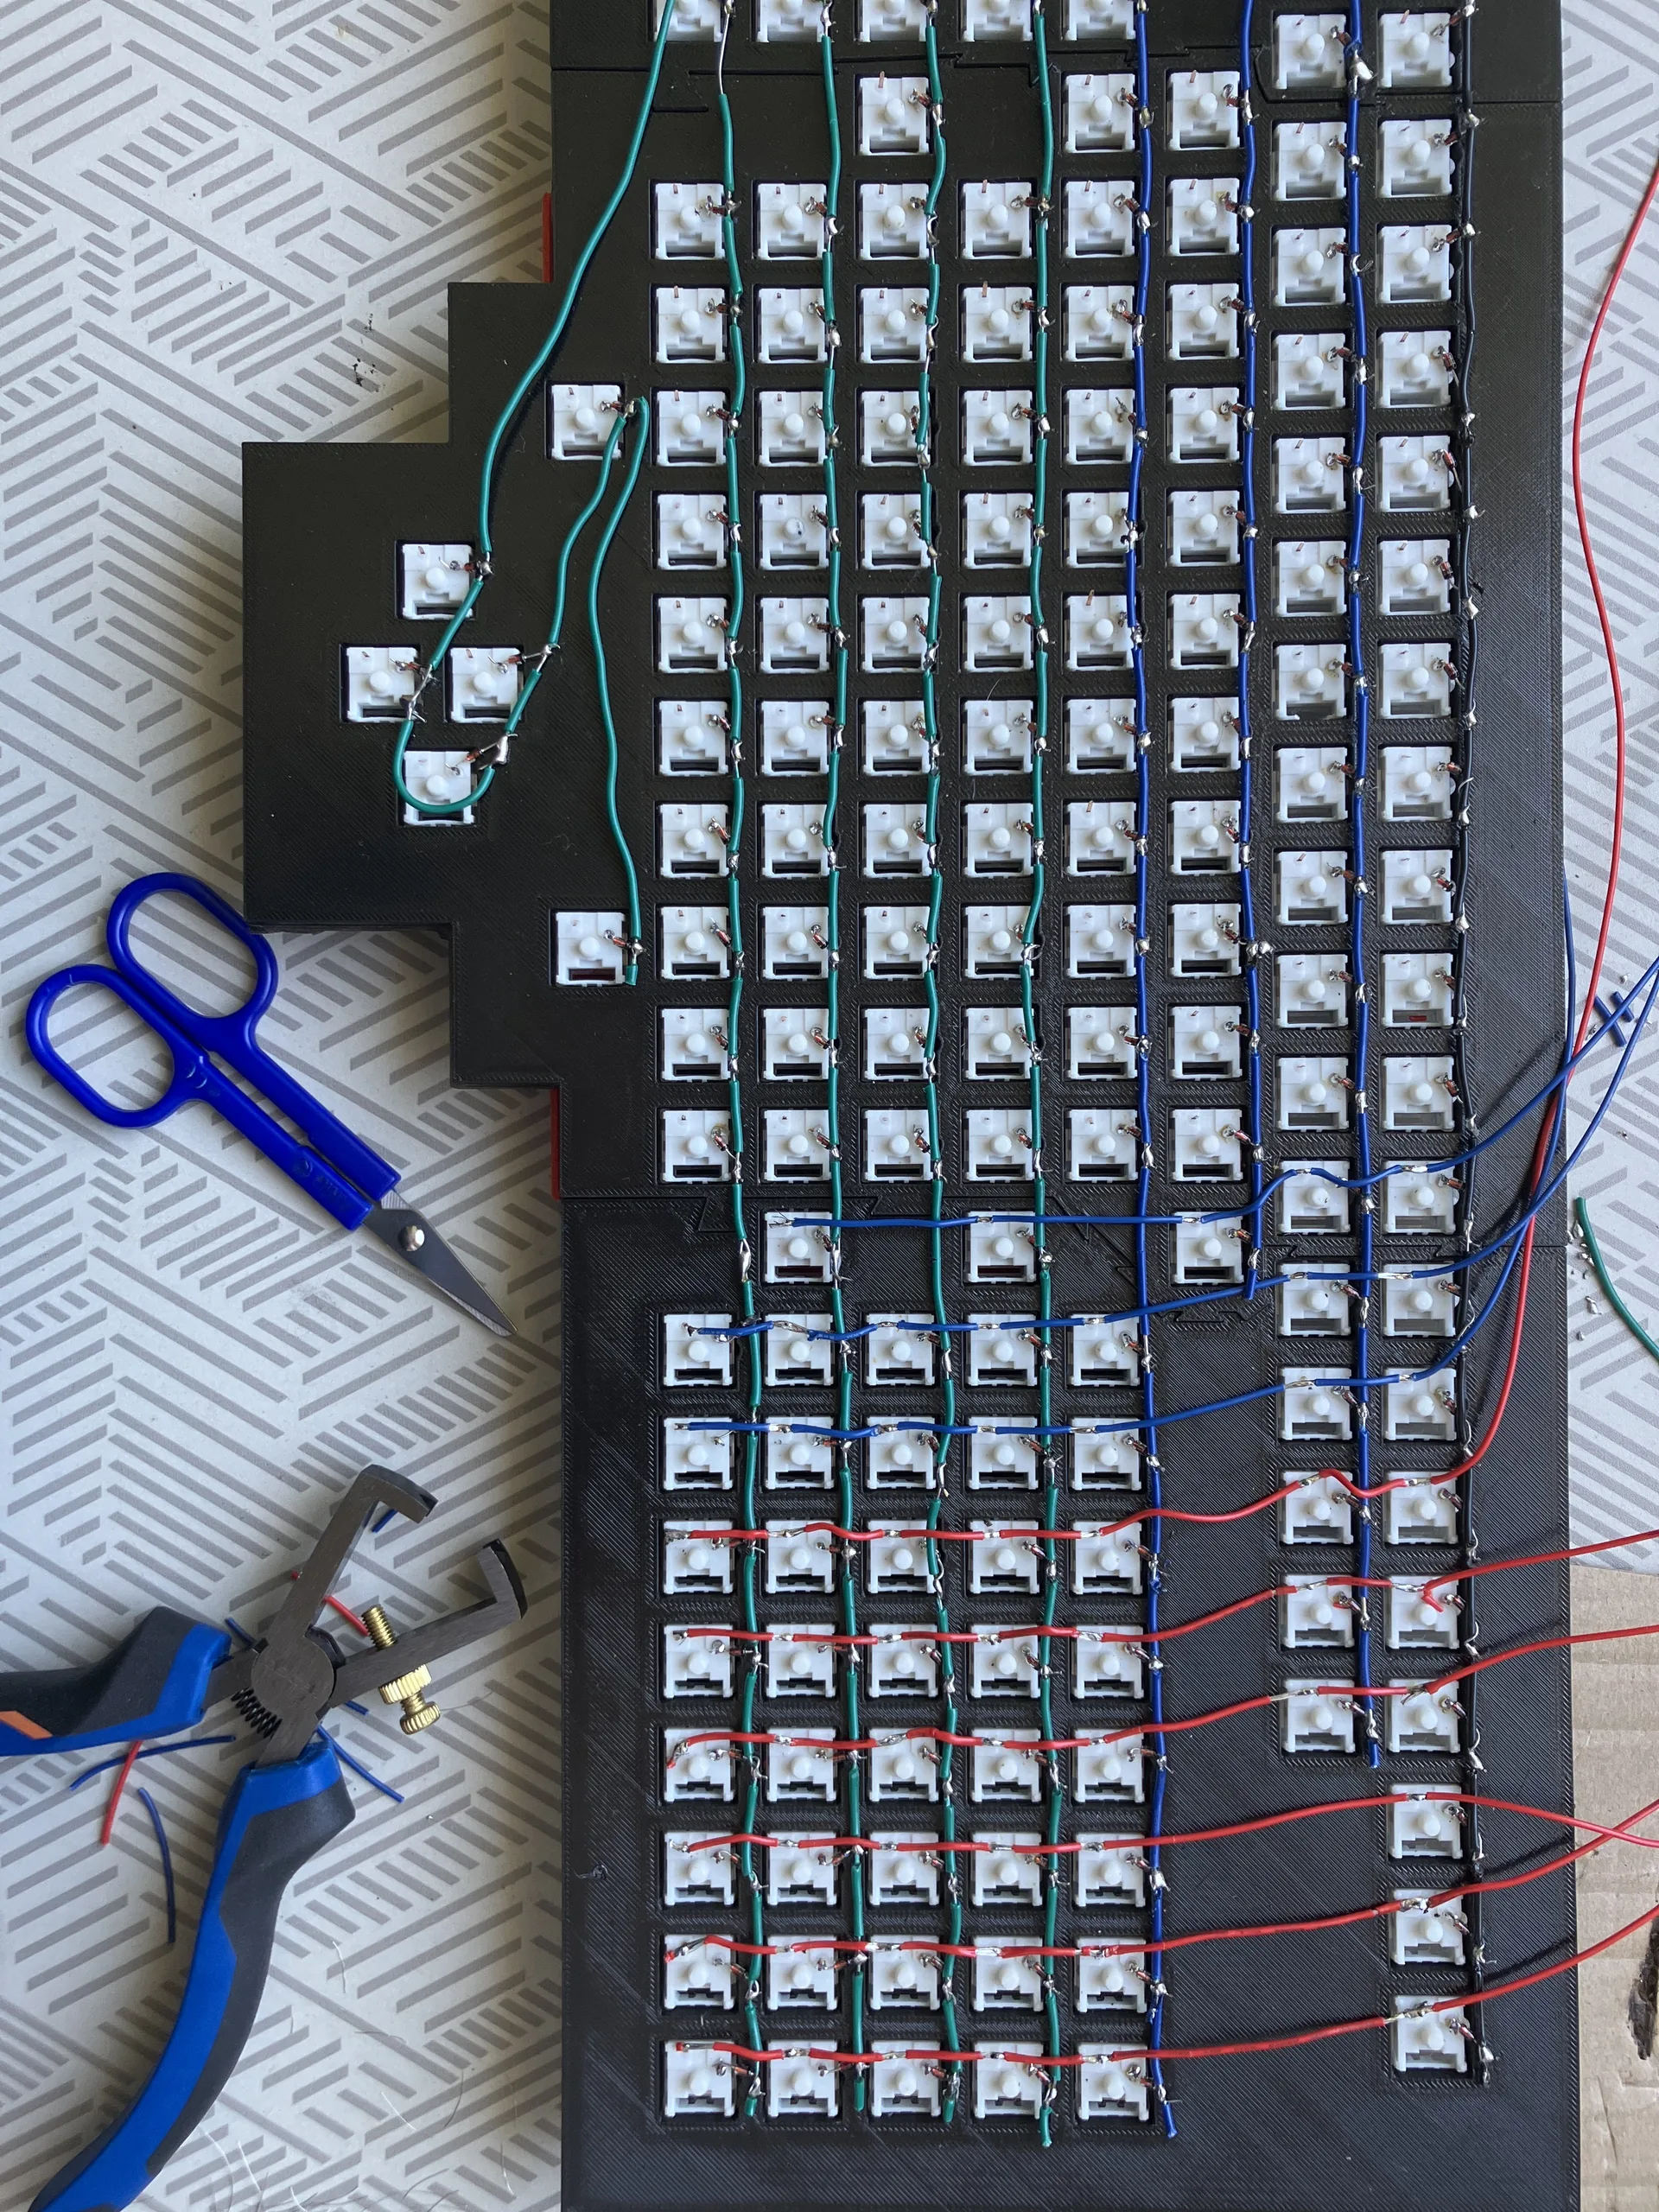
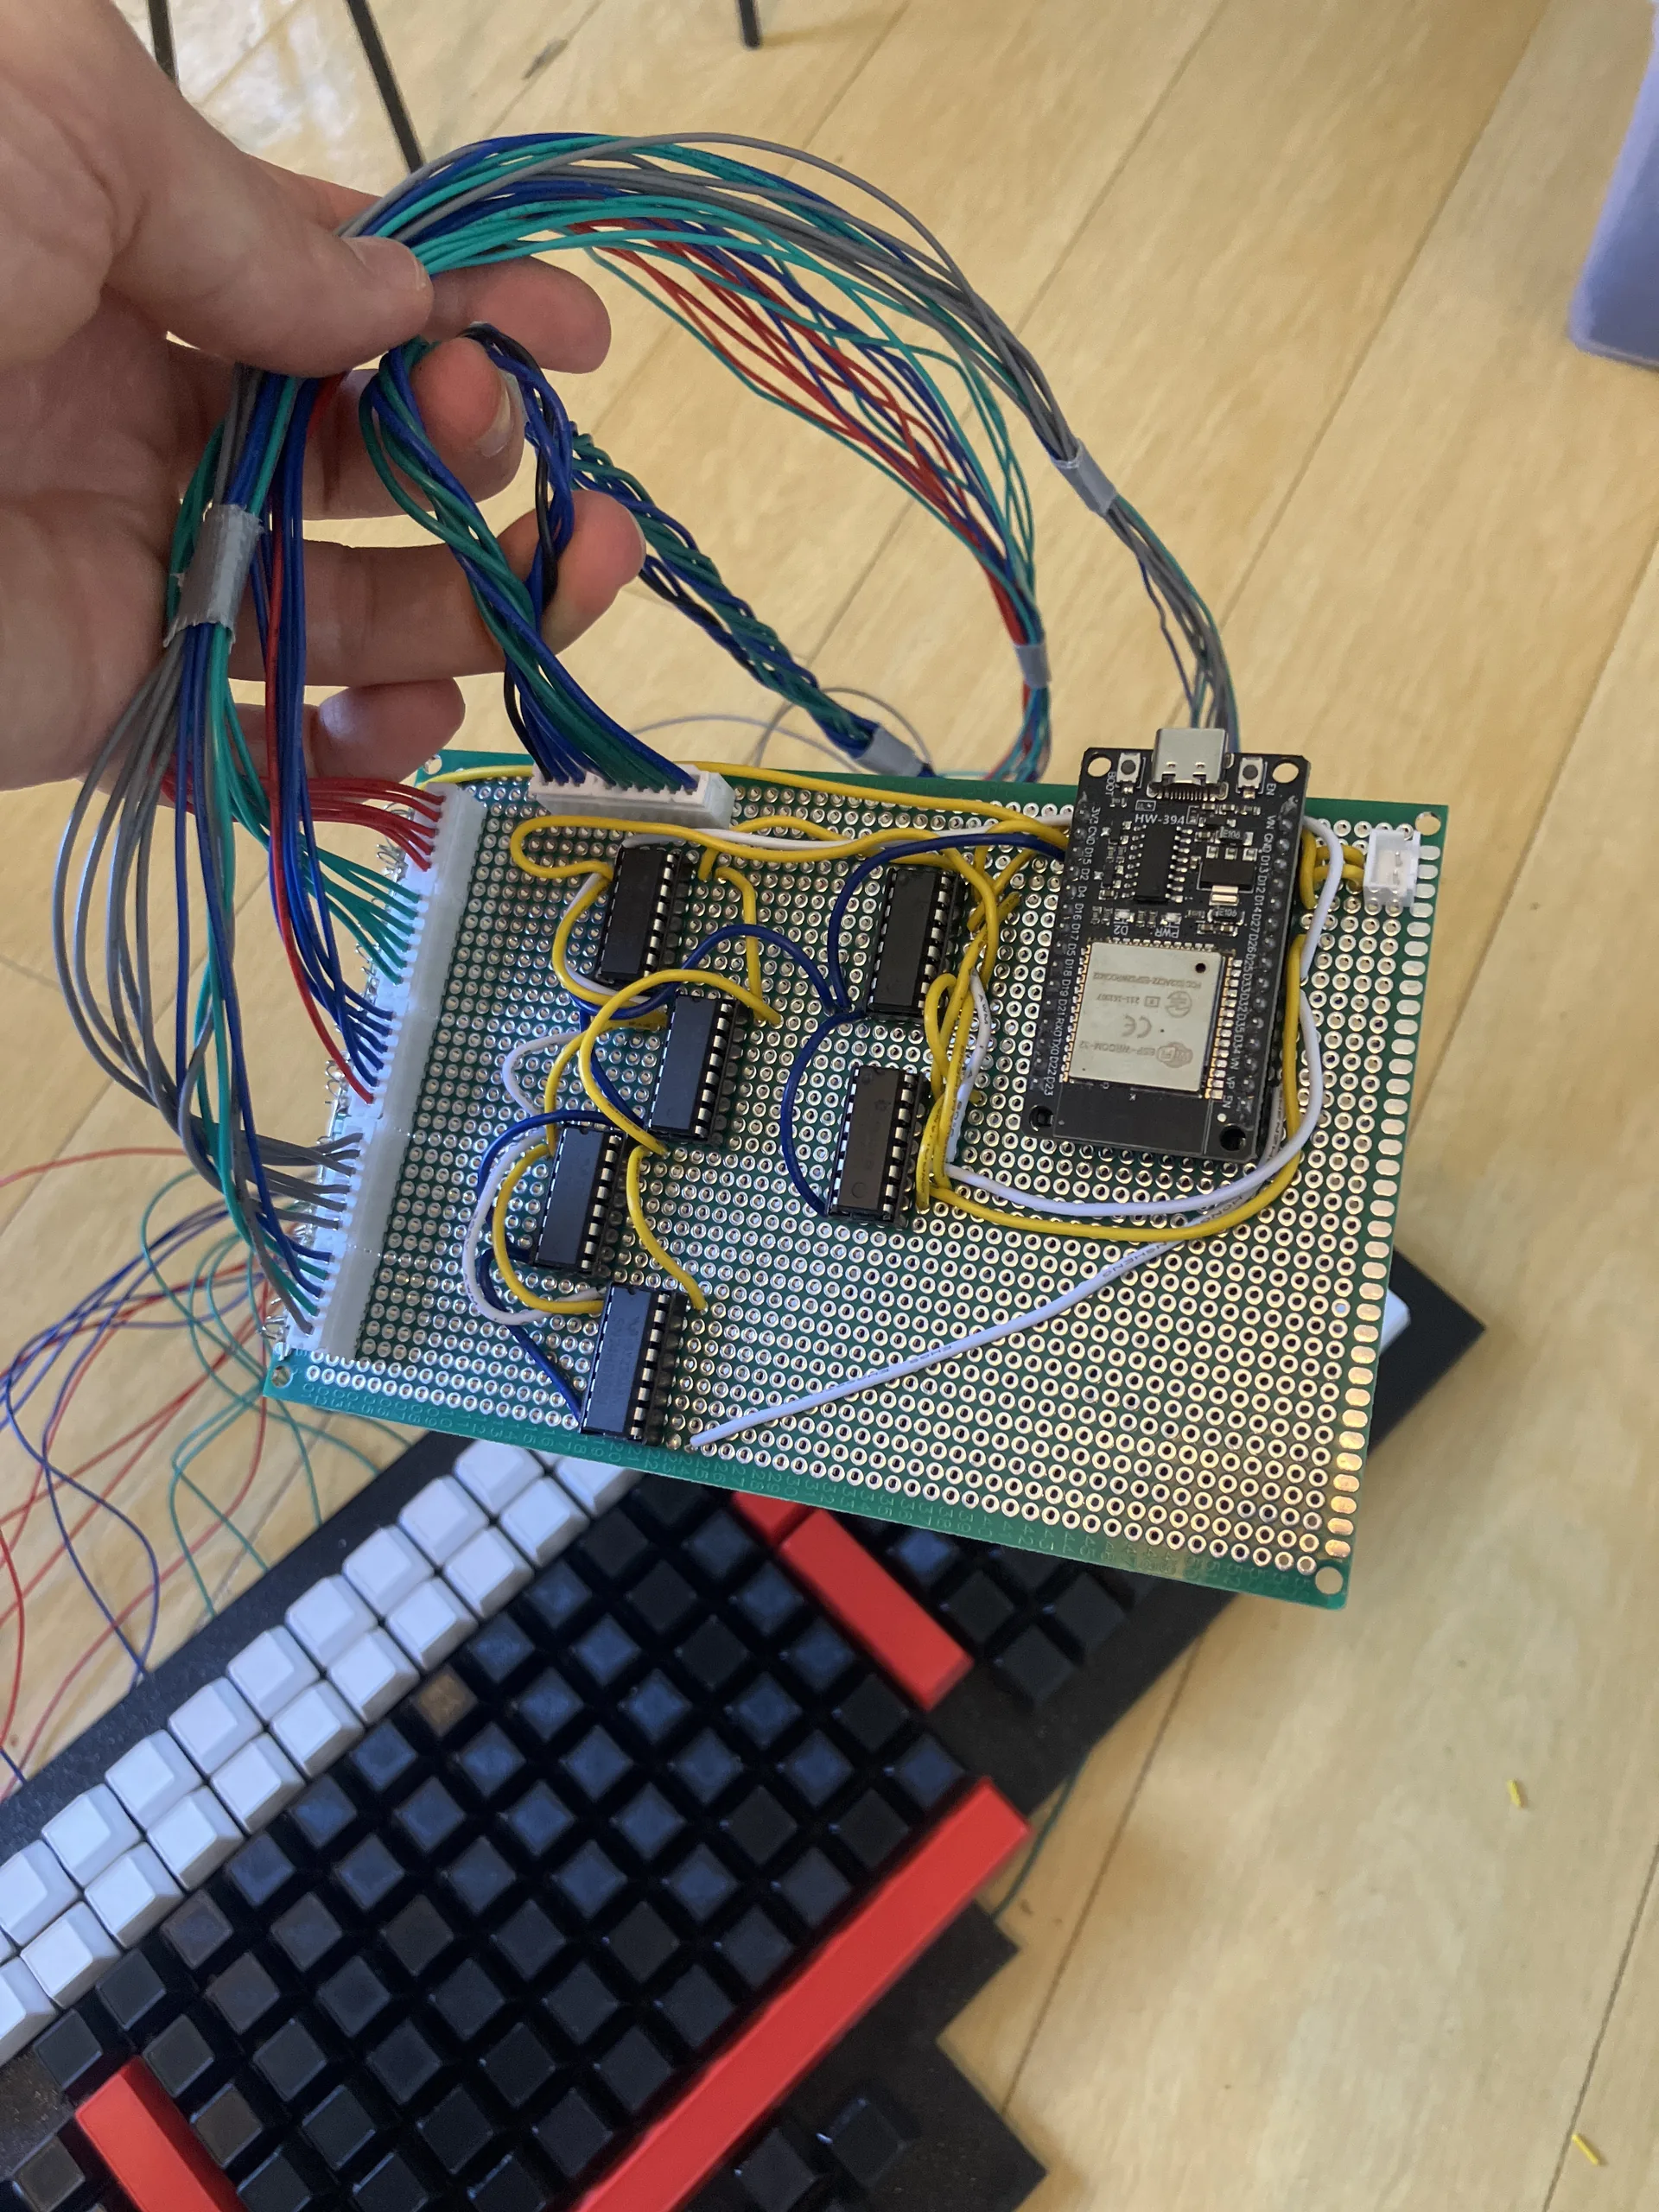
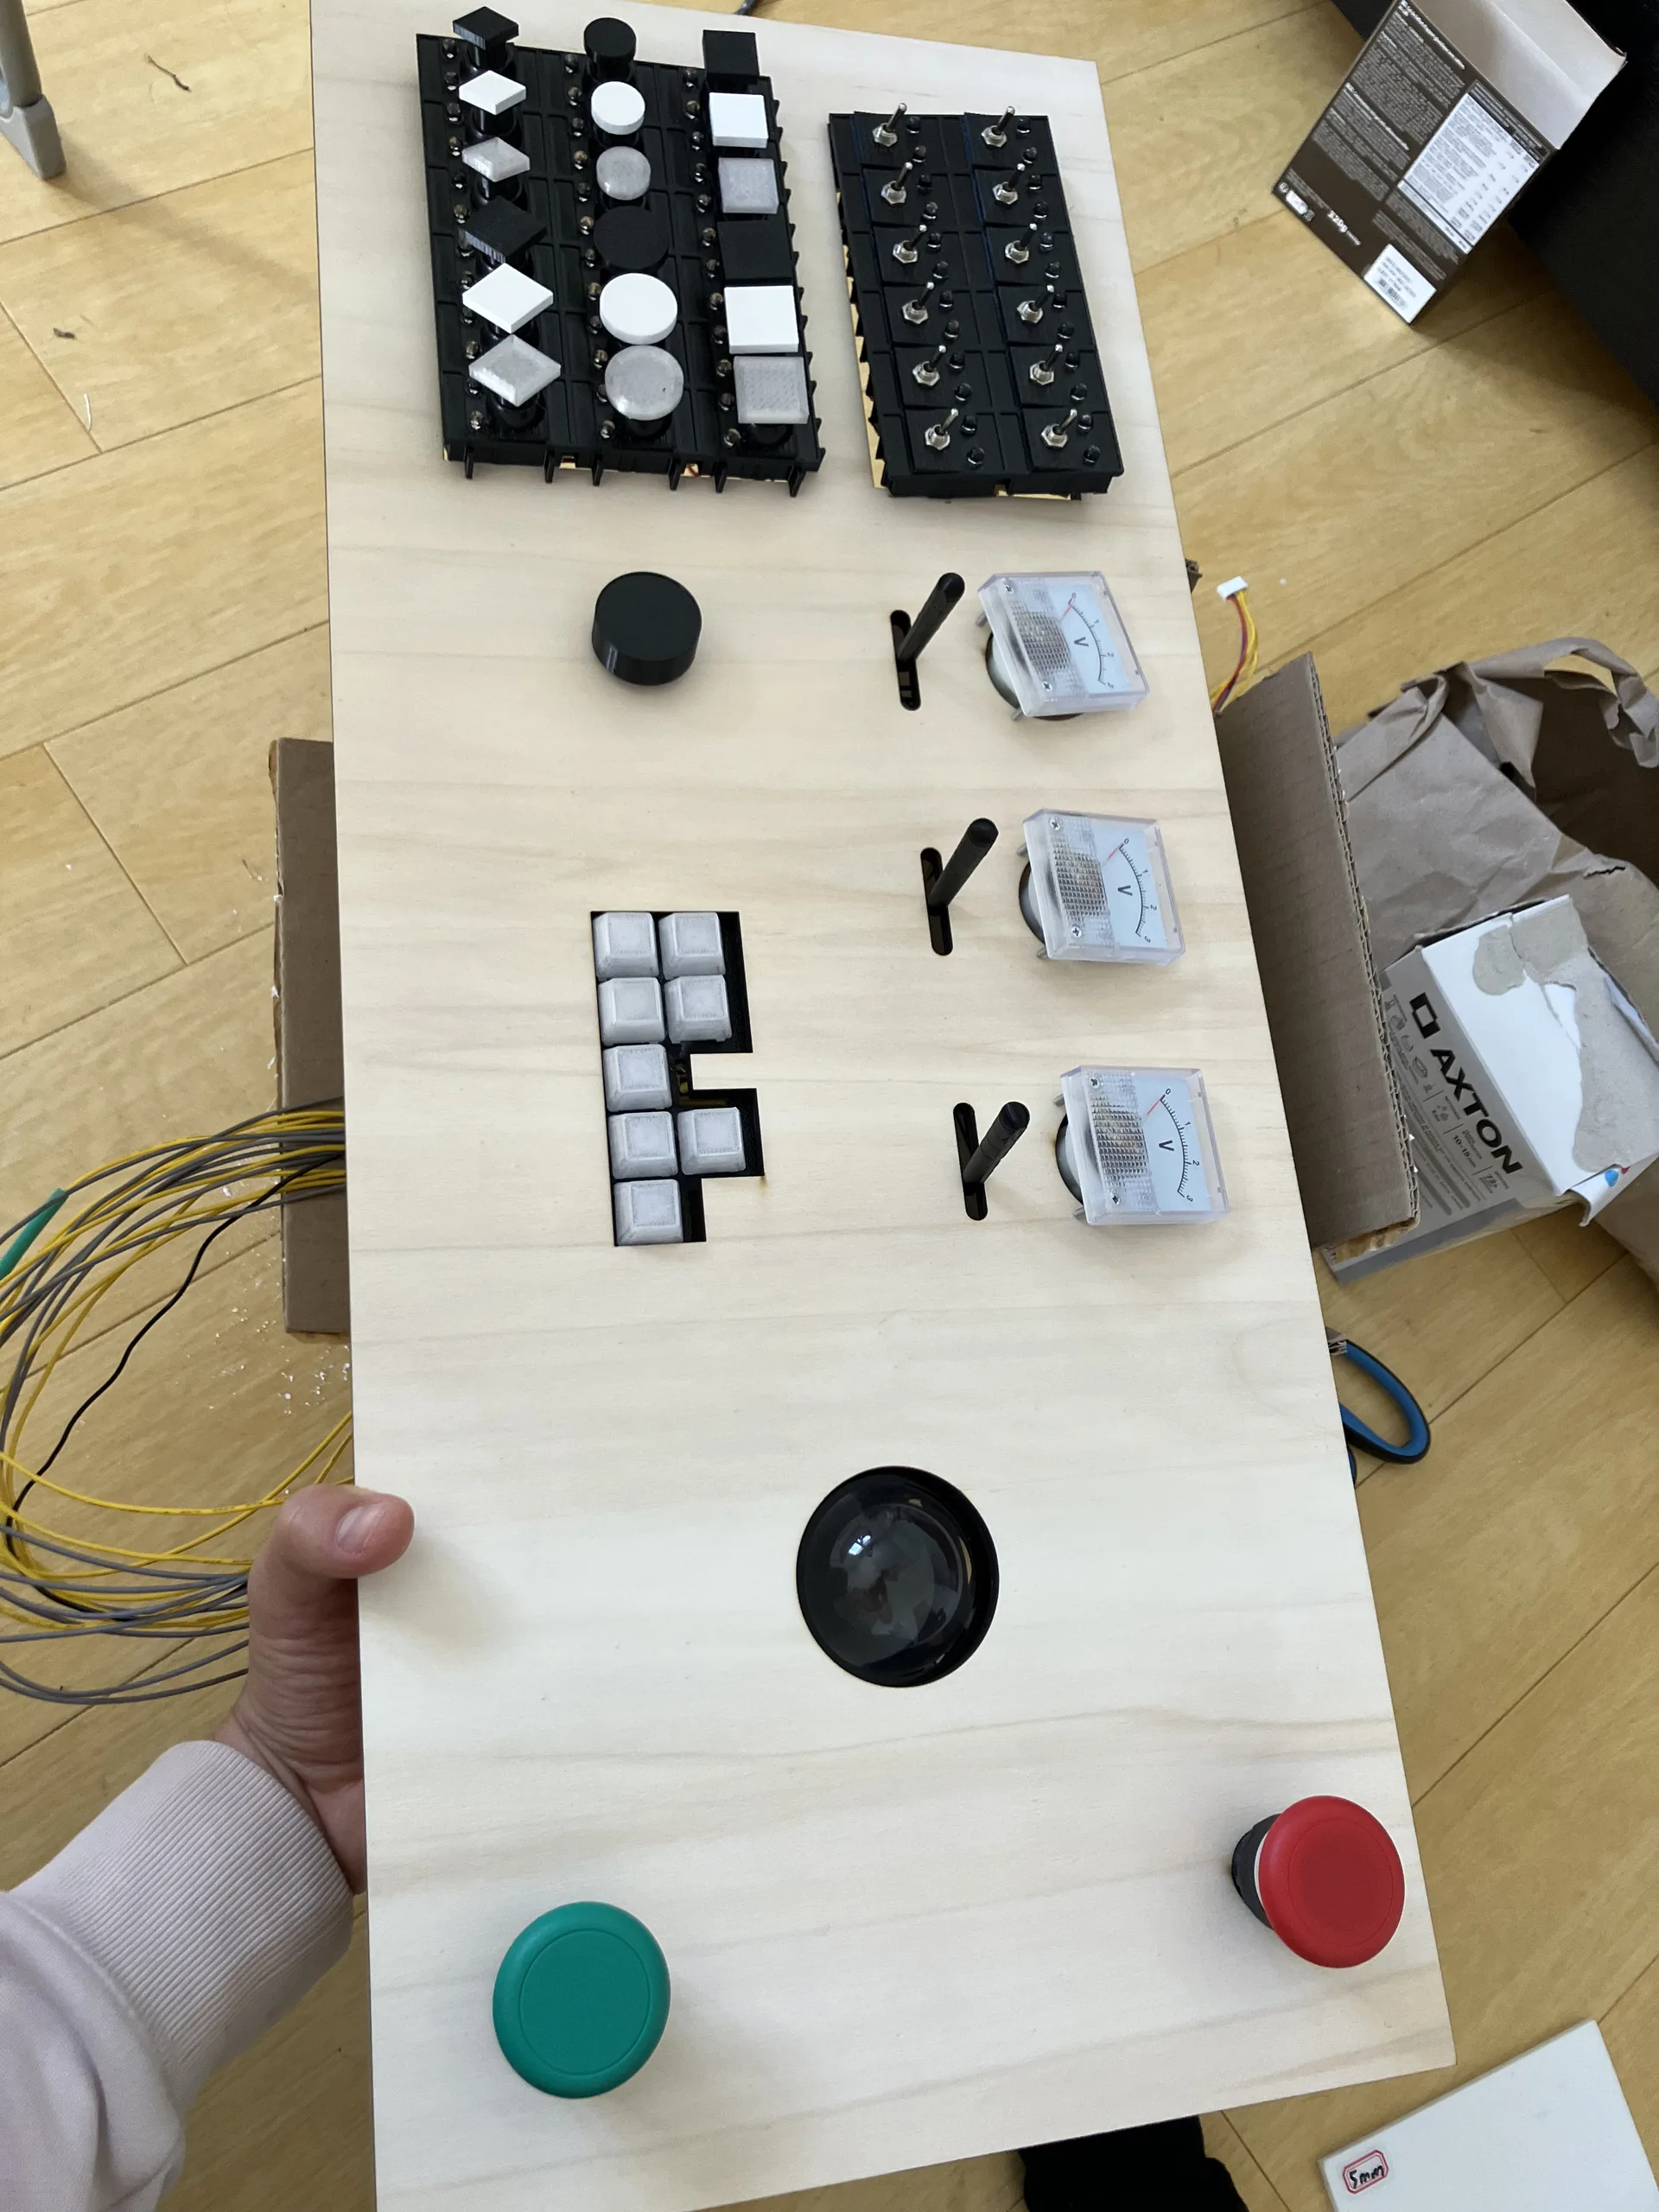
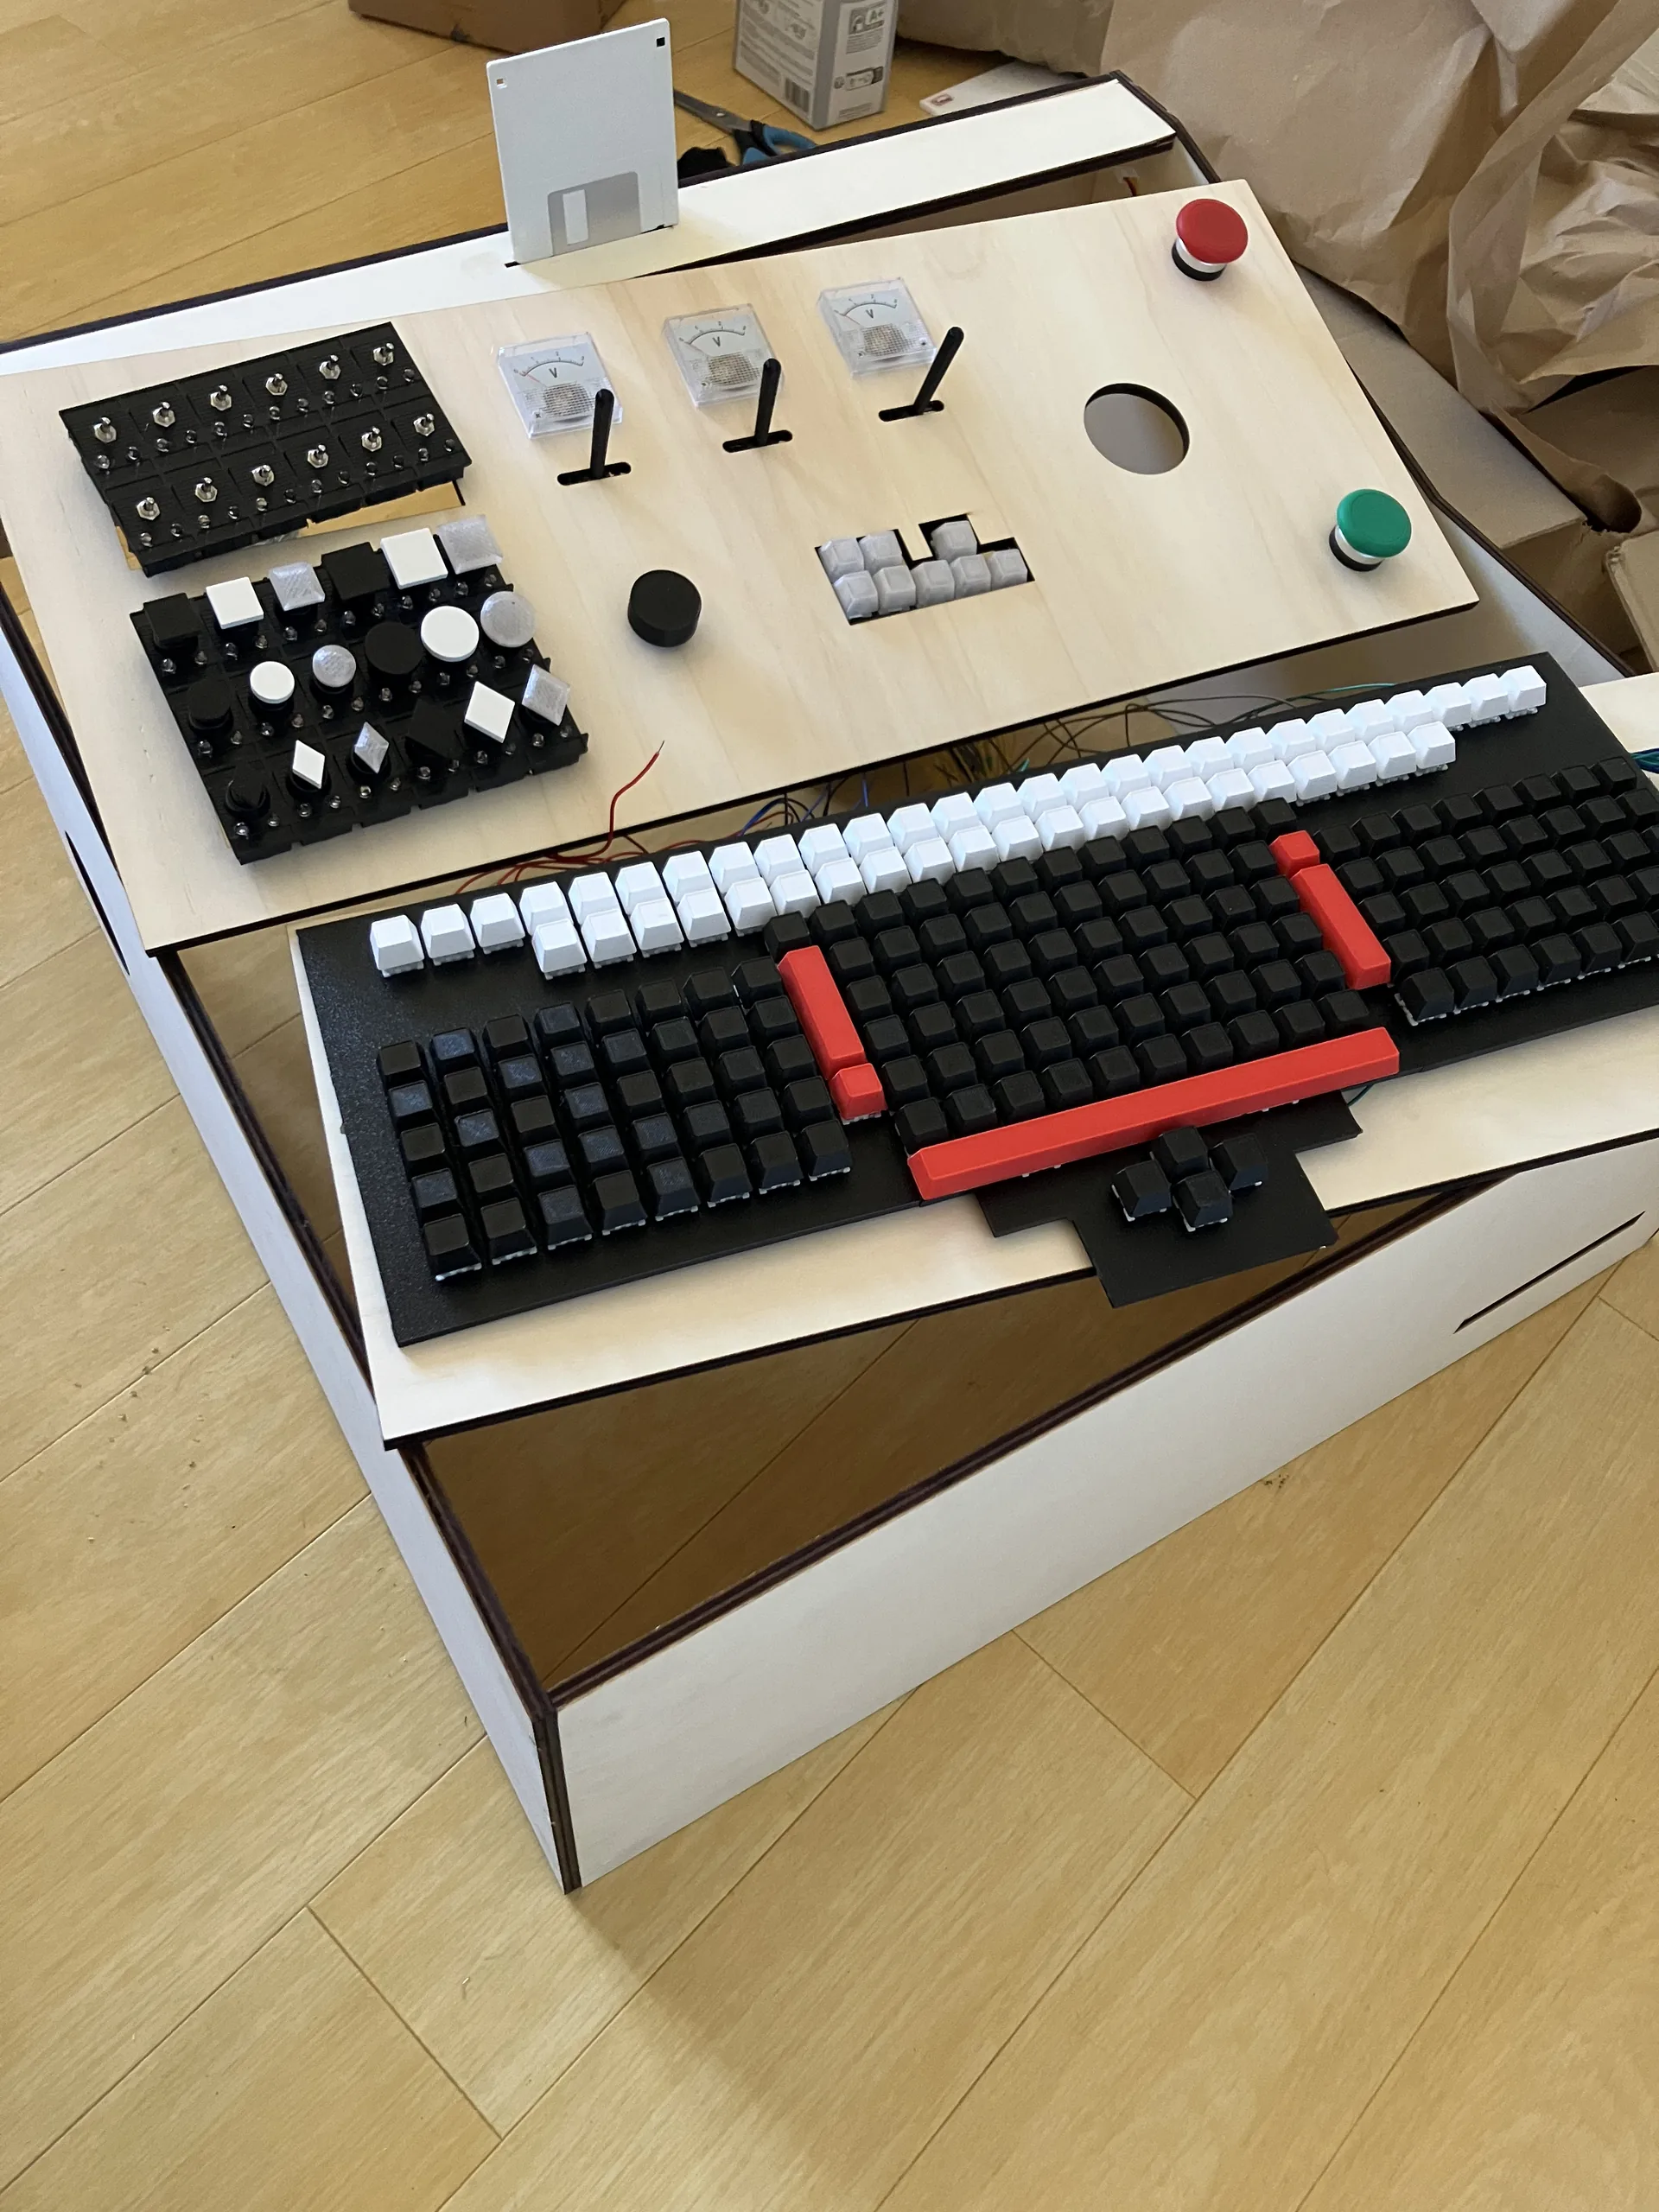
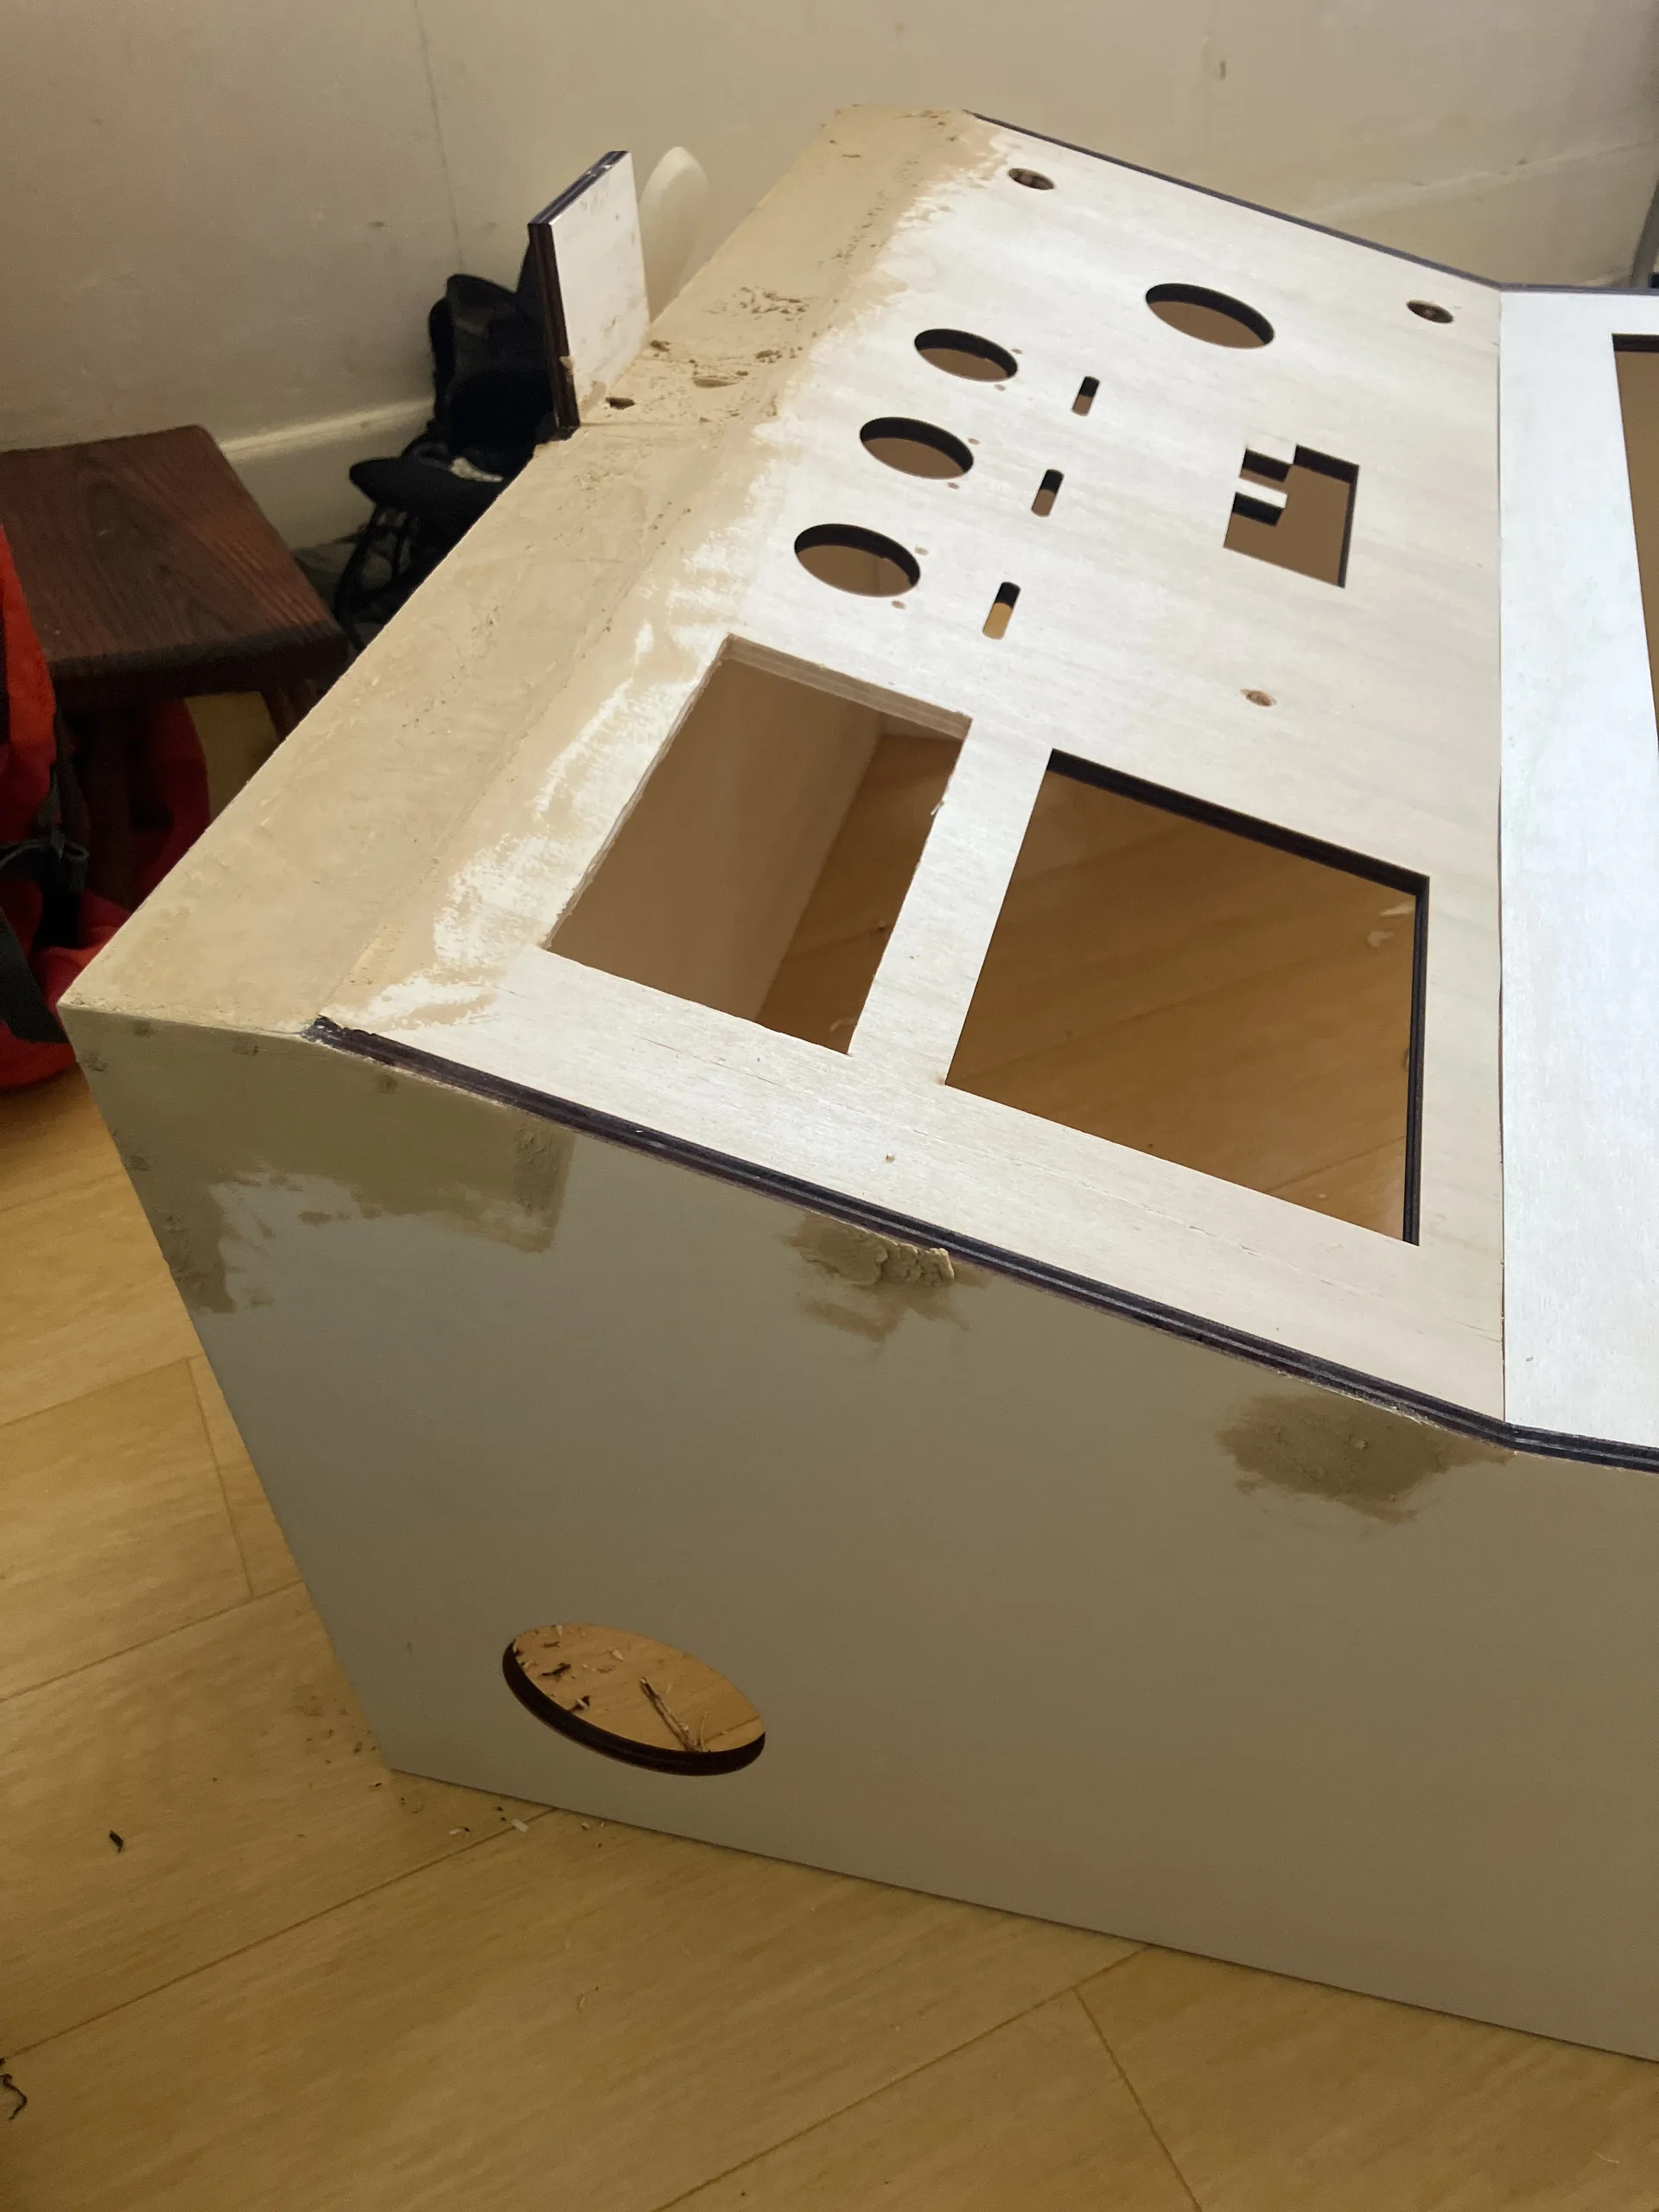
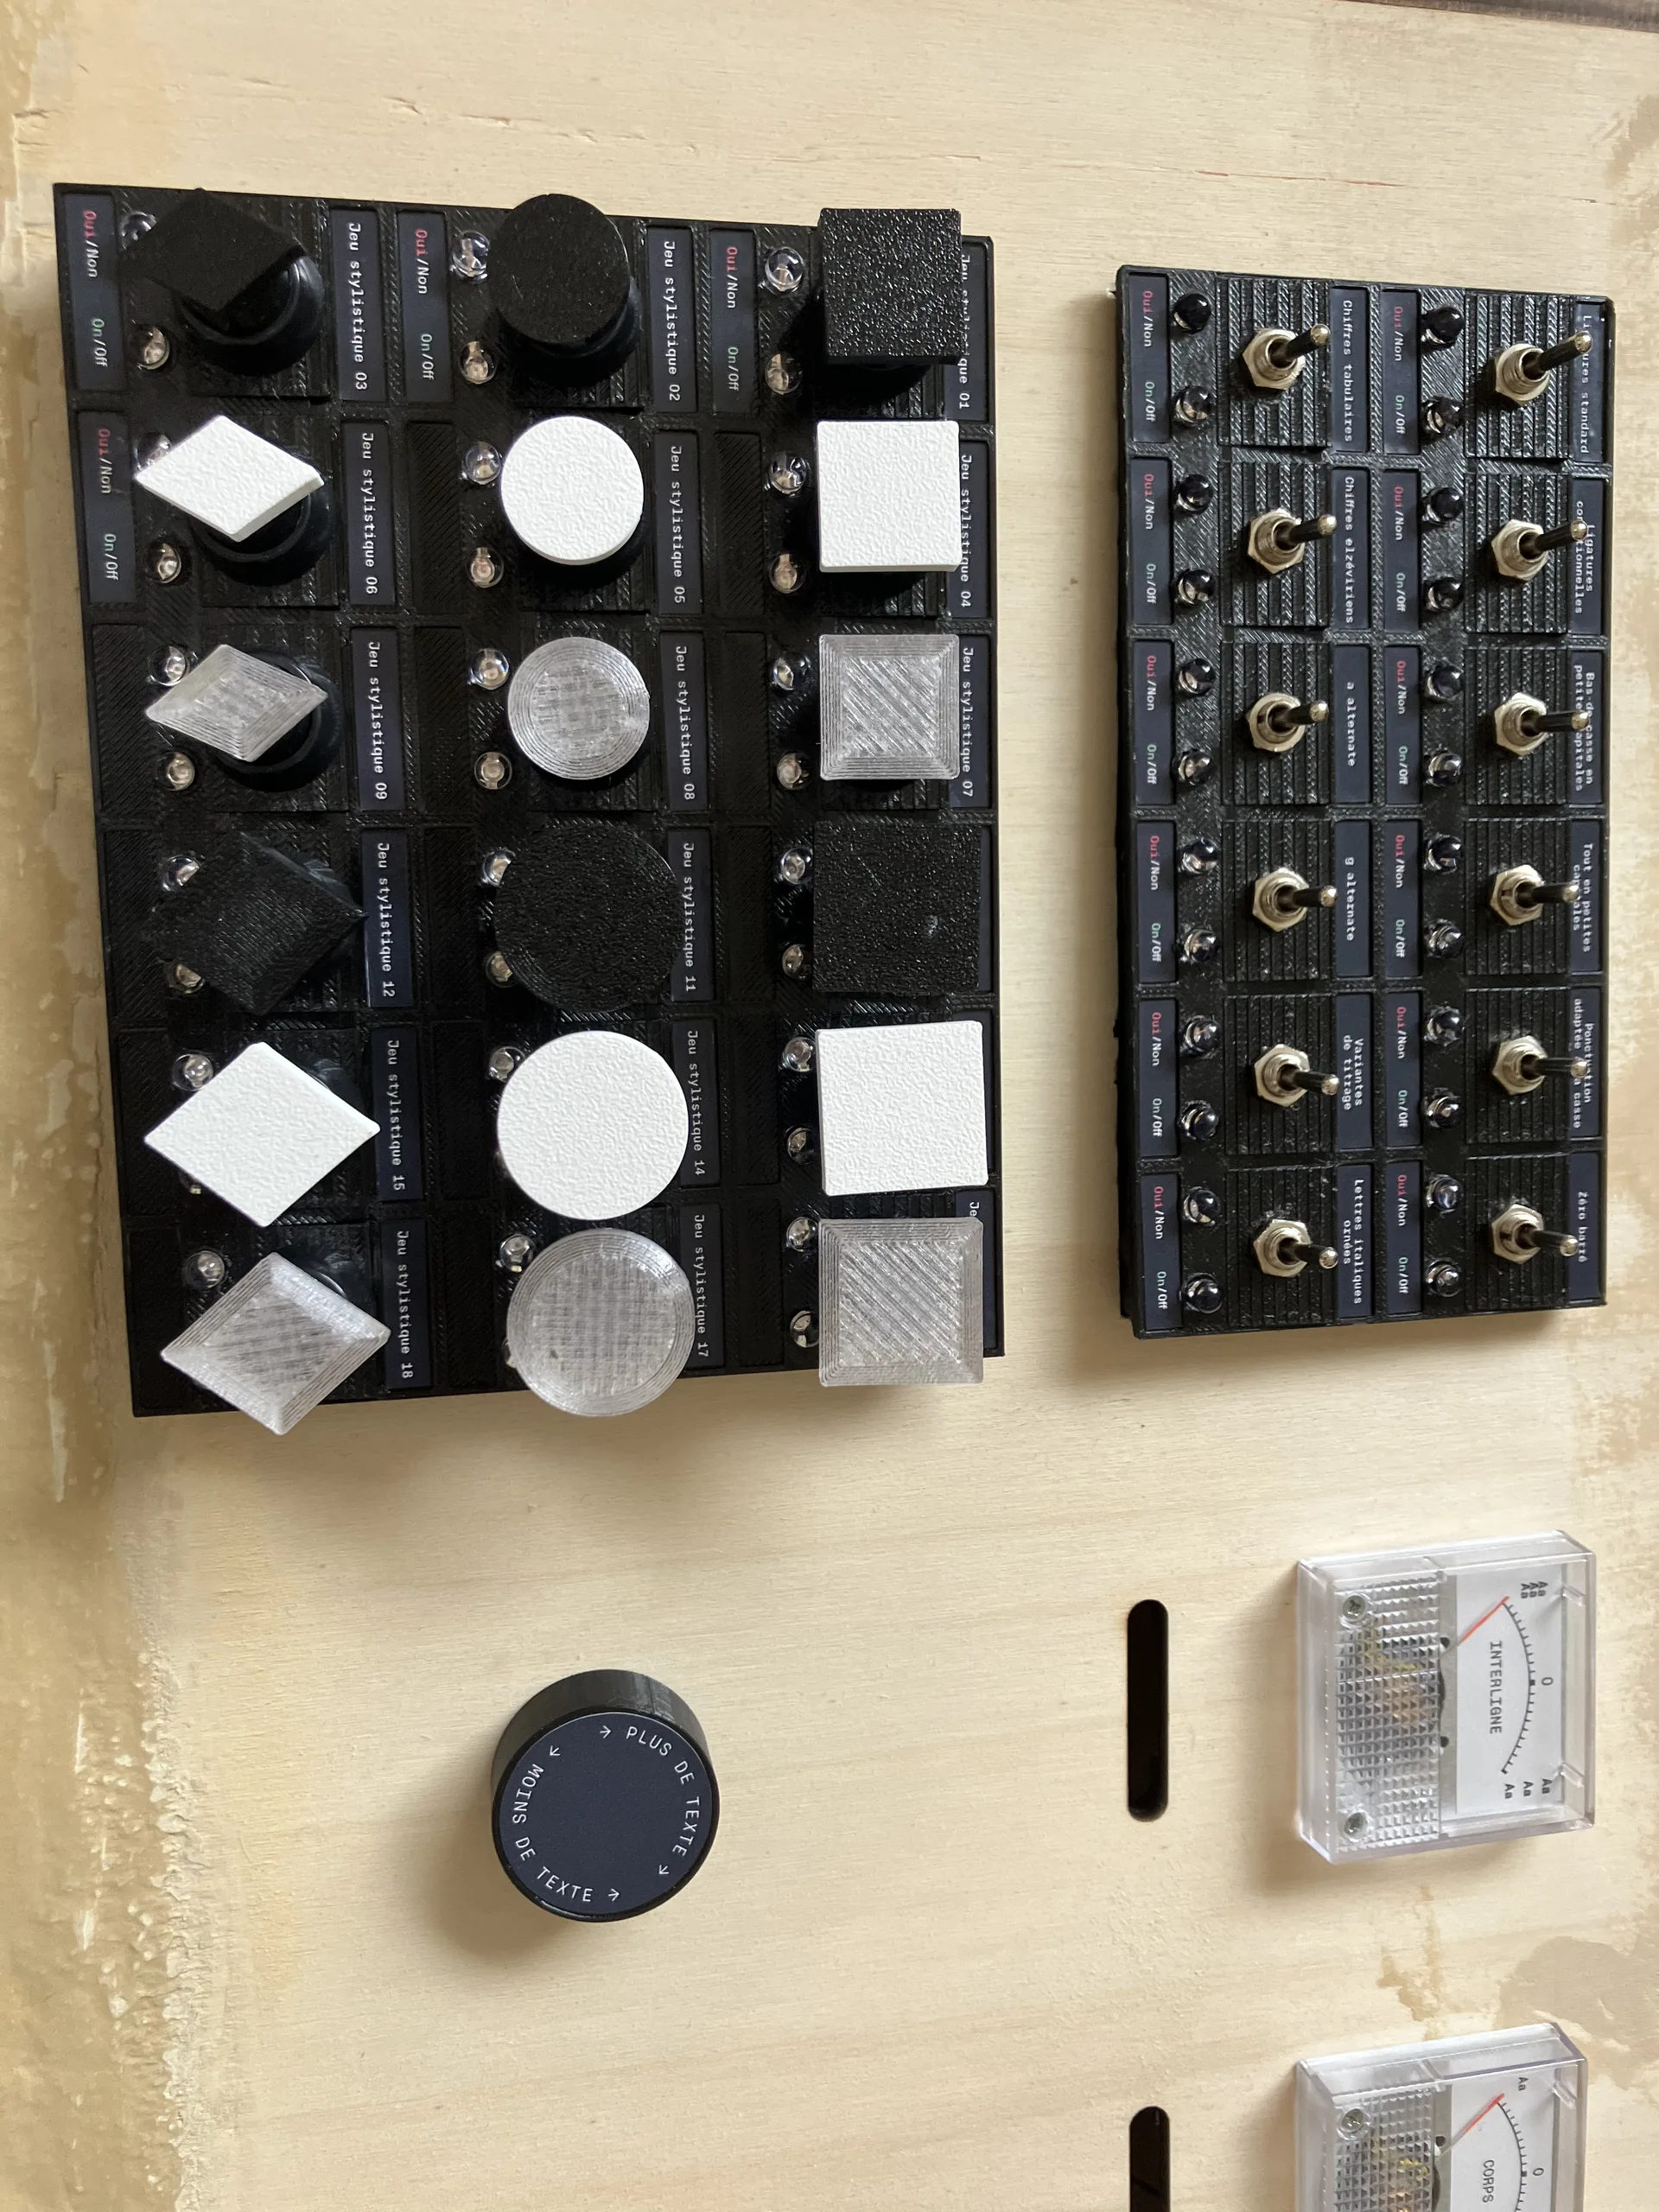
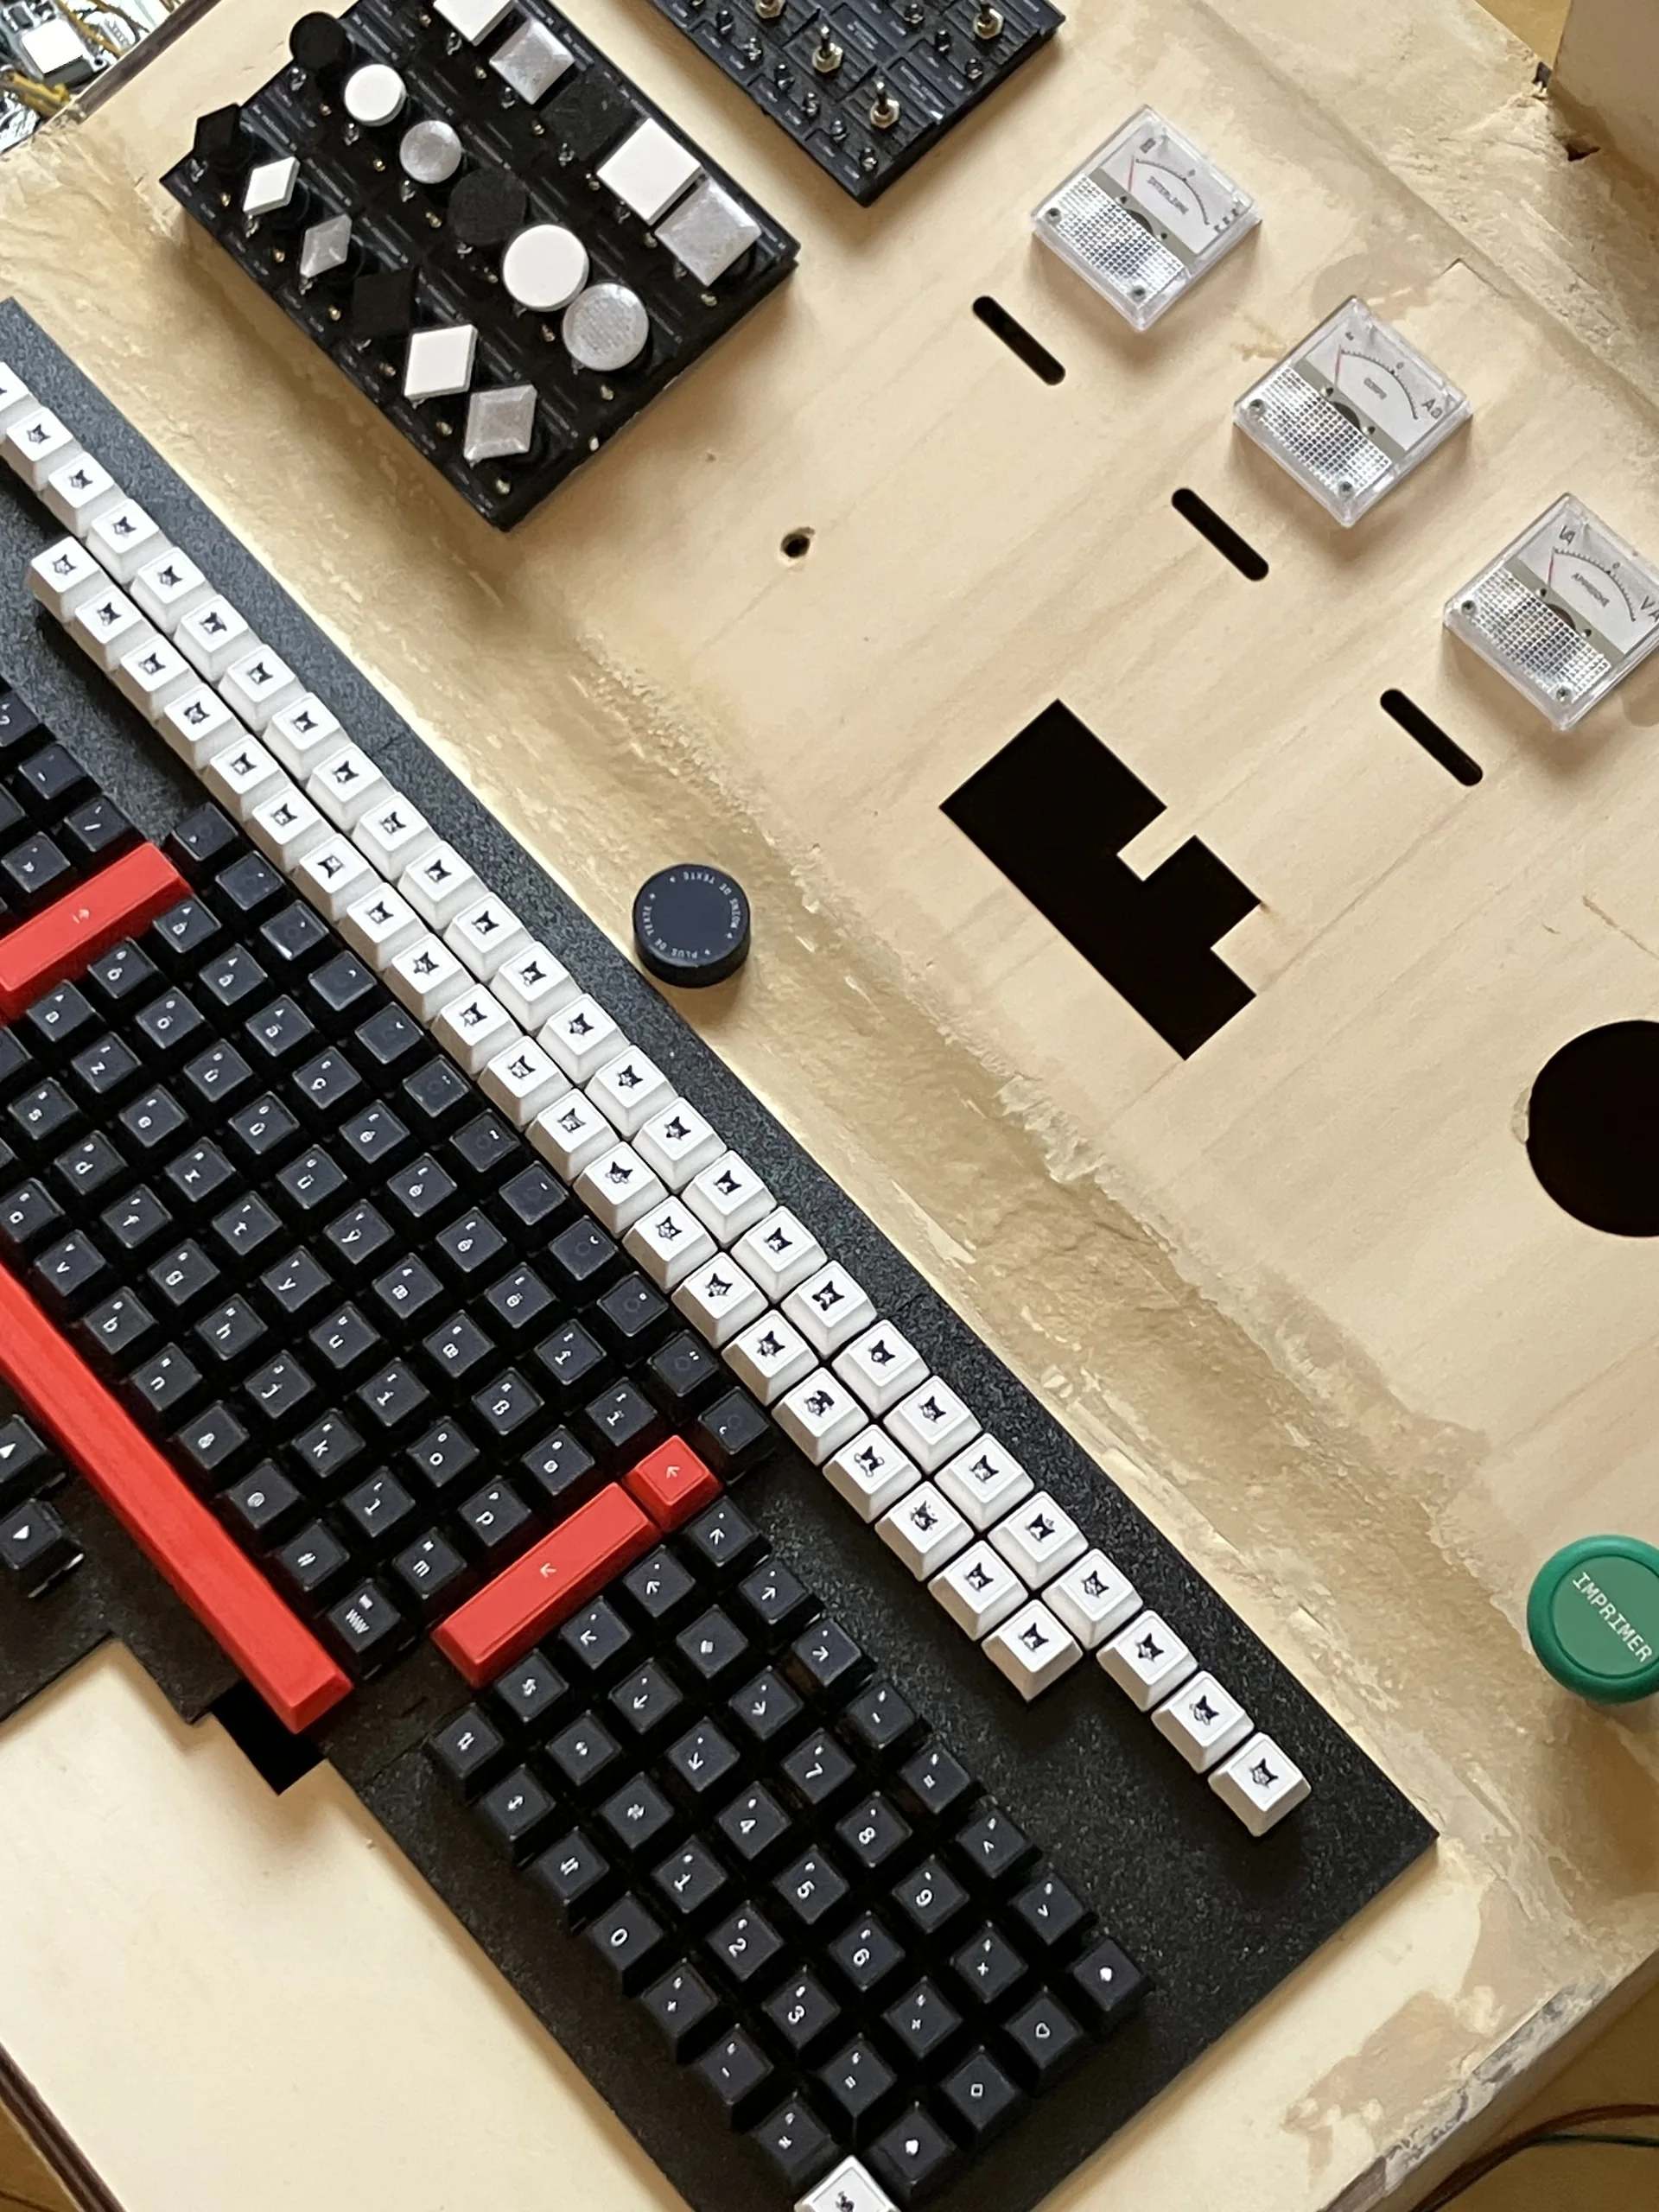
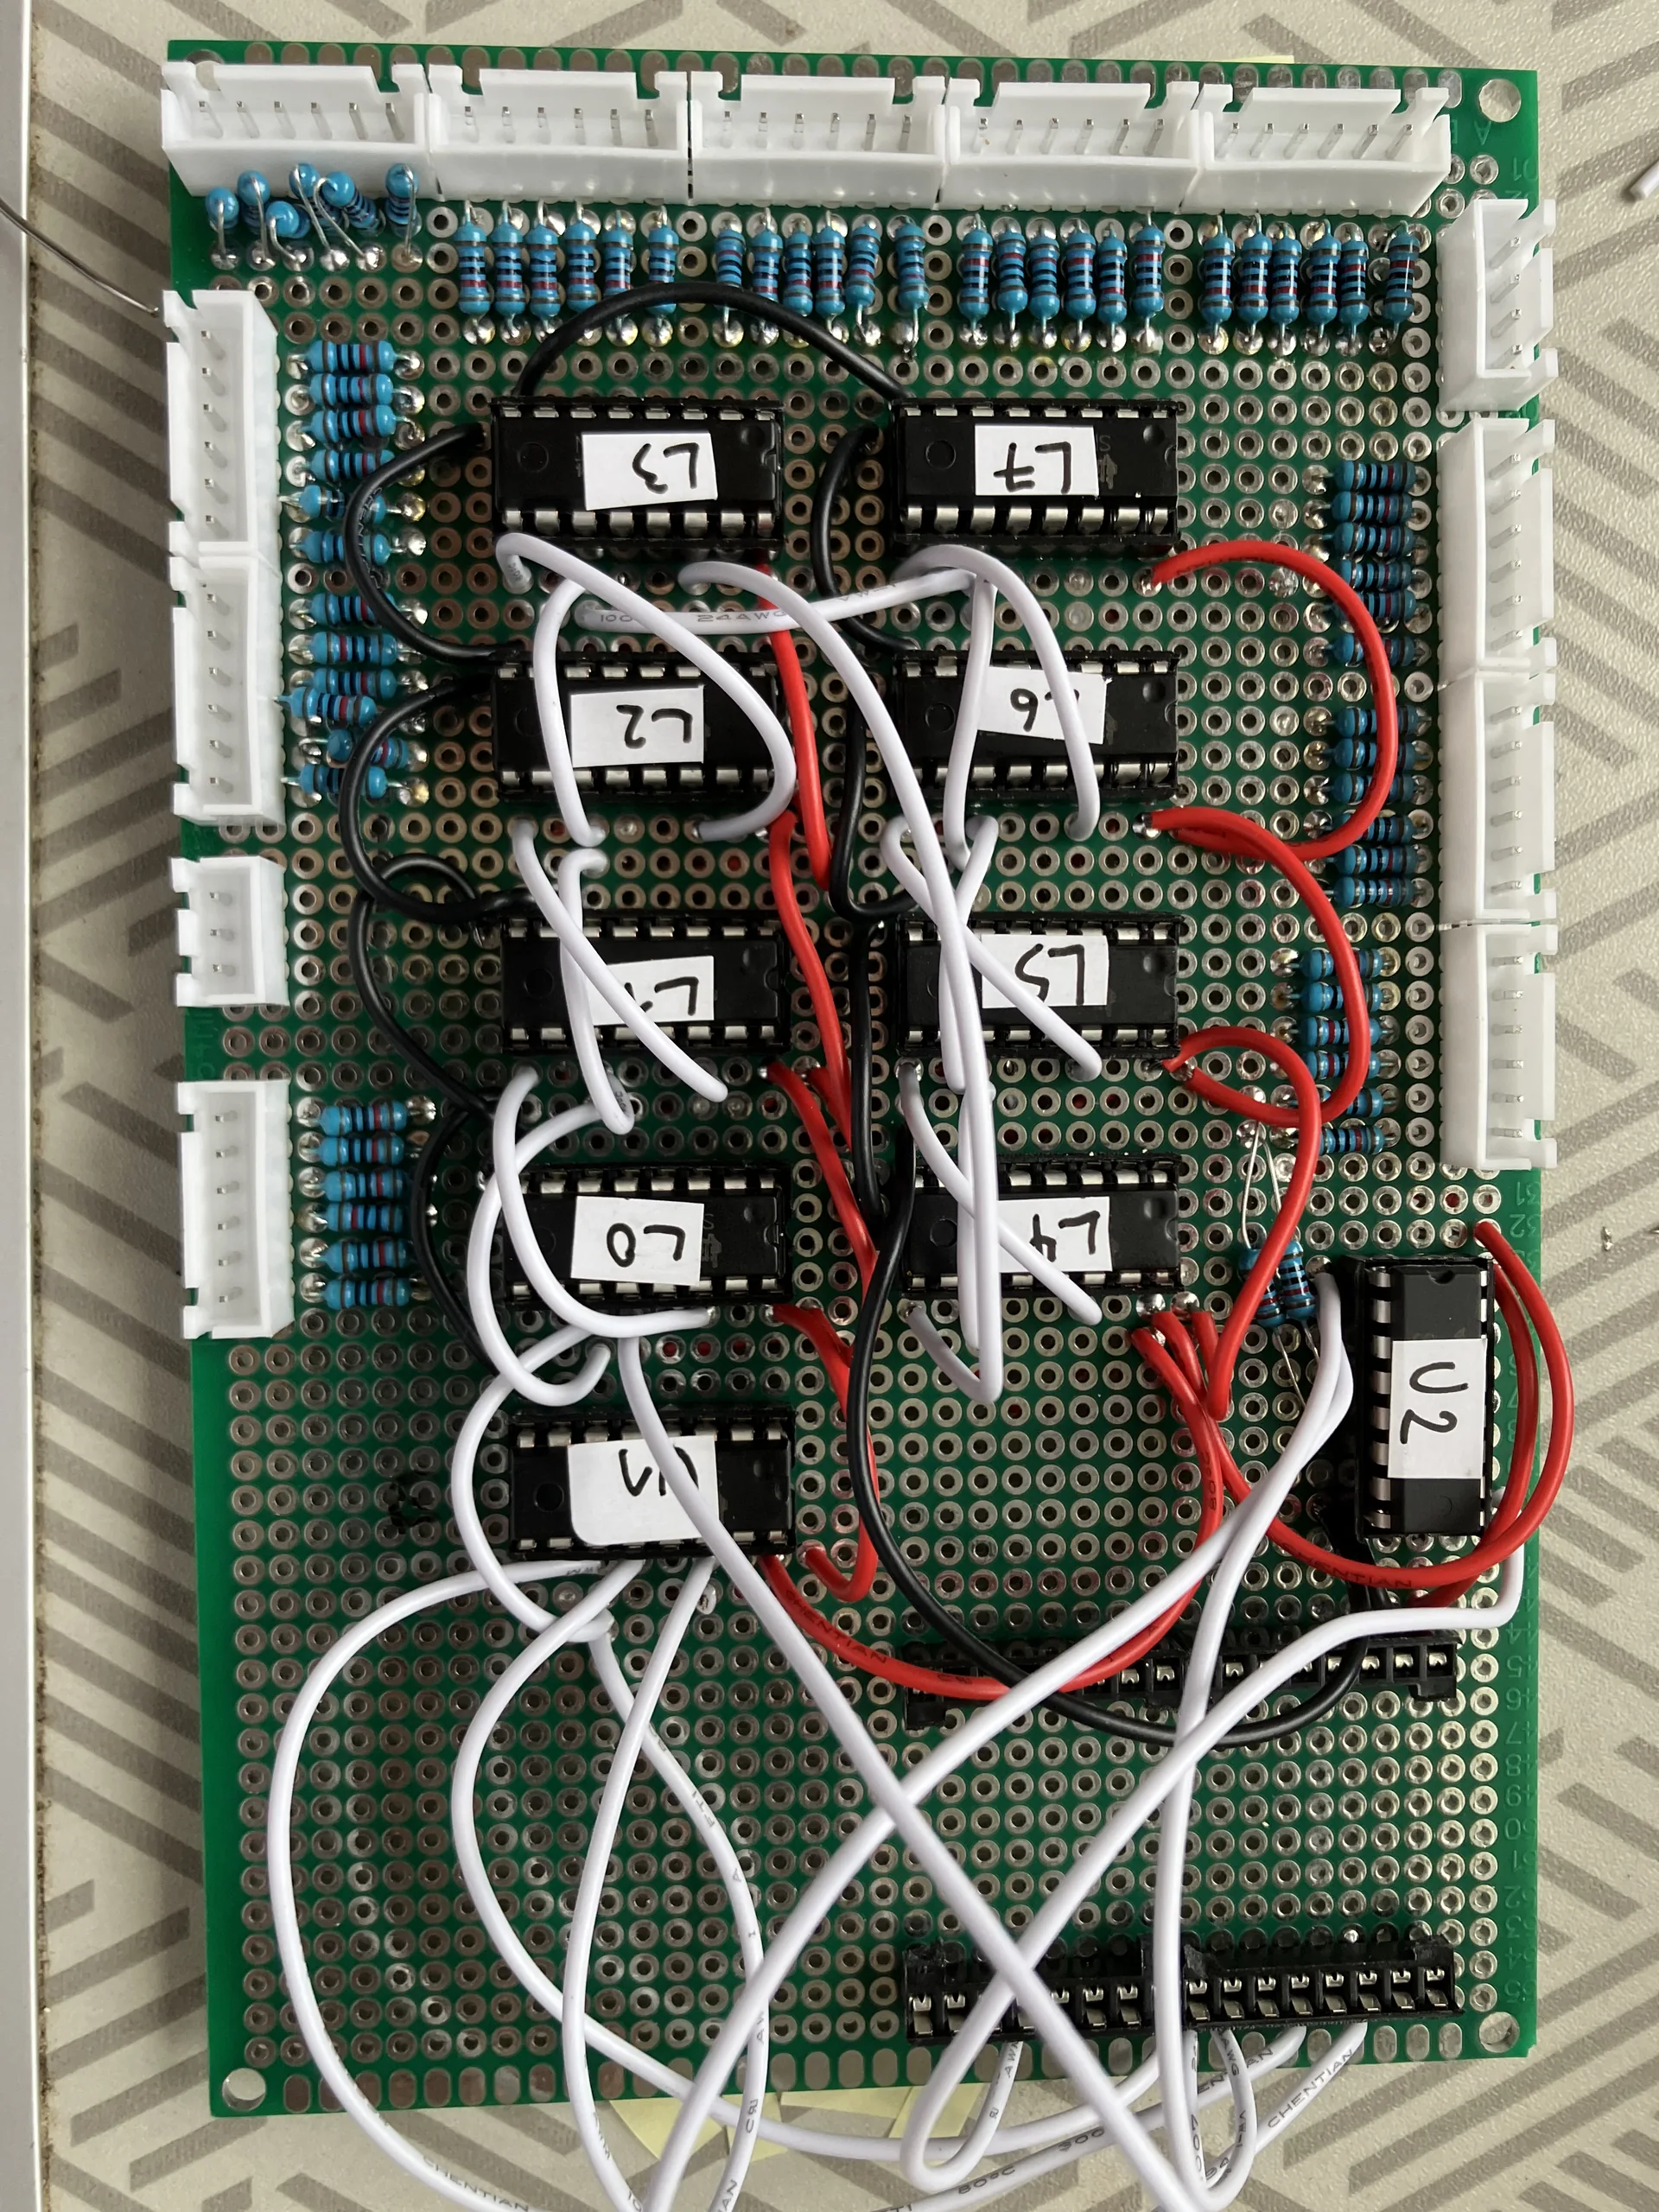
No matter how events come into the system, be it from the hardware, the liveview control panel, or whatever transport, they all go through the same path.
# A key press from the anywhere
PhysicalComponent.handle_event(id, :key_down, nil)
To demonstrate it, I had an IMAP bridge running and changed the text alignment by sending “Centré” by mail to a demo address. While it worked fine I advise against trying that live, the uncertainty that suddenly builds up while the mail gets sent and received was a bit much :^) . Of course this also updated the liveview and the machine itself if it happened to be connected.
I would change a few things if we are to re-exhibit it :
- Better distinction between event types (world event, internal command) and their handlers
- No distinction between outputs and effects: my initial reason to separate them did not materialize
- A dedicated Livebook instead of the codebase for all one-off commissioning scripts
And I have been both pleased and frustrated by LLM assistance after I had considered my initial design fully implemented. Here is a list of remarks I kept :
- Subsequent components and helpers: muddied my design too much for my taste
- Very niche parts of the effects: efficient but bruteforce-y
- Paper task-lists for soldering: very helpful, no regrets
- Pimping the digital twin UI/UX: same
- Generated firmwares: a few recurrent bugs despite the simplicity, blamed my soldering for firmware bugs
- Today: refactor in progress of the non-human parts for the next exhibitions
So why bother managing state in that strictly split way in Elixir apps ?
I find a few advantages of doing this whenever I can, it has as consequences :
- You can easily migrate to another UI framework
- LiveView is a simple renderer
- If you use LiveView, you can build up pure state in scripts, tests, IEX, and just feed it forward
- You can also expose pure function heads and docs via MCP, interpret lists of commands, build pure state to have mixed robot-and-human collaborative interfaces
- Source, etc : pushin.eu/lsifoni/codebeam26
- Slides: English PDF, French PDF
Try it here
A few days after the conference, Software Mansion released the newer version of Popcorn, the BEAM itself compiled for webassembly. It previously used the more minimal AtomVM implementation but now it’s the real BEAM. So I had the code very lightly adapted to not need postgres and the hardware bridge removed. Of course there’s no printer but I already had a “fake printer” component too.
A good way to try it is to first pick a font, then type something, try the various stylistic sets or opentype features, etc. Careful as it loads 19MB / 6MB brotli’d.